Saturday 25 February 2017

Some painting tips

Just a reminder - lots of stuff I yabber about in the blog also has 'supporting' videos.  The link is over in the left hand column labelled:  My U-Tube Videos - just click the link below.  There are currently twenty-seven from Dalton House and twelve from a previous project.  They are very far from professional but sometimes it is easier to understand something when you see it being done rather than written about.

-------------------------------------------------------------------------------------------------------------------------


As I am still busily painting the trims for the dining room I thought I might take a break and show you how I am going about it in case there is anything of help to someone.


love it

Like many people in this hobby I have worked my way around a ton of different paints and all I would say as a recommendation is just find something you like..... bit obvious....but you do get people insisting this or that is absolutely the only way to go.  


Personally I want easy soap and water clean up so I only use water based everything - paint, stain, varnish, whatever.  The photo above shows my current paint of choice: three reasons - (1) you can choose from 2,000 colours or even have bespoke made for you.  (2) The tester pots are very generous unlike other manufacturers and only cost £2 (something?) (3) you can have the sample made up in satin or mat finish.....Oh, I also like the lovely plastic pots which are easy to keep clean round the top so you can actually open them in a month's time.

For the wood trim in this project I have chosen 'Tidy White' with a satin finish.  I wouldn't use modern 'brilliant white' anywhere on any project - too bright for me.


jam jars

When your paint gets down to just a bit left put it in one of those little jam jars you get in gift packs and with your hotel breakfast.  You can actually buy the small jars of jam.  I got a life time supply of them in one go just by asking a hotel one morning if I could have the empties!  Do not forget to put the name of the manufacturer as well as the colour name on the label.  You never know, you just might want to buy some more.


coffee stirrer

Any coffee stirrers you collect in life - wood, plastic whatever - have clearly been made to double as mini paint pot paint stirrers.  Do stir all paint really, really well each time you open it.  I don't recommend shaking, it just makes a mess inside the lid and on the top of the container.  It is worth spending a few minutes on this to get the colour evenly spread and the right consistency throughout.  If the (water based) paint has thickened over time just add a dab of water and again stir very well.


be tidy
Put paper down to paint on - keeps your work area nice and importantly it makes sure you aren't picking up any bits of debris you may have on your surfaces.

paper two
Move the painted piece to another clean sheet to dry and safely away from your hands, elbows, clothes while you are working!  Smudging all that careful work is a no-no.


first coat
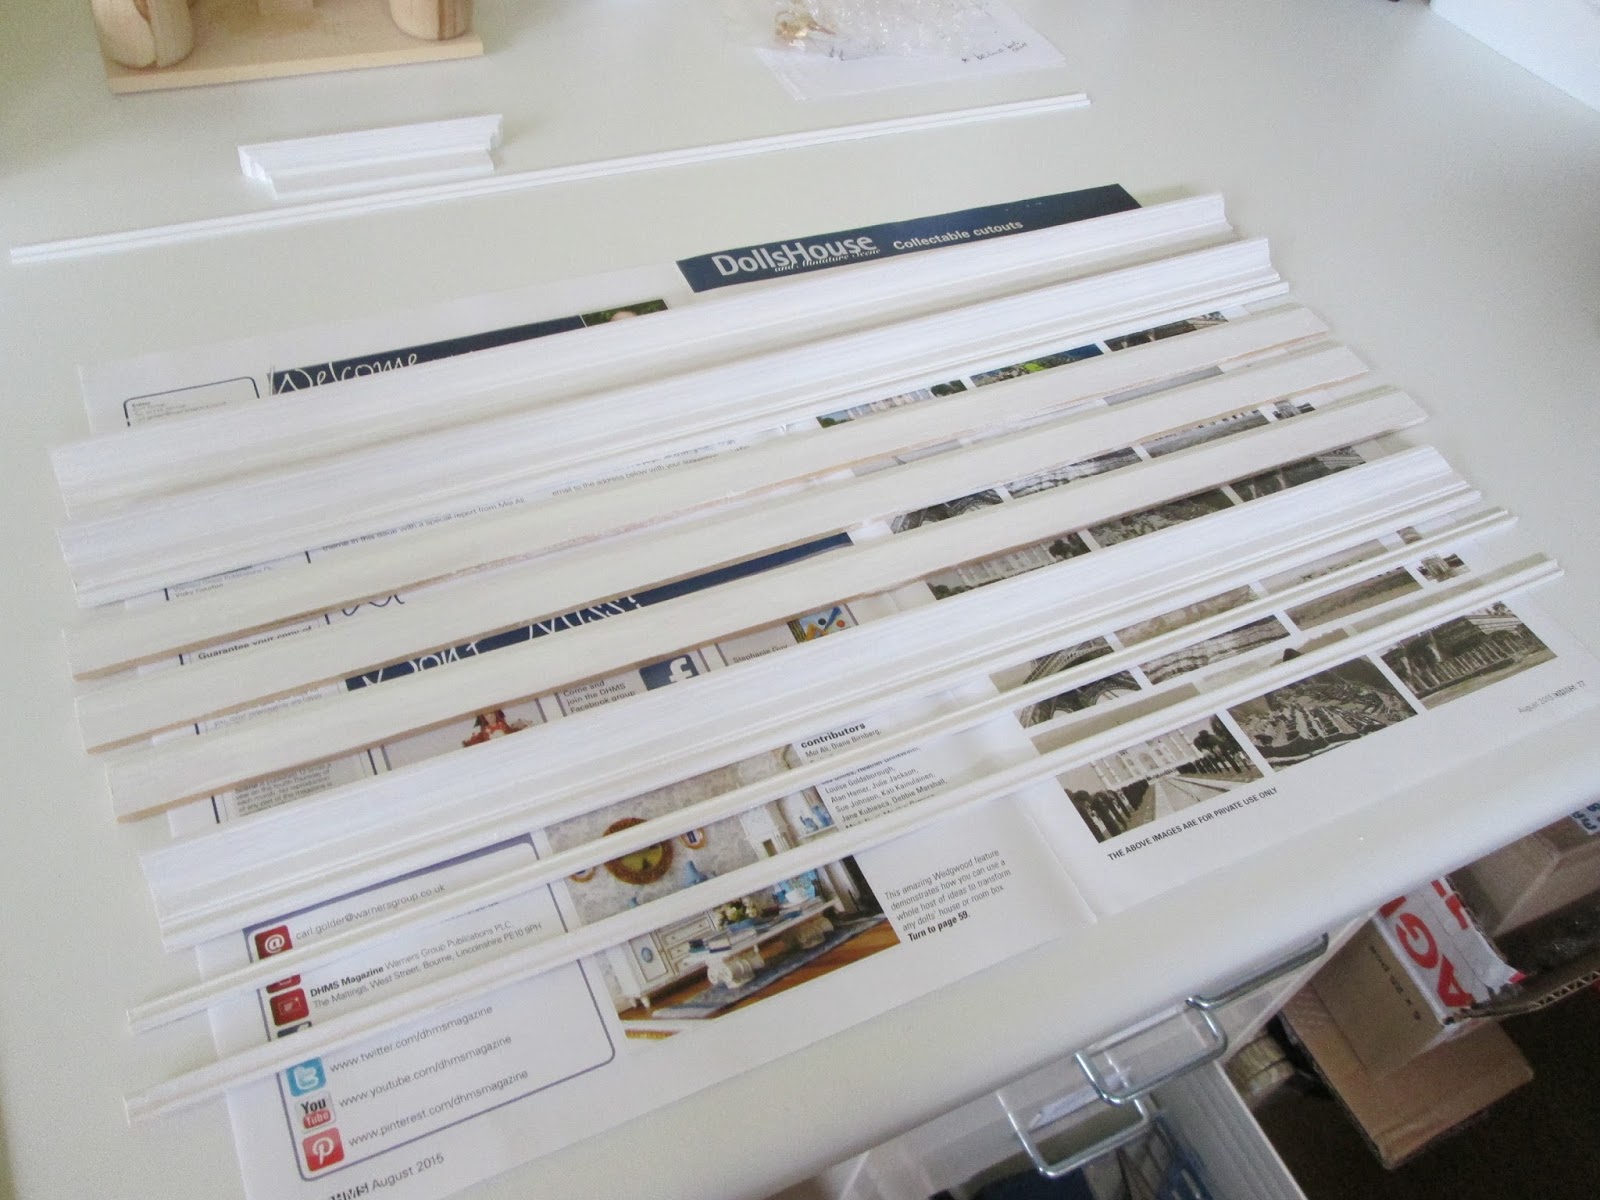
This is a close up of the first coat to show you that you definitely need more than one.  The wood is nibbed, there are little spaces, it is patchy.  You can even see here how two different woods show through one coat differently. The three skirting boards (on the right) are a peachier tone than the coving.  Incidentally there is an argument for painting the coving with the paint you used on the ceiling.  I have chosen not to as I like them to link to the rest of white painted wood trim in the room.  If the doors and skirtings and dado rail were going to be anything other than white then I would paint the coving to blend into the ceiling more.


strike one

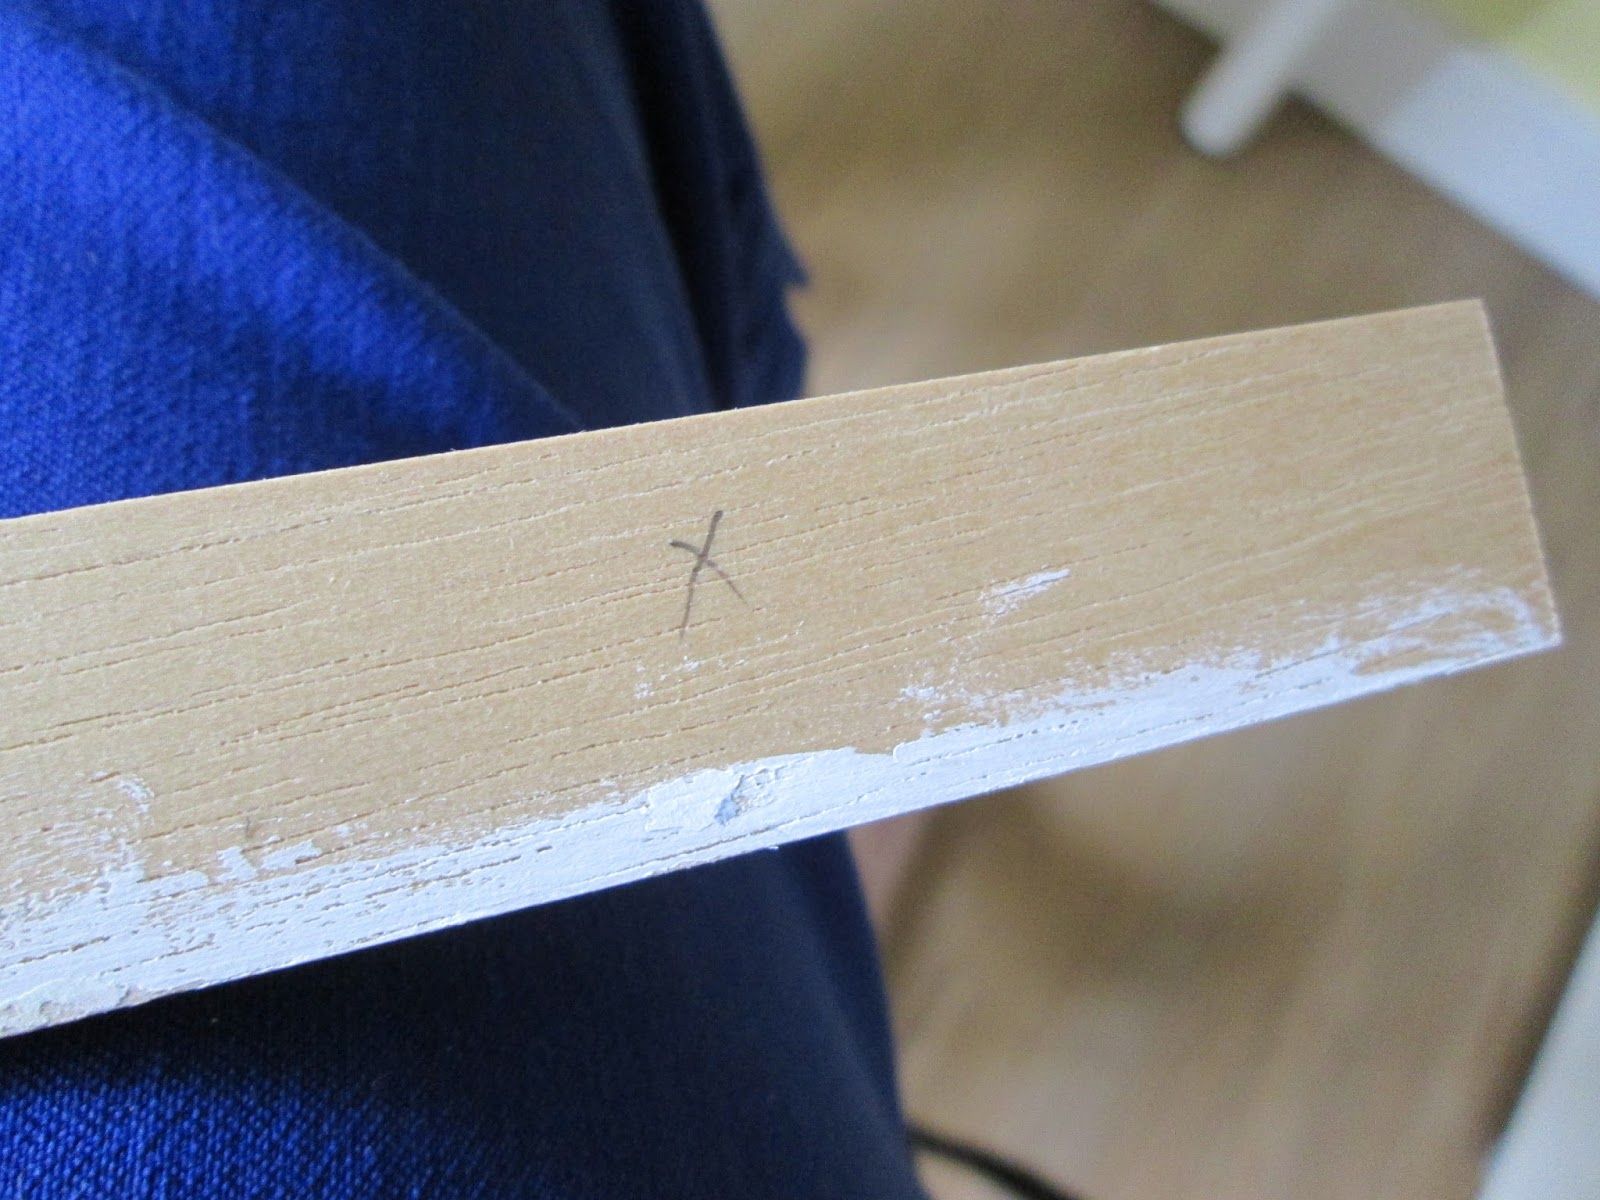
I put some sort of pencil mark on the unpainted side each time I do a coat of paint then, if life gets in the way for some reason, when I get back to the twenty pieces of half painted stuff I can see easily which has one, two or three coats on it and I can pick up where I left off.


naked wood

Be sure to leave any areas that are to be glued free from paint.  This seems like stating the really obvious but it is astounding how many times I have been happily listening to the radio, picked up a piece of trim and carefully painted the nice smooth top only to remember that will be glued to the ceiling eventually.  Again, if you discover you are ditsy about these things, before you begin painting, just mark up those planes in some way to remind you to leave them alone.

Brushes - no advice whatsoever, I flit from brush to brush as the fancy takes me.  Generally I do use flat ones and not round but size and quality will vary enormously and I might work through several on a job trying to find the 'perfect' one.  I have a couple I favour but they are sometimes too big.

When my pet decorator was painting the banisters in the real house recently I noticed he used his fingers now and then for intricate bits and so I discovered the very best 'brush' for not leaving brushstrokes and for getting into nooks and crannies without globbing.

All the thin top and bottom edges of the trims are finger painted.  Put a few blobs of paint along the edge using a brush and very quickly smooth it along the edge.  Speed is the key.  If you fiddle faddle around you will start to drag the surface skin that forms as the paint dries.  I am making it sound difficult - it isn't - just be confident and get in there.  You'll get a lovely finish.  I have also done some of the ridges this way too.  The brush is fine for the larger flatter areas.  That said I did a couple of table tops with fingers and they look fabulous.


sanders
You need to sand/buff between each coat.  I hesitate to say sand because the action is gentler than that word implies.  The item will need a little rub down with the finest grade sander you can get hold of - must be above 400 grit.  Ideally a painters sponge (top two items here) are best as they are very, very fine (made for the job) and are spongy (hence the name) so they also follow the contours to some extent.  The mesh piece is also nice I think it is a plasterers material for smoothing plaster.  Under it all is a piece of 400 grit sandpaper.  I find this a bit too much and it is easy to end up taking off too much paint.  You are only trying to get rid of the nibs in the wood that the paint has raised.
duster

This is my one inch all purpose dusting brush used for just about everything to do with dust.  So, after rubbing down the piece of trim I give it a flick over with this, then inspect closely using fingers and eyes to be sure all the debris has gone - you can use a slightly damp cloth to be sure but I don't - not fond of damp and wood!


current favourite

On a different note I have another current favourite in the 'painting area' - Americana's Dura Clear Gloss Varnish.  Any one who reads my mini stuff will know by now I am not a fan of glossy/shiny in a dolls house.  I really do think everything should be scaled down to 1/12th - including bright colours and especially shiny, glossy things.......  BUT just now and then I want something a bit shiny because they would have been!  One coat of this gloss is very thin and clear and has just enough shine for me to make the two demi-lunes look as though someone has been polishing them for four hundred years - or at least a quick wax and elbow grease last Sunday.


gloss applied with fingers

I dropped a couple of tiny drops from the bottle on to the surface and very rapidly smoothed it across the top of table with my fingers! and hey presto - no brush marks and a bit of a shine.


(31/08/16)

Saturday 18 February 2017

Wallpapering

Here is how I wallpaper a room - in minutest detail......

 Bit of a note first.... MDF is thirsty wood.... I always coat all the surfaces with some ordinary household matt emulsion at the building stage to help seal it a little so that when I come to paint or wallpaper the project wood doesn't just 'suck off' the paint or glue.  If you haven't done this, you will need to prime the wood in some way before papering - watered down PVA is one way to do it -  otherwise the glue will soak into the wood and the paper can come away from the walls.


cut paper

Measure the height of the room and, if you are going to add a coving and a skirting, measure the width of those and work out how much paper you want to go behind them to give you a neat edge and how much of the wall you want left exposed for gluing the trim to securely.  If you use a fairly standard coving and skirting you are basically going to leave roughly half an inch of wood below and half an inch above your paper.  In this case my strip was - ten inch room height, less one inch (the two half inches), so I cut three pieces of paper into nine inch (tall) strips.

Preferably cut the paper with a knife using a steel rule as a guide; this will give you sharper and straighter edges than scissors do.  Now you are ready to start papering.   Always start at the back of the room.
cut oversize
[Try to imagine the chimney breast has not been papered!]  Cut a piece a bit wider than the area you are about to cover, in this case it is an alcove area.
fold one edge

Make a really sharp fold one quarter of an inch wide along one edge.  I actually mark the reverse side of the paper in a couple of places in pencil, put metal ruler along the marks and very, very, lightly score with my knife - this cuts some of the fibres in the paper and lets you make a really sharp crease when you fold the edge over.

trying the cut piece

Put the folded edge right into the corner, letting the little flap overlap onto the side wall.  Run your fingernails or tool of choice along the other edge.  If, as in this case you are joining to a chimney breast you would now add a little quarter of an inch flap to this side too.  Basically you want all the walls that face you to have little overlaps on to the side walls - these will be covered with the side wall (and chimney breast) papers and this will cover any nasty gaps in the dolls house walls.  I promise you there is no visible bump in the paper when its finished.  
Paste and stick the paper back in place.

unfasten the hinge

Because I like to put my main house doors on before decorating the inside I have to remove the hinge for papering or painting.  You want to avoid doing this too often (it should really only be necessary this once) as MDF is not a great wood for holding screws and they are very tiny.  You can always put the teeniest bit of superglue on the screw when you put it back in, but that's probably overkill.

The alternative, of course, is to work round the hinges.
border adhesive

I am using my usual border adhesive, fairly generously.  You can spread it with a brush or plastic glue spreader - or tool of choice.  I use my fingers - I can be sure it goes to (indeed, over) the edges of the paper and that it is a regular depth and I can feel any little bit of rubbish that may have escaped on to it.  Mystery where the bits come from!

dobbing cloth

Put the wallpaper in place, making absolutely sure you are running perfectly down the edges where the walls join and work your way away from there until it is all down.  Dab it down gently all over with a balled up soft cloth.  The action is called pouncing - I have no idea why


door solution

If you are papering a wall with a door already in place or just a door opening the aperture will need to be cut out first.  I have papered over the aperture (no door in place) waited for the paper to dry and then cut out the paper out from the space with a knife.  This works OK and is probably the only way to deal with a curved archway for instance.

However if you already have a door set in place you can run one strip of paper right along the wall having cut out the shape of the doorway first.  I have tried that only once..... expletive, expletive.....Now.....if I have a door to circumnavigate, I cut the paper the length of the wall.  I then I measure the length needed across the top of the door from its back edge to the front edge of the wall and cut off this strip.  Out of that I cut space for the door and the frame, measuring carefully.  I stick this upside-down, L-shaped piece in place.
can't see the join

The remaining rectangle is then just fitted in place.  If you have measured well, it will butt neatly up to the over-door paper and snug equally neatly into the back corner, covering the little flap of paper from the other wall.

all done

In this photo you can see that all the tops and bottoms finish all over the place, there is even a small gap above the door: this absolutely not a problem, the trims will cover all of these just fine.

One papered room drying out and waiting for its trims.


(29/08/16)


Saturday 11 February 2017

Chimney and fire finished and in place


Here's a reminder of what real chimney breasts and fireboxes look like.  We don't need to construct the flue because we will never see it but the rest of this diagram gives you a good idea of how the rest fits together.


Paint inside the firebox and the back wall where the fire will be.  This can be finished in any way you like - add bricks and dirty them up for a real fire, or paint in any colour or finish for a modern gas fire.  My fires are supposed to be gas fires not coal fires but I opted for a simple dark grey (my slate undercoat) paint.


inside the firebox


Cut out the wallpaper to fit the shape of the chimney breast.  Paste the chimney breast with wallpaper paste of choice - for me its this border adhesive right now and I use my fingers for the spreader.  You could paste the paper instead, but this way round is probably easier.


paste wall rather than paper

Some papers (just like real life) will tend to bubble.  Don't panic; just gently dab the surface all over with soft cloth.  Don't rub and don't over do it, papers can be frail when wet.  Be sure they are air bubbles and not clumps of paste (or debris!).  If the bubbles are now small like these they will disappear when the paper is dry and shrinks back to proper size.


scary bubbles

I decided on a marble slab trim.  I had some left over from when I trimmed the fireplace ages ago.  I got it by typing 'marbled paper images' in a Google search - found what I wanted, copied and printed it.  You'll see a yellow version on the fireplace in the music room when I come to work on that level.  Marbled paper gives a smaller pattern to go at than  sample pictures of life-size marble.


first 'slab' in place


I folded the edges over so they look like marble slabs just in case anyone decides to look around the fireplace edges with an endoscope any time - just one of the daft things we do - no-one will ever see this again!  I coated them with a layer of Mod Podge just to take the fuzz off the paper surface.  Mod Podge is sold for decoupage so is ideal.  It doesn't run the inks and is very see through.  Mine is mat so doesn't catch the light but 'hardens' the look of the 'marble'.


folded over to give illusion of depth

I digress a little here to show you one of my HUGE favourite things.  Our B & Q has a little rack of Rustoleum's Painters touch specialist paints at the end of one of their paint rows.  There are tiny pots of all sorts of things - my favourites being their metal finishes and their chalk paint.  This one is the Pewter finish.  It is water based (easy clean up) goes on thinly so doesn't cover details, dries quickly and leaves no brush marks.  It's the bee's knees.


big favourite
This is a Phoenix fireplace - they are made in a sort of pewter but they look much better when painted with the pewter paint!
painted


So here we are fireplace lit and in place - tick!  Not very brightly lit as I am using a 9v. battery just to check its OK.


Ta-dah

In summary I confess that if my budget stretched to it I would prefer to get someone to cut my chimney breasts to order.  There is no 'worry' about wood bending in any way and it is robust enough to shove in and out if necessary when you are wriggling the various components in place.  I think Jennifers of Walsall can offer this bespoke service.  

Dolls House Cottage Workshop do some pre-cut ones.  I used one in the sitting room and it proved easy peasy.


(26/08/16)

Saturday 4 February 2017

Carboard chimney breast

It has been weeks since I touched the project - this happens to me sometimes.  I don't actually go off it I just seem to reach an impasse and find myself making all kinds of excuses for not moving forward.  This time it was how to deal with the back wall of the dining room.  I had an idea I wanted something like this but without the jib door.


It is a pretty easy construction to copy so I fiddled around with cardboard to see what I would need to get the cupboard cut for me or to buy and fiddle a ready-made into place.  Ultimately I decided I didn't like how much space it ate up.  You need a minimum of 1.5 inches from the back wall to the front face of the chimney breast, plus the one inch of hearth and fire surround in front of that so, in effect you lose 2.5 inches from the depth of the room.  My rooms are 15 inches deep so it seemed like they could sustain that - but - add in a large dining table and chairs and we are now decidedly squeezing past the chairs if we want to move around the room.  The other issue was the chimney breast needs to be 5 inches wide so the cupboards either side would need to be less than 3 inches wide if I wanted even a smidgen of wall around them.  Basically this idea was kyboshed and I went back to the notion of a simple chimney breast taking up 1 inch depth, plus the hearth and then furnishing the alcoves either side with something....??????? to display dishes and silver.

It did do me a huge favour though as I have ended up with what I hope will be a usable chimney breast made from cardboard.

front view

I was wondering about the stability of cardboard but two things convince me it should be OK.  Firstly I follow three wonderful miniaturists who build almost entirely with card-stock and mount board and there isn't a hint of any future problems with their work.  Secondly if I think about it just about every inch of my project is damp vulnerable from the MDF used in the house construction to the cardboard tiling and bricks and all sorts of paper products inside the house.  I have no intention of putting my house anywhere where it could be damp so I don't think there will be an issue with any of it, chimney breast included.

A mini friend gave me some foamboard (she does terrific stuff with it) but I haven't done all that well with it.  I can't seem to cut it with a decent ninety degree cut and I do seem to ravel up the foamy insides between the sheets.  I will persevere now and then when it seems useful but for a wall that I wanted to stand up straight, heavy cardboard seems to be the way.

I bought a large (22" x 32") sheet of stiff grey card - is it called ticketboard? - for £2.15 from Hobbycraft - in their mountboard section (mountboard is more than twice the price). Probably 1/16th inch thick and quite rigid. It cuts OK with a Stanley knife/box cutter as long as you remember the golden rule of making lots of small cuts and not trying to get through it with one or two slices.

I measured the fire surround mantelpiece; it was 4.75 inches wide. I didn't want the chimney breast to be much wider, so I added a smidgen to that making a five inch width piece of card.  The room is ten inches high but I don't want to be struggling with a tight fit between floor and ceiling so this time I knocked off an eight of an inch.  The ensuing gap with be covered with coving.  I made sure that any edges that would be standing on the floor were the already manufactured straight edges so that I would get a nice even base for the piece.  

I then lay the fire surround and fire on the chimney breast front that I'd made and worked out how large I wanted the fire box opening to be.  Measure, draw and cut out.  After that everything else was pretty much one inch strips of card.


gubbings behind

The exception being the piece that goes under the fire so that it stands level with the hearth.  This needed to be one inch deep plus the 1/16th thickness of the card so it could be shoved forward inside the front edge.


not a pretty sight

I used some off-cuts of wide coving just to ensure the sides were glued on at a neat 90 degree angle to the front.  At some point I realised they would be even more useful glued into place to do that job and would give the chimney breast some weight and substance.


Whilst making this I have also become a convert to Mod Podge. (made by Plaid)  Best to google it as there are so many variations.  I have just used the bog standard Mod Podge Mat finish and it glued great and sealed any hairline gaps really well and coated the edges of the cardboard and then it went on to be sanded down brilliantly.  Lovely medium for putting (cheap fuzzy) cardboard together but wanting a wood finish to take paper and paint properly.

People claim it is watered down PVA but I am not convinced.  PVA - the normal white craft glue - goes some way towards what this can do but I'd claim this did what I wanted much better than PVA would and for the small difference in price you may as well get the real McCoy.

Come back next week for the finished article.


(24.08.16)