Showing posts with label The Sitting Room. Show all posts

Sunday, 23 June 2019

Last (but one!) lap on the lighting


I am very proud of me:  I actually did what I said and finished putting in the last of my lights today.  I seem to have saved up one ceiling light, four table lamps and one standard lamp.

Here's a quick review of putting in a ceiling light - they are the easiest ones to do.  Just make sure you know exactly where you want it in the room and measure carefully or even better make a template.  If I want one in an 'odd' place I make a template of the floor - sounds 'posh' - all I mean is cut a piece of paper to fit the floor.  I, then, position furniture on it and mark where I would the ceiling light to go.  This is useful for a light over a dining table for example.  I then take the template upstairs to the floor above and make sure it is lined up with the front edges and  the side edges of the room below and make a mark through the paper where I want to drill the hole for the light.

If you have room in your tool storage area this is a convenient way to keep your drill bits


Always cut off any straggly exposed wires, they are a pain to thread through holes


It is much easier with a fairly rigid piece of wire.


I normally apply a little superglue (it must be the gel version) with a cocktail stick to the back of the light fitting; this is short cutting it.  I also usually remove the sticky tabs lights that come with most lights and put the glue on the rim  I don't like how they stick out from the ceiling and they don't have very strong glue on them.  This one was very thin, didn't show,  so I just left it in place


Pull wires through gently and get it in position preferably in one go.  Make sure if there is a wire exit hole on your light it is at the back so it can't be seen.  A helper here is handy - press and hold in place until the glue 'takes'.


Every time I mess about with a light I test it just to check it is OK


This is easily done by stripping the wires again and holding on each terminal of a 9 volt battery


If you want even more detailed explanations of putting in lights - showing grooves in the floors etc just click on the 'Lighting' label on the left and there is probably a ton of stuff there.  I think I did a video too so just go over to You-tube if you want.  There is a link for that too.

So the ceiling light is done, now over to the lamps.

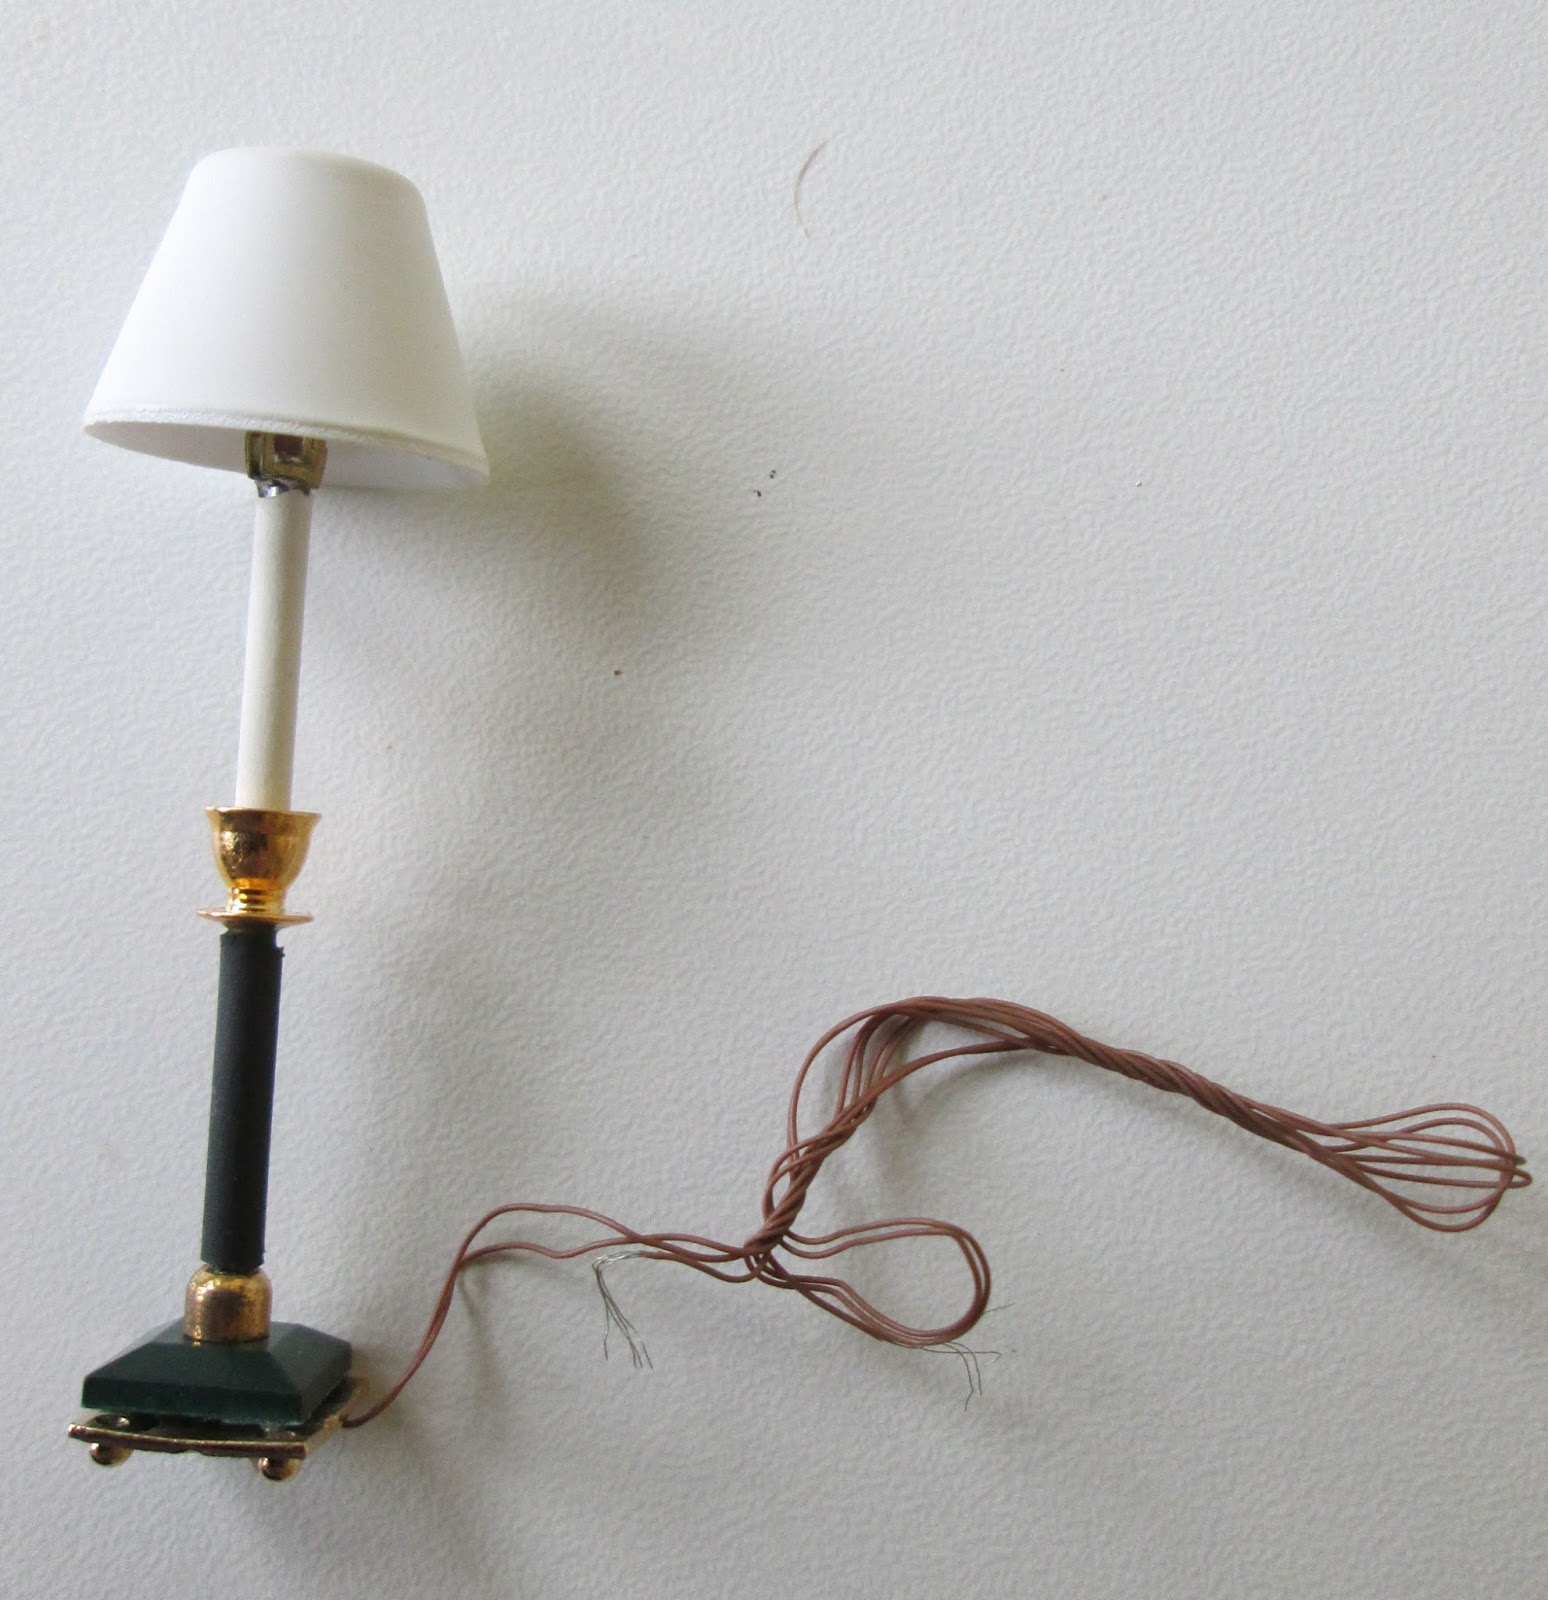
A while ago I asked the Brilliant Kath at Delph Miniatures if she could let me have some of her plug sockets that she uses for her electrical appliances as I wanted to drill a hole through them so I could take wires from lamps through the wall behind so making it look as though the lamp is plugged in.  She not only did that but also drilled the holes for me.  They are even drilled at an angle - sloping - so the cord lies realistically down the wall.  She went on to make them for general sale - so you can get them if you want them.  Here's the link to that page on her site.  Delph Miniatures


Here's how they go in.


the socket with a hole


wire threaded though


hole drilled in wall and socket in place


other side of wall


eh voila - one plugged in lamp

Here are my finished lamps.


Stand back and admire, because when I re-dress the rooms not one of them will actually be seen!!!  This is when we know mini people are completely nuts.

So what was all the fuss about.  In less than a couple of hours including a tea break, they were done and dusted.  I think I have broken my duck now on 'not working on Dalton' and I can't wait to tackle the actual putting in the leccy tomorrow:


Saturday, 16 June 2018

Back on track

I hope I am back on track and I have started to settle down to getting the mini house sorted now the big one is ticking over nicely.

Crossed fingers I can produce the old Saturday edition of the Dalton house blog each week, again.

I am still putting back rooms and looking in my storage boxes for tiny things to see what dressing I may or may not have for said rooms when they are settled.

Today (14/06/16) I got four rooms back in place.  They are all on the ground level and are the formal part of the house which is mostly used for entertaining visitors.  It has been refurbished and furnished to echo the feeling of the house's original rooms.

The sitting room - the lamps at the back need holes drilling for the wires to go through to the back and I want two paintings for the sofa walls.  the wires will go through two pretend wall sockets and I may add another on a side wall.  I have a lovely Elizabeth Causeret (I think??) green bowl on the right hand table and a clock which won't go on the mantle on the left.  It was intended for in front of the mirror but the mantel is too slim.  Georgian mantels didn't hold loads of 'trinklements' like the Victorian ones went on to do.  The walls won't need radiators as there is underfloor heating on this floor of the house to help keep the feel of the original building.

formal sitting room

The hallway
- I have no idea what I will dress the hall tables with; all I have so far is a plant and a bunch of keys.  Again this is the ground floor and free of radiators but it still needs some wall sockets, an alarm, and a doorbell box.  I also need a painting for the left wall.


The dining room - I would love to find and make another House of Miniatures huntboard (like the one on the left wall) for the right wall rather than the too small demi table  - I do love symmetry.  In the loooooong meanwhile whilst waiting to find one the demi table will have to do.  I actually have far too much stuff to dress the dining room with - lots of silver and glass and china.  So, very soon, I will be getting on with that and wondering what to do with the leftovers.  Yet again two more wall sockets are needed in here.  I also need two very grand paintings for each side wall.


The music room - again I need several paintings of various sizes for this room.  There is a bust of Mozart so the paintings will be part of a celebration of the baroque - as that extended from 1600 to 1750 I should have enough to go at.  The pair of black pots are lovely.  They have lids which actually come off and the bases are paper thin and so pretty - I don't really have a good place to show them.  They may end up on a windowsill.  I need two pretty chairs one for each side wall and I will be making a chaise/bench seat for across the centre front (between the two left hand windows)  The room could seat a dozen people and for a larger gathering it can have the furniture moved around and others chairs brought in.  It is a music room which is used by the family but occasional recitals are also given here.  It doubles up as a card room too and card tables and chairs are brought in for the occasional game of bridge after dinner with friends.  One table is always left in place for the family to use.  Someone has left an unfinished solitaire game on it right now.  On a more prosaic note it needs wall sockets. (but no radiators!) 


I am having a hard time dressing the rooms as they lack suitable surfaces.  I intend to try to make windowsills when I come to work on the fourth wall so a few things can be dotted about there which will help.

Saturday, 29 April 2017

Neurotic, moi?

I am writing this on 19 February having been away from this blog and Dalton House since October.  A lot of real life stuff has got in the way and I find if I break for too long it is difficult to get back.

Today, I decided, was the day to pick up the reins.  Facing me right now are a lot of 'problems' with putting in two of my own interior walls - having changed the basic kit.  This has had a knock on effect with lighting and decorating and the order in which to do things.

I began the day there but decided I really needed to get back in slowly..... so it began with a tiny job I had also put off for a long while.

Some time ago I bought a pair of console lamps (pretty pricey) and one of them didn't have the little ball feet that the other one did and there were a couple of other (poorly made) issues.  The vendor gave me the name of the maker and said she would send feet and I could glue this and fix that etc.  No response from the maker so I needed to get things fixed.


had feet but the base wasn't glued

no feet on this one, so added those

I could only get silver (wanted gold) no hole beads at the last show I was at, so I used four of those for the feet.  They will be painted 'brass' soon.  I then then glued the bases in place on both of them.  Straightening the shades was a challenge as they were on a fine soldered frame which I didn't want to bend or break.  I then twisted the wire so that it looked more realistic.  It will show because it will travel through a plug and socket to exit the back wall to make it more realistic. 


my lovely little wall plugs that allow wires through


All this and then they will live at the back of the sitting room and be barely visible.

Don't fret, the table and the rug are not staying

Might keep the mirror - paint gold? or paint creamy white?

Luckily I know a couple of other mini folk who are as fussy as me about detail so I don't feel too bad.


--------------------------------------------------------------------------------------------------------------------------
This footnote is being added in April!  You might not get a post for a while.  I banked a lot of posts months ago and this is the last of those.  I haven't actually been near the project since before Christmas.  I am doing my utmost this week to get back on track.  It isn't for lack of wanting to, I am just at 'sixes and sevens' with life stuff.  


(19/02/17)


Saturday, 25 March 2017

Take a breather

I am not alone in mini world in believing that 'thinking' is a huge part of 'doing'.  I suspect I spend as more time 'off' the project thinking about it, researching for it, problem solving, shopping, seeking inspiration than I am actually hands on doing.

Now and then I gather all my thoughts and clobber together and see just how much of the house I am able to complete.  I dress each room as much as I can, using the furniture I will keep for that room and other stuff as stand-ins just to give me an idea of what's to come.

From this I can figure out what I might need to complete the room and the order of work.

So this is where I am up to:

The basement which has the Rec Room, the Hive and the Mud Room, is finished other than collecting a gazillion little bits and pieces to dress the three rooms.

The ground floor which has the Dining Room and the Vestibule and the small Sitting Room, is fully decorated and lit except for a couple of lamps and one ceiling rose.  I also have most of the furniture.


Dining Room using some stand in furniture

Sitting Room using stand in table and mirror


The upstairs which has the Music Room and the Library is where I am working now and has some furniture waiting for it, which is helping me find where to put the fire and lights etc.


Music Room - a mix of keepers and chuckers

Library with proper table and chair and some stand ins


The attic level which has the Bedroom (bathroom off there) and open plan Kitchen and Sitting Room seems a long way off right now, but I need to be working towards it in case I find things at a show that would be useful for it. 


kitchen and sitting room - paper cupboards


bedroom - paper bed and cupboards and borrowed desk


Doing this dress rehearsal has the benefit of clearing up my work area and, being a bear of tiny brain, I need a clear pathway to enable clear thinking.  I can keep my perpetual shopping list up to date and order anything practical that I am going to need to let me get on with the step after the one I am currently working on.  I hate being held up for a door knob or something silly like that.

Hope you had fun deciding which pieces are staying in which room and which things were stand-ins.


- - - - - - - - - - - - - - - - - - - - - - - - - - - - - 

I thought I might just do a post scrip in case it helps somebody.

While I was having my grand tidy up I dropped a plaster ceiling rose (aaarrggghh).  If you are lucky and it breaks leaving you all the pieces you can fix it and use it.

two pieces broken out

the solution


I peeled off one side of double sided sticky tape (it is very, very thin) and stuck the pieces carefully in place.  I then trimmed off the surplus tape.  The fine cracks will fill in perfectly if you want to put a coat of paint over it.  I am not even bothering to do that - they really are not visible when its on the ceiling.  When I come to stick the rose in place I will remove the other covering from the tape and the exposed double sided tape will help in the process of sticking the rose to the ceiling.

Moral of the story is don't bin something in a temper (as I nearly did) put it aside for a while and see if you can find a solution.

Saturday, 4 March 2017

Ground Floor finished

Well 99.9999% finished - I still have to buy a ceiling rose for the dining room and (at the time of writing this) I am still a couple of days away from a dolls house show so I am hanging on for a particular one.

Before showing you the three rooms on this floor, I just want to add a little bit to the stuff I wrote about doing the trims in a room a few posts ago.  When I do the coving that wraps round the chimney breast I make that as a 'finished' wrap-around piece.  That way I can get it as good as I can before it goes in place because I think that these coving joins are the ones that show up the most in a room.

I glue the pieces together on a right-angled jig to make the corners as good as I can.


glued in place - first fit with all its rough bits

after a bit of a buff and paint touch up

three-sided piece ready to go in place

With that in place the dining room is pretty much done - as I said I want a subtle and thin ceiling rose like the one in the sitting room for this room before I fix the light in place for real.


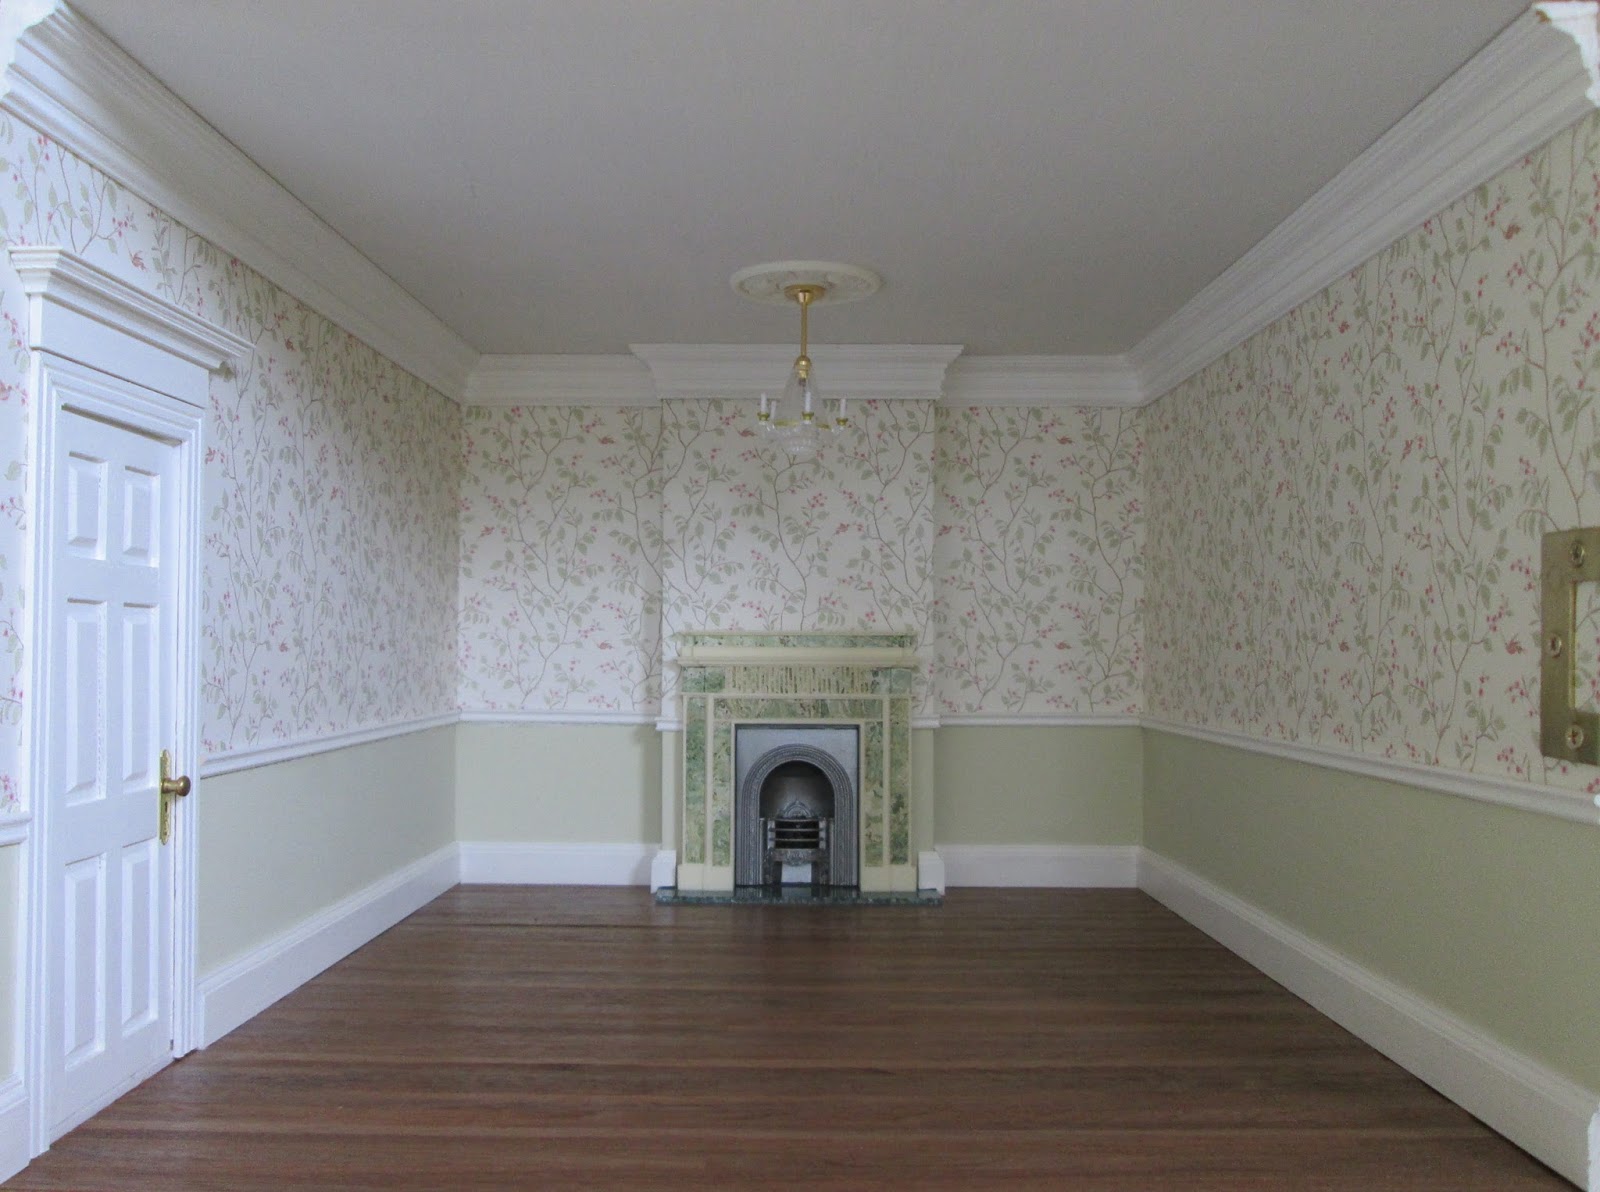
So, here are the three rooms on the ground floor waiting to be filled.


Dining Room

Entrance Vestibule - remember there is an inner hall and stairs beyond the door at the back

The Sitting Room

I am so excited to be moving upstairs and starting on the (largish) Music Room and a small Library. 


(01/09/016)

Saturday, 14 January 2017

Lighting - putting in the lights

First test your light using a 9V battery - nothing worse than putting in a broken light or one that needs a new bulb or a bulb tightening.  


all systems go


Straighten the wires to help them lie nice and flat in the groove.  Just run them firmly between your fingers a couple of times.


wire need straightening


If they have the sticky pad on them I take it off - entirely your choice - I don't like to be able to see them when they go up.  Just use very, very tiny dabs of superglue gel.  Use a cocktail stick or even a pin to apply it in tiny dabs on the inner rim of the mount.

removing sticky pad also puts the wire back in the centre

If you are using a ceiling rose there are at least three ways of doing it and I use them all depending on what works best for a particular light in a particular place.

You can glue in the ceiling rose straight to the ceiling on its own.  Locate the hole using a toothpick.


You can thread your light and ceiling rose up together and just put glue on the rose and pull both up into place making sure you get a good tension on the wire so they are snug against each other and the ceiling.  Take care not to tug too hard.

Less risky is to glue the light to the rose, as you would if it were going directly on to the ceiling - so using the sticky pad or some superglue gel.


Twist the ends of your wires together and thread through the hole.


Lay the wire neatly in the groove and cover with masking tape.  Press down well.  Don't glue the wire into the groove or cover with wood filler just in case you every want to remove the fitting.

flat as a pancake, no bumps


The three lights you've seen go in here took exactly two hours to do start to finish; taking my time and a mini cuppa tea break.  

sitting room

hall

No picture of the dining room as that is a work in progress.  Come see me next week to see how that's going.


(24/06/16)