I don't know the etiquette for passing on other people's blog links but on the basis they are in the public domain I assume I won't have overstepped the mark by directing you to a good idea.
I keep meaning to make a photo book for each of my finished projects; you know those things that Snapfish, Vistaprint, Asda, Boots do for you. I haven't gone into it very much but they don't seem to offer an option to add a load of text (????) Needless to say the months go by and I am still meaning to do it. Meanwhile someone has done it using a purchased piece of software. It is a lovely end product.
Take a look at this
Small Packages
Caveat for out of the States readers: I suspect that postage of the finished product from the States to the rest of the world might be off-putting. They won't even mail a disc to the UK, so they may not even mail here. You'd need to check these things before committing to buying and downloading the software. However the idea is great and I will be on a search for a UK software supplier. Watch this space.
Monday, 26 September 2016
Saturday, 24 September 2016
Sorting Rooms
 |
| The rooms are - starting top floor and left - the student apartment sitting room, the apartment kitchen, the apartment bedroom Down a floor - the large room is the music room and small room on the right is the library Ground floor level - left is the dining room, centre is the vestibule, right is the sitting room Basement level - the left is the children's Rec room, centre is the mud room and right is my old Hive (workroom) |
Sometimes it is impossible to deal with the 'structures' in a room without knowing what furniture will arrive in the future and how it demands to be set out. It might want a chimney breast on the side wall or on the back wall, a light might need centering over a table but where is the table going and how big will it be? etc., etc., etc.
Having reached the point where I can now start work on the ground floor rooms these were some of the issues concerning me. I took a deep breath and decided to go through my stash and see what I had for various rooms.
This led me on to two different tacks...... firstly I realised I needed to make up some furniture kits so that I could set stuff out in the Dining Room to see what spaces the fireplace, dining table and chairs soaked up. I made up the dining table and found some stand in chairs.
I think I want the fireplace in the dining room on the back wall with two shallow cupboards flanking the chimney breast to display glass and silver. This idea has chopped and changed umpteen times and I still don't have a decision. Whether this happens or not I did have to re-jig the table by removing an extension leaf; sadly, it was far too big for the space.
The sitting room is a real mystery as I have no seating for this room at all - I simply can't find anything I like at the right price - kit or ready made! I have just shoved all thinking about that room to one side.
So, pretty much already defeated by the two rooms I need to make a start on I decided to take a break from the deliberations and make up some furniture kits and add 'dressing' details in the basement area where most of the furniture has been decided on.
For newbies - when putting small stuff in place it is best to add some 'tack' to keep them where you want them. Remove the table, cupboard, whatever and add a tiny bit of tacky wax (museum wax) to the bottom of the object you are going to add to it and press it gently in place where you want it to stay. This wax holds it in place any time you want to move the piece of furniture - or accidentally knock it over! - but it will allow you to move the object if you want to and it will clean off fairly easily if you need to.
As I said the generic term is tacky wax - there is a product actually called that which gives it the name (like we say hoovering for vacuuming). It is also known as museum wax. Basically it is the consistency of warm wax and is very malleable.
 |
| there are a few different makes |
 |
| I make a teeny roll and just nip a bit off the end for each object |
As I said the generic term is tacky wax - there is a product actually called that which gives it the name (like we say hoovering for vacuuming). It is also known as museum wax. Basically it is the consistency of warm wax and is very malleable.
Wednesday, 21 September 2016
Shopping at shows
If you want to see how I go about shopping at shows here's a post I just did:
Dollshouse Trips and Shows
Dollshouse Trips and Shows
Saturday, 17 September 2016
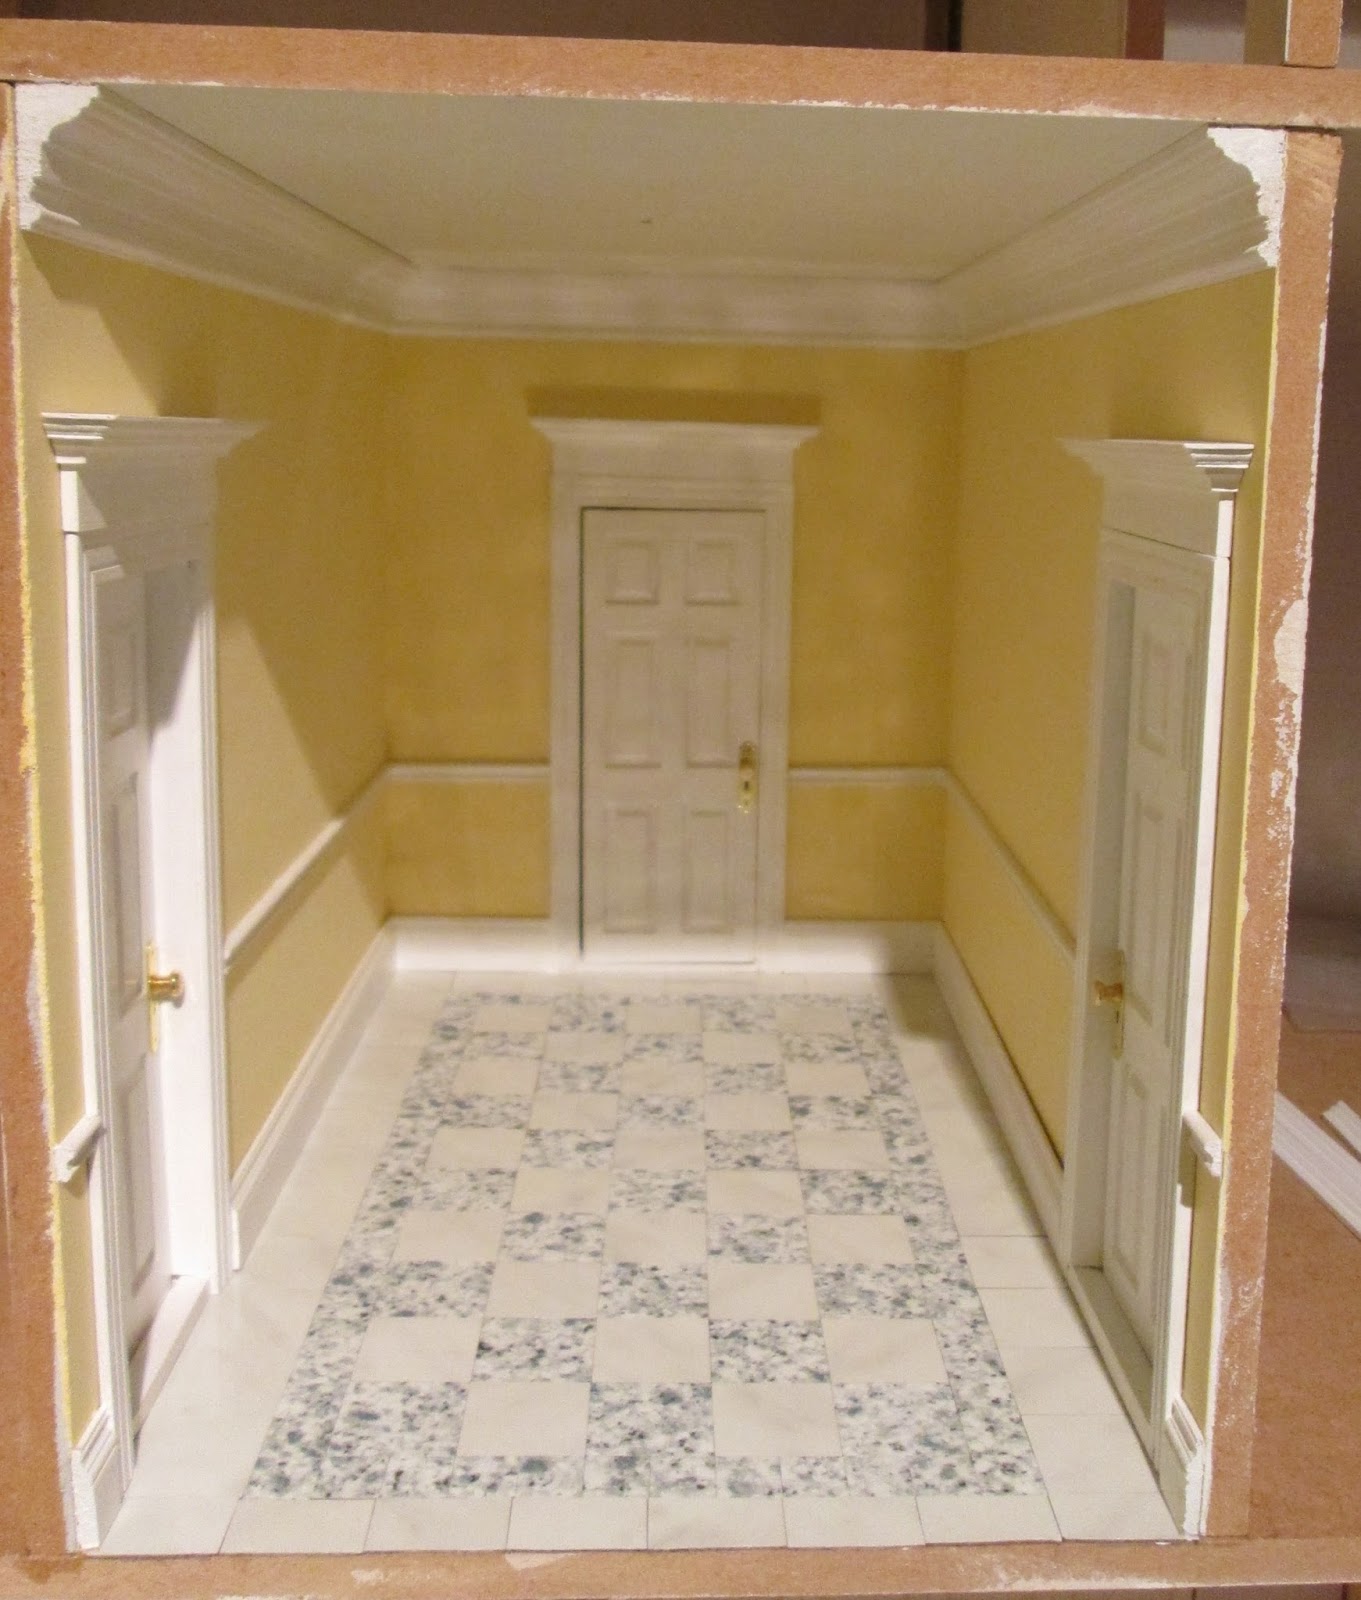
Finishing the trims in the hall
Note the doors are now in place ready to finish the trims.
Here is another little trick to avoid having to measure accurately with a ruler.
Dado rails are 2' 6" to 3' above the floor. The lower measurement is the more usual Georgian one. They were very decidedly functional rather than decorative and so needed to be the height of most tables (2' 6") as their purpose was to stop chair backs and table edges marking the wall. Paint and paper were expensive items and needed as much protection as possible, hence skirting boards and dado rails. Modern houses tend to have a three foot rail as it is better proportioned on the wall. Mine are three feet (three inches high).
Rather than fiddle around measuring and marking up the wall for the rail to go in, I cut a piece of stiff card (old folder in this case) into a three inch wide strip. Place this snugly against the wall with its feet on the floor - it is just leaning at a jaunty angle doing nothing here. Draw a light pencil line across the top. Go right round the room.

Cut dado rails (like you did for the coving) and use the guide lines to stick them accurately in place. Cut and stick on the skirting boards.
Here we have one hall - just a light fitting away from finished. I am holding off on that until I have been to the NEC and bought a simple Adamesque ceiling rose. (Typing this in March a week away from the show).
Saturday, 10 September 2016
Tiles for hall floor
I bought my tiles for the hall a long time ago from another favourite vendor. He sells lovely materials at a great price and is super-helpful - Dolls House Tiles (just click on the name).
They are a very thin accurately cut laminate which give a great marble finish. You decide on the pattern you want. I do that by playing around with ideas on some on graph paper. I have a very small hall so it demanded utmost simplicity, but the tiling world is your oyster if you so wish. What you need is easy to calculate and the vendor will help if you are struggling with something - he also is happy to do bespoke.
It is then as simple as sticking them down with PVA.

I left a hefty book on mine overnight (on non stick paper) to make sure they were as flat as a pancake.

So easy and a great result.
Saturday, 3 September 2016
Door knobs and plates
This is a nice little door knob and door plate set - pretty easily available, these came from Dolls House Emporium. I always like door knobs with a screw thread fastening one to the other. The usual kind with a short stem on the knobs often need a bit nipped off their stems because when you shove the two of them into the drilled hole they prove too long for the thickness of the door and won't lie flush.
Fitting them - decide where the knob should go - check the ones in your house as a guide and/or research where they went at different times in history and on different style doors. I am nothing if not pernickity about these things. Mark the position with a pencil and hold the plate in place, keeping the hole for the knob over the pencil mark.

You can now make marks through the screw holes in the plate and a larger mark through the keyhole. Take the plate away and colour round these marks. I colour the screw holes with gold felt tip and the keyhole with black permanent marker. They are done over-sized to be sure no white wood shows round the edges of the holes when the plate goes on.
 |
| top and bottom marks for screw holes |
Put tiny bits of superglue on the door between the marked areas. Thread the plate on the rod which has been screwed into one of the knobs and set it all in place. Keep everything spot-on vertical. Finish off with the addition of the plate and knob on the other side. I do believe you can get screws small enough for these holes if you want to seek them out but the gold finish underneath does a good enough job at a distance.

Subscribe to:
Posts (Atom)