I absolutely love making plants. I barely ever find it frustrating or annoying. It is one of those tasks that I slide into happily; radio four drama (or two) to keep me company and an afternoon or a morning is whiled away allowing me to feel omnipotent and able to create a 'living' plant.
Ladies Mile Miniatures offers a fabulous choice of kits if, like me, you don't have the requisite punches and such like to work from scratch. The service is excellent and prices good and quality top notch.
I chose a Cleome (Spider Flower) for my dining room vase. This was a bit of a daft choice as this is a three to five foot high shrub and is rarely used as a cut flower because of its size. Hey ho, I like them and I don't have any outside growing space because my house is part of a row of Georgian terraces so they are going to have to go in a vase.
This is how my blissful afternoon went along .....
Always a nicely packaged and presented kit with absolutely perfect instructions. I won't do the step by step thing as it is done so well in the kit but I thought I would share some moments which might add something to your understanding of what's going on if you are doing your first flower kit and show you what 'tools' I use to complete them
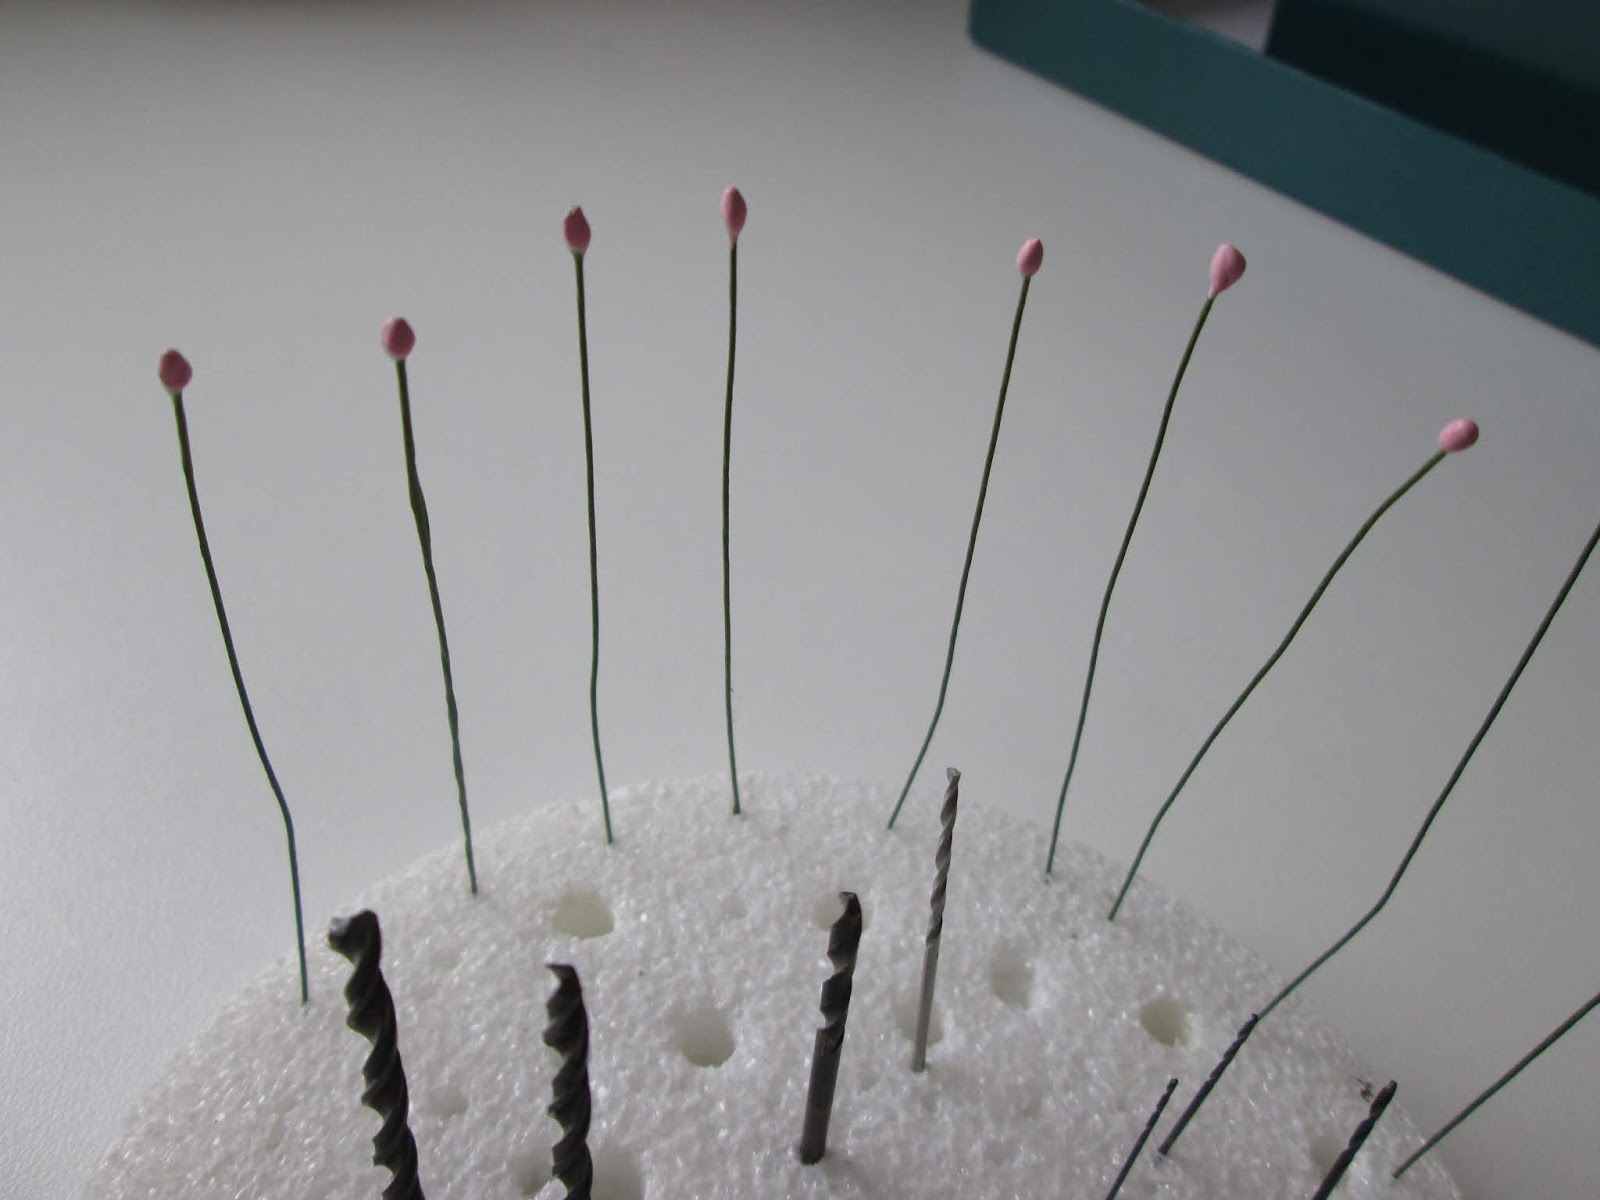
First thing is to take your wire stems and add a blob of glue. The photo is to show you what I work on. I have a glass tile - a few pence from B & Q years ago. As you can see it is handy for any small amounts of glue or paint. When it gets rather full it just goes in a wash basin of warm water and soaks for a little while, then a bit of a rub and, voila, brand new again.
This photo is maybe a handy tip. All my wires are poked into a bit of styrene. I couldn't find my spare piece so I just grabbed the one I use to keep my drill bits in; but you get the idea.
I then discovered the blobs of glue were sort of running down the wire slightly so, with a bit of ingenuity, gravity was inverted.
This is a share in case you ever see one of these any where. It is just the best way to keep glue handy and ready to go. I used to keep my glue upside down in a mug until I had this. The downside of that method is that the cap is always full of glue when you take it off. This little stand allows the glue to stand in its own little puddle of glue without a cap and that seals it nice and airtight. It comes free easily when you want to use it. Absolutely ready to go at all times. I can't help with buying one of these stands as it was bought at an American show years ago and I was told it was the last she would have. I am sure some of you can make one like it for yourself . The glue stand part of it just has a support and a base with a small groove in it for the nozzle.

Often the glue blobs are painted yellow to represent pollen coated stamens but cleome just have a bud filled centre so it needed to be painted a matching pink. So the tip here is to just google and check out your real life plant to be sure you are on the right track. I had some very, very, pale pink, acrylic paint (paint samples) so (here comes the next handy tip) I just mixed in a little red water colour to get to the right shade. Both paints are water based so they mix just fine. I couldn't paint the glue blobs with water paints as they don't have the sort of pigmentation and durability to do the job that acrylic has.
Pink bud centres all ready to go.
Tweezers are useful when making plants for picking up and placing things. These are the three I own. Any would do, but the bottom pair is very much the best for this task if you do have to buy some.
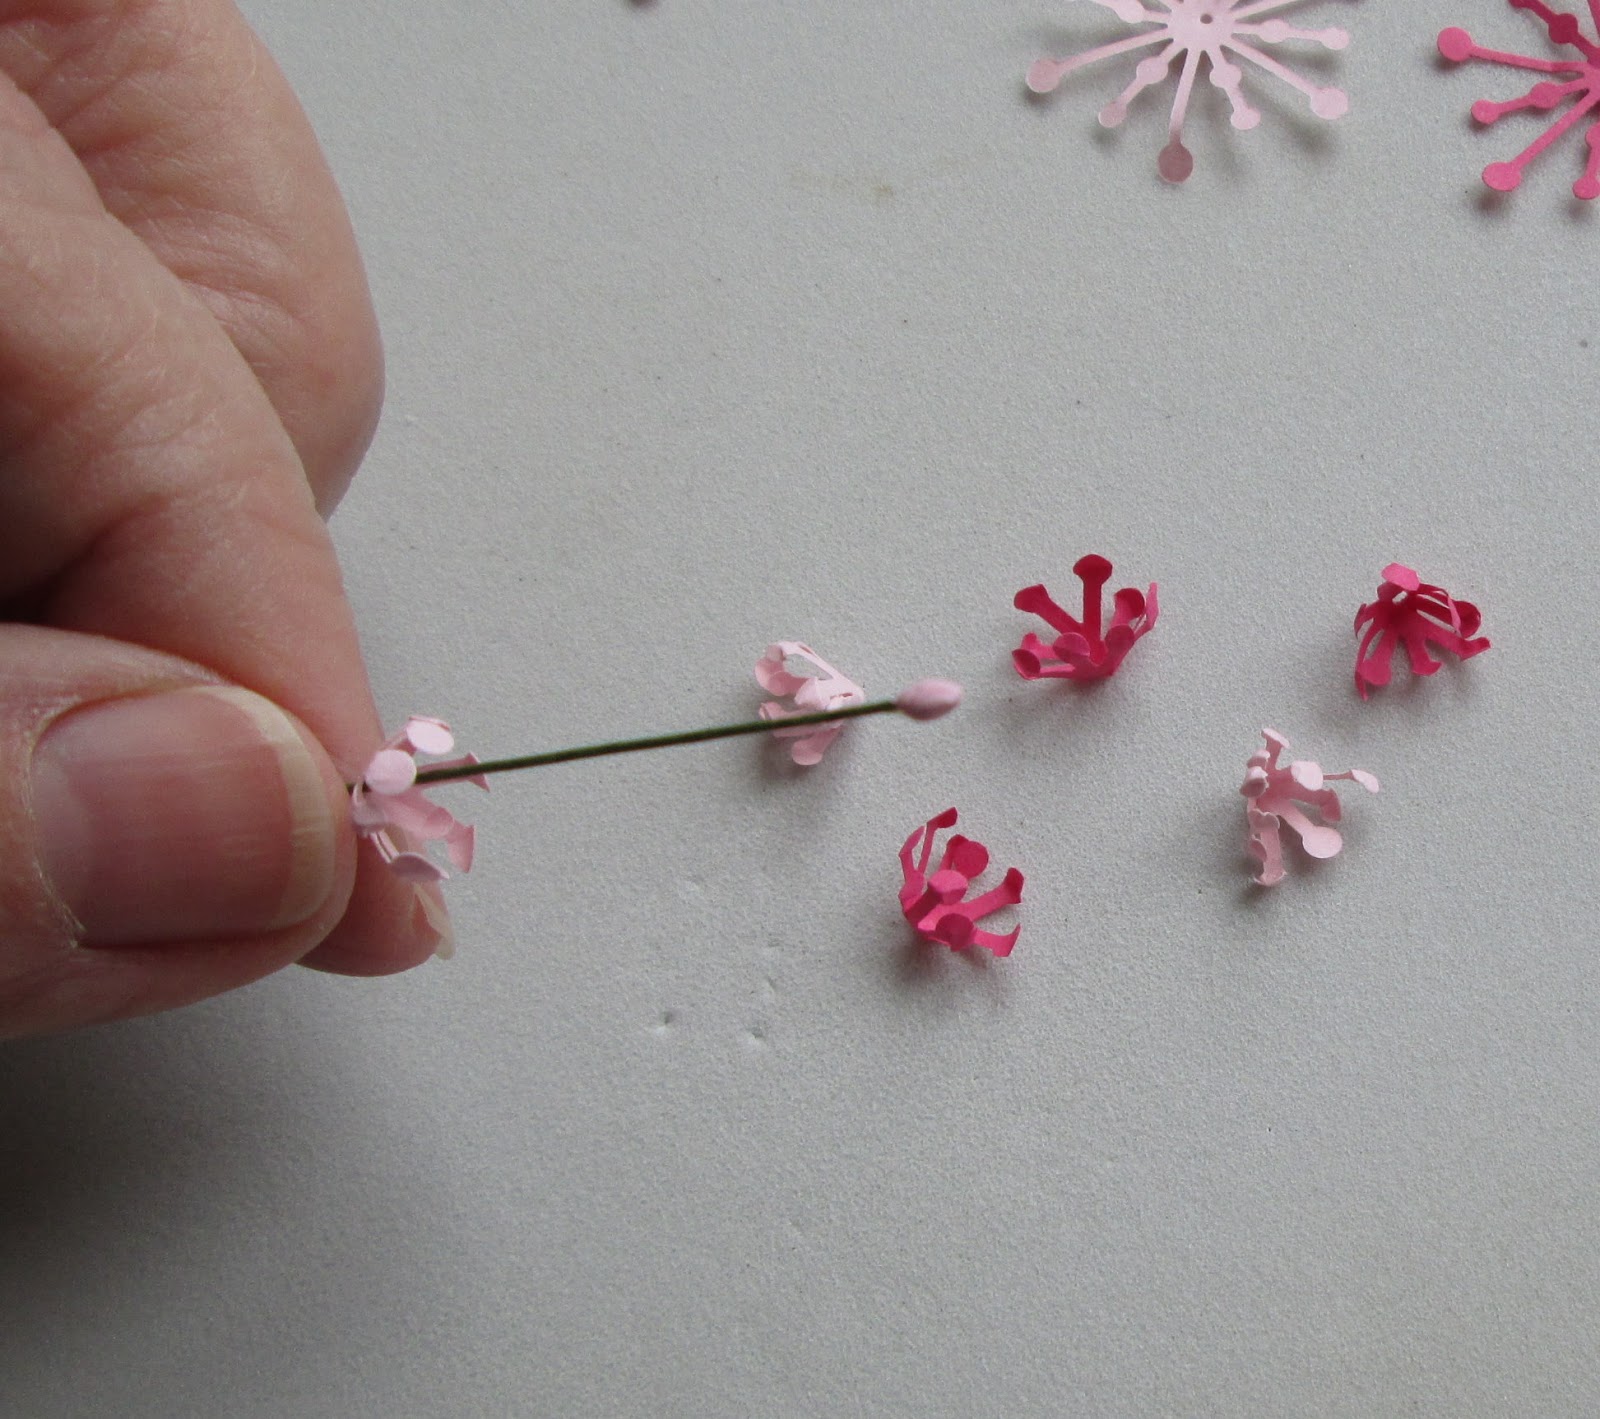
From now on its a simple case of threading and gluing three lots of petals.
A small amount of glue behind each section. The photo is to show you the tool used - a cocktail stick.
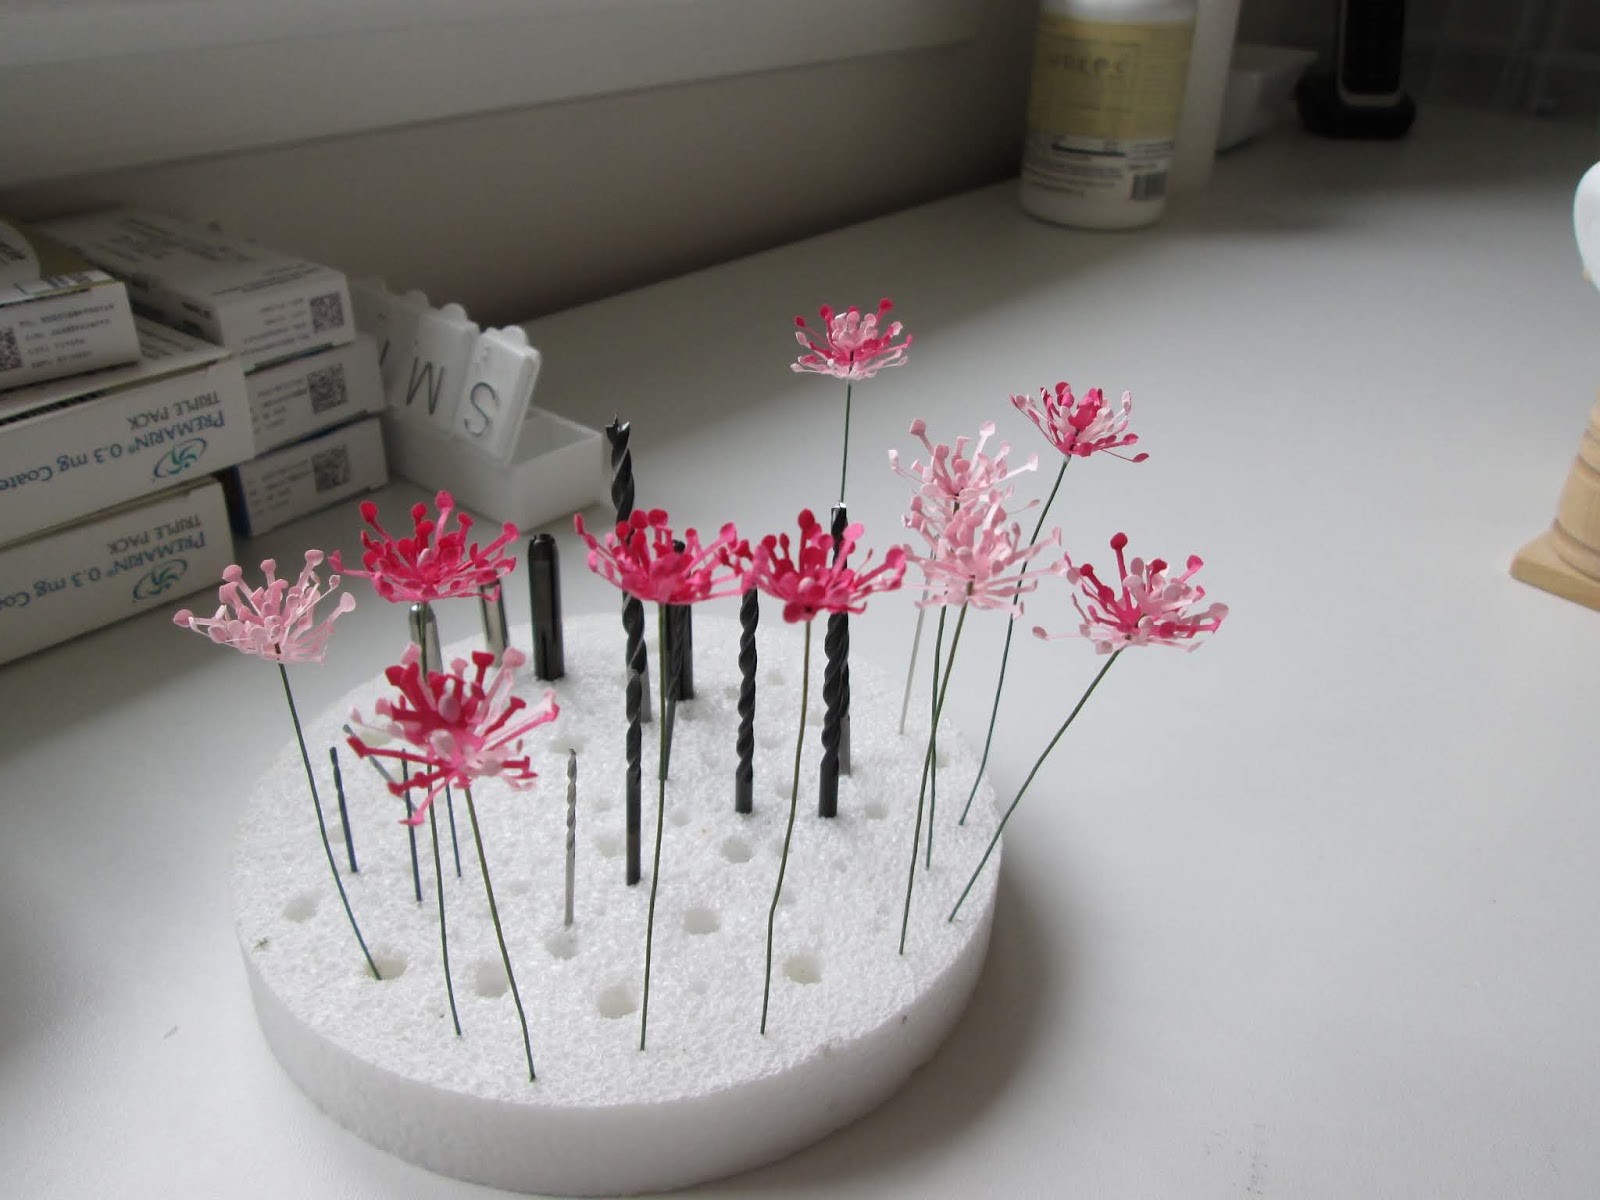
Left to right - three with three layers, three with two layers and four with the small first layer
How the flowers look when finished, now for the leaves.
From the left, top row; one side pale colour, the other side darker green, and the third shows lines drawn for the veins. Bottom row of two leaves turned over to the right side. On the left hows the indentation made near the stem and the right shows the stalk bent back ready to stick to the stem. Using a mouse mat you make indented lines on the reverse of the leaf (all in the instructions) I am mentioning it because I usually do this with a very sharp coloured pencil just a shade darker than the leaf colour. I know it is on the underside but it can sometimes add some 'interest' and reality to the finish. It looks crude in this photo but remember you are seeing the leaves much bigger than they are in real life.
They are a bit OTT but I love them.
I am feeling a very sad that I won't be making any more flowers when I have done the next two kits as this is to be my last project.
If you are considering having a go I would say a good rule of thumb is, if your eyesight and dexterity are good enough to thread a needle, you will be able to make plants and maybe enjoy it as much as I do.
---------------------------------------------------------------------------
If you are reading this across the pond - when I spent half my year in the States I used to buy from SDK Miniatures LLC which are also good to do.