Showing posts with label Trims. Show all posts

Saturday, 20 January 2018

Trims and furniture fiddling

By the time you get to house build five you get pretty nifty at putting in simple profile trims.


The under counter fridge rather stopped me from putting in full size skirting boards in the kitchen as I couldn't get it down the side of the fridge.  It would look odd stopping at the fridge door (and prevent it from opening in real life) so I opted for the solution I did in the mud room and just added a small trim to match the floor like you sometimes get with laminate flooring.


The sitting room took a matter of minutes to cut six pieces of trim and glue them in place.  This still looks a bit 'rough' as I haven't gone back in with paint to fill any gaps.  I started late in the day and the light was too poor for fiddling around with a fine paintbrush.


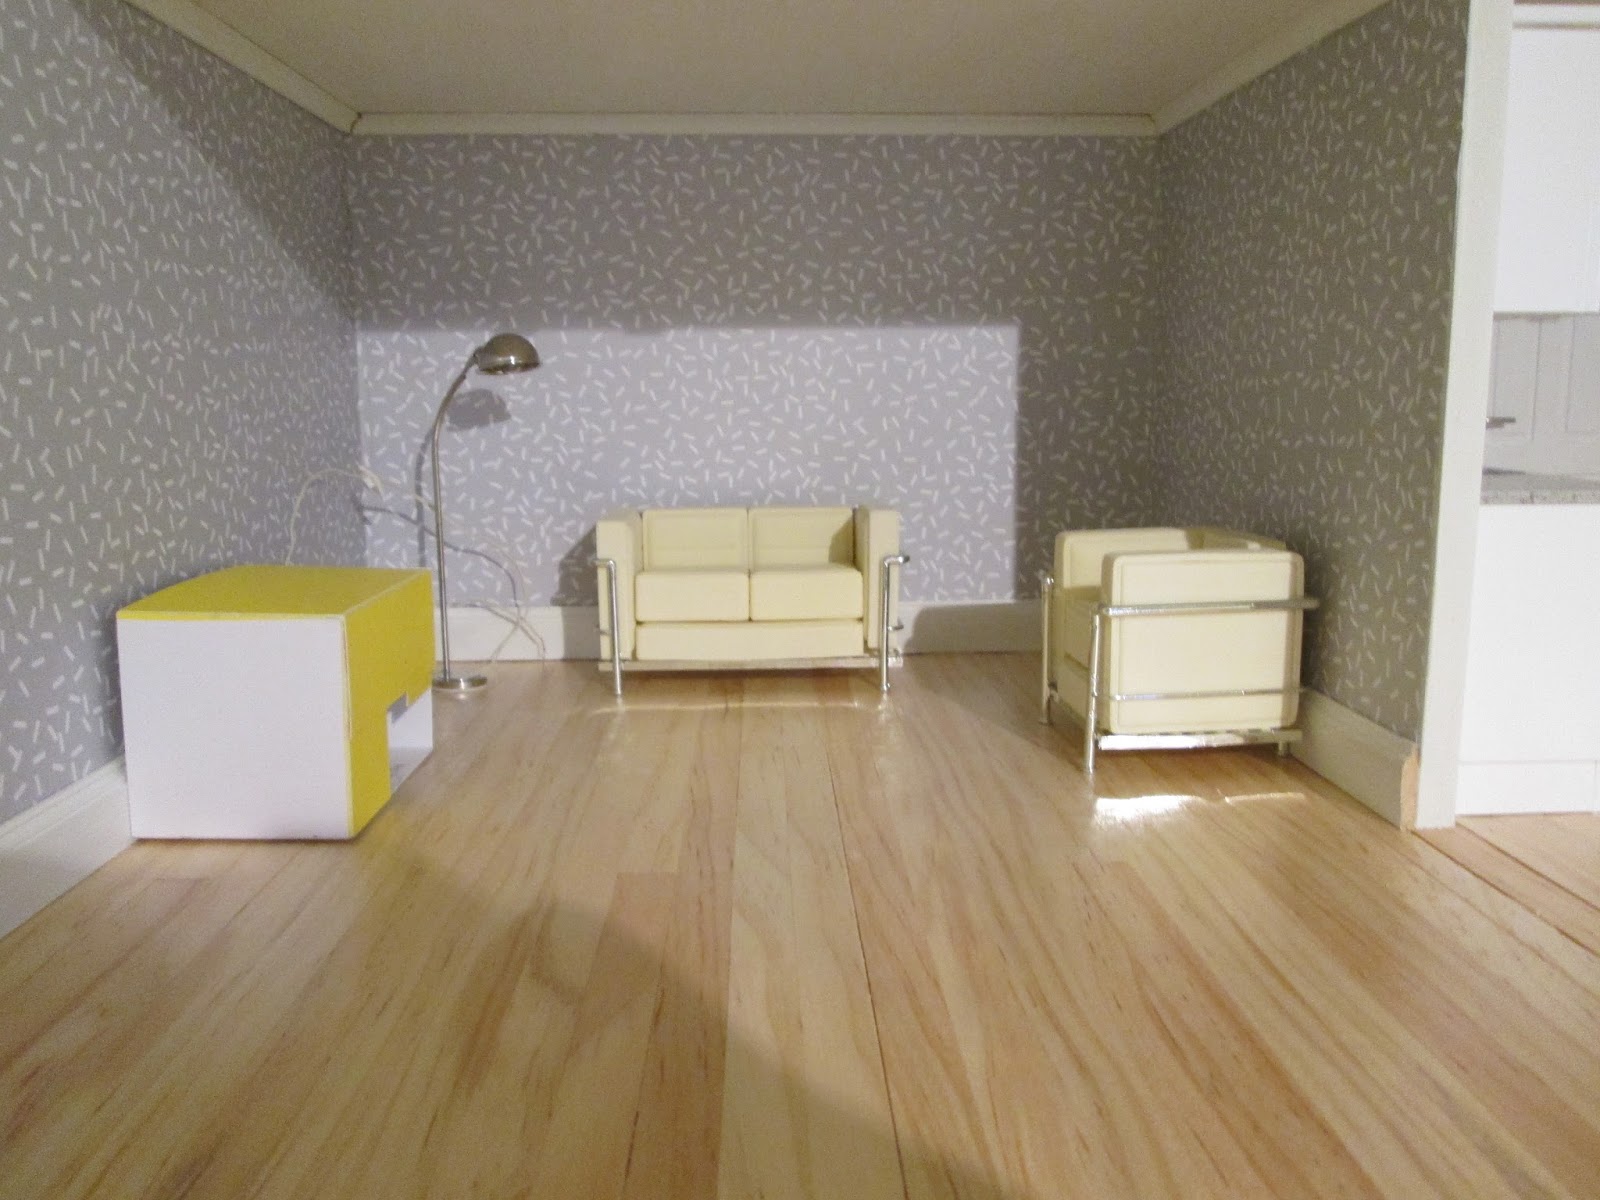
So..... late afternoon, poor light in the Dalton House, no time left in the day to start fitting the lights on this level..... might as well play around with furniture.  The cardboard box is standing in for a yellow and white sideboard I still have to make.  Not sure if five seats in a small apartment is overkill?  Nice to have friends......


This is the sparse version - will look better with rug and pictures on walls and leaves room to dot coffee table or side tabes or other bits and bobs around.

So which one to go for.....????

(If you do want detailed information on how to fit trims just go to the 'Labels' section in the left hand column of the blog and click on trims - you need to have the blog open on a browser and not just be reading it in your email)

Saturday, 11 November 2017

The not-much-fun bedroom

For some reason this apartment bedroom seemed to be a pig of problem from start to finish.

First of all there were six pairs of LED lights wires lying across the floor from the ceiling below.  They each had the neck of the fitting slightly protruding above the floor. Rather than making six deep grooves to get the wires and neck laid down properly I worked out a different tactic - a false floor.

I bought some 1/8th inch strips of wood from Hobby's  and used them like joists.  I put a strip right round the edge of the room, laid three inside this frame front to back and put in the occasional strip across (for additional support) where the wires would allow.  On top of this I glued a sheet of cardboard (thin but fairly rigid) for the new floor.

So all that worked out reasonably OK and I photographed each step of the way for this how-to-do-it post - then I wiped the card in the camera thinking I had downloaded the photos - I hadn't.

Here is the finished front edge - now that's a useful tutorial.


the edge of the false floor

I then wallpapered and added the usual coving but held off on the skirting.  Much ifs and ands and buts went into the decision to put carpet down first and then add the skirting.  I like realism and, in real life, carpet certainly goes down after the skirting is in place, but I had the sense to realise that my carpet would fray a good deal and the edges would never go down neatly  Any way when I look at my RL fitted carpet it is sort of almost rolled over at the edges to make a neat edge and it looks like the skirting is sitting on top of it.

I have never carpeted a room in a dollshouse - no, I couldn't believe it either.  I found it something of a pain to do.  The carpet seemed to stretch every which way and cutting it to fit round the door and door frames, trying to make that a nice tidy fit, was a pain; not to mention just getting the front edge to end up exactly in the right place.  Once I had got the front edge OK I daubed it with fray stop and gently 'pushed' it into the pile with my finger.  It seems to be holding OK so far.  I used the usual double sided tape but I only added it as I went along so the fabric didn't catch where I didn't want it to as I worked.

Down went the skirtings.  Ta dah - the end?...... not so, I had always planned a door at the back of the room to go to a bathroom.  Moral dilemma....... leave everything as it is (no-one else knows there 'should' be a door) or find a way to cut out a piece of the skirting (perfectly) and shove the door in.


paper and trims all in place

I used a knife with a broad edged blade like a chisel and hacked away at the wood.  It took absolutely ages. I thought that levering the whole piece of skirting out to cut out the piece would make such a mess of the wallpaper and the adjoining skirting so I wasn't prepared to risk it.  Finally I had hacked through to the back wall in both places and I levered out the door size section using a small screwdriver - out popped the whole skirting clean as a whistle.  Fortunately there was no collateral damage other than some wallpaper torn and the door would cover that any way!! So I removed the piece and duly glued the two sections back in again.

In went the door into the newly created space.....


ditto above plus false door


Here is the furniture I have so far for this room.  There will be a small matching side table and a plain small table to fit in the dormer window space for a desk and a chair for that.  The wardrobe and drawers do open.  Unlike some mini friends I may resist the temptation to fill them.....I love the idea but not the cost.  It would be a delight for anyone 'playing' with the finished house to discover such things but, sadly,  that won't happen.  I have never kept a house to 'play' with.  I really like the making and moving on.  That said, this one was meant to be my first keeper, so you never know.


(05/10/17)

Saturday, 19 August 2017

Finishing the Music Room trims

I have written copious amounts about trims - painting them and cutting them etc so there isn't a lot I can add here.  If you have only just found me and want to know about adding trims just click on the link 'Trims' under the Labels heading over in the left-hand margin/column.

However there may be a couple of tips I can offer up about painting.

Brushes -  Over many years I have acquired a zillion brushes for various reasons


Even when they are decidedly defunct I keep them and use them for one-off jobs like gluing or staining.


These have been my two favourite all-purpose painting brushes for minis for years.  They are just cheap Chinese made ones picked up somewhere along the way but they have worked really nicely for a very long time.


I recently saw a set of Daler (good make) brushes in a sale and thought it would be nice to have some new kids on the block.


Since which time this size 8 Flat Shader has become my all time favourite.

Paints - 

The paint I use for white interior wood work is Valspar, Tidy White, Silk.  All my paints for everything are water based for easy clean up.

When I opened it, the top was covered in about half an inch of grey oily liquid - this is the silk finish element of the paint and rises to the top when the paint sits for a while.  It takes a lot of stirring in.  This is a really important step with almost every paint you use - elements will sink and rise and generally separate out from the base and will need a very lengthy stir - long past the point where you think it looks OK - if you want to achieve the best possible finish.  I use a coffee stirrer for this but I am on the look out for a very small whisk.

I forgot to take a picture of the paint I am using, but this jar of wood stain is an extreme example of what I mean.  It is a full jar and has 'split' into about 25:75.


 I decant paint samples into little jars - those jams you get in hotels.  The larger jars are ex Tesco Finest various sauces....mint, apple, cranberry etc.  They are good for larger quantities of paints and some 'finishes' such as varnish and wood-stain.  They are all much easier to use from jars rather than their badly made containers, they stay cleaner, tops go on and off easier and I can see what I have easily.  They are light protected as they reside in a drawer.


Artist acrylics stay as they are in another drawer

Add caption

My Valspar paints (sample size for about £2 something) already come in great plastic pots.  With a couple of thousand choices of colours and three finishes and good value and a quality finish they are simply the best for me.


Ooooh look, three tins waiting to be decanted into jars.....

and finally.....

Trims in the Music Room

Dental trim for the Ceiling

As always I don't want the hassle of trying to measure accurately the length of each piece of trim I need to cut.  I tear up paper strips from a magazine....


Press it carefully into the two edges where the trim will go making very accurate, sharp creases with my finger nail.  I then remove the strip and use it to mark where the cuts need to go on the trim. 


I always begin at the back of the room and, if there is a fireplace, I work across that by fitting a strip either side of the chimney breast first.


I then construct the three pieces needed to wrap around the chimney breast before gluing them in place


 And so the dental trim around the ceiling is finished


Dado Rail


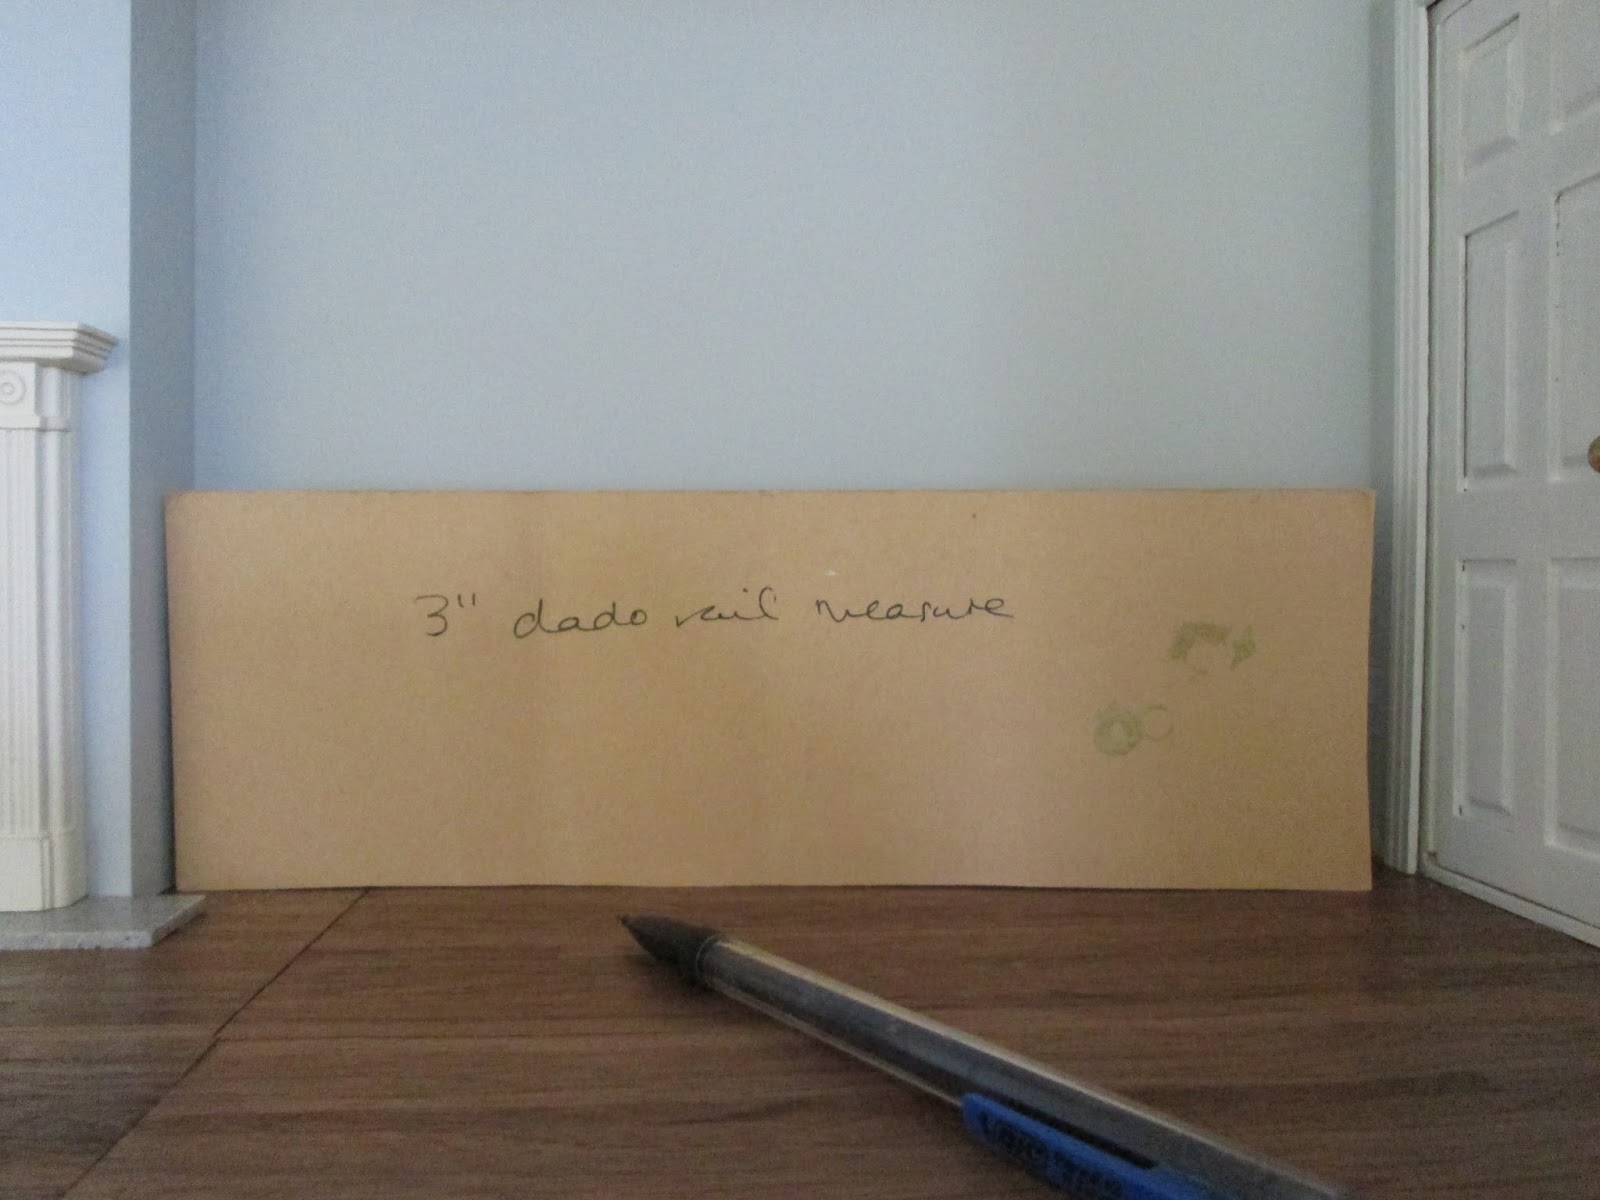
First thing to do is mark up where the rail is to go.  I use a piece of cardboard I have now had for years.  It is a three inch strip that I slide around the wall, making sure it is sitting neatly on the floor and draw a pencil line around the wall, marking where the rail will go.


When I paint thin strips of wood like dado rails I do have a 'system'.  The top edge and bottom edge need to be painted first and I use my finger for this, brushes are just too large to do it smoothly.  I can then lay the piece flat down and paint its face.  All trims take two or three coats, rubbed down between each coat

showing the second finger painted coat along the top edge
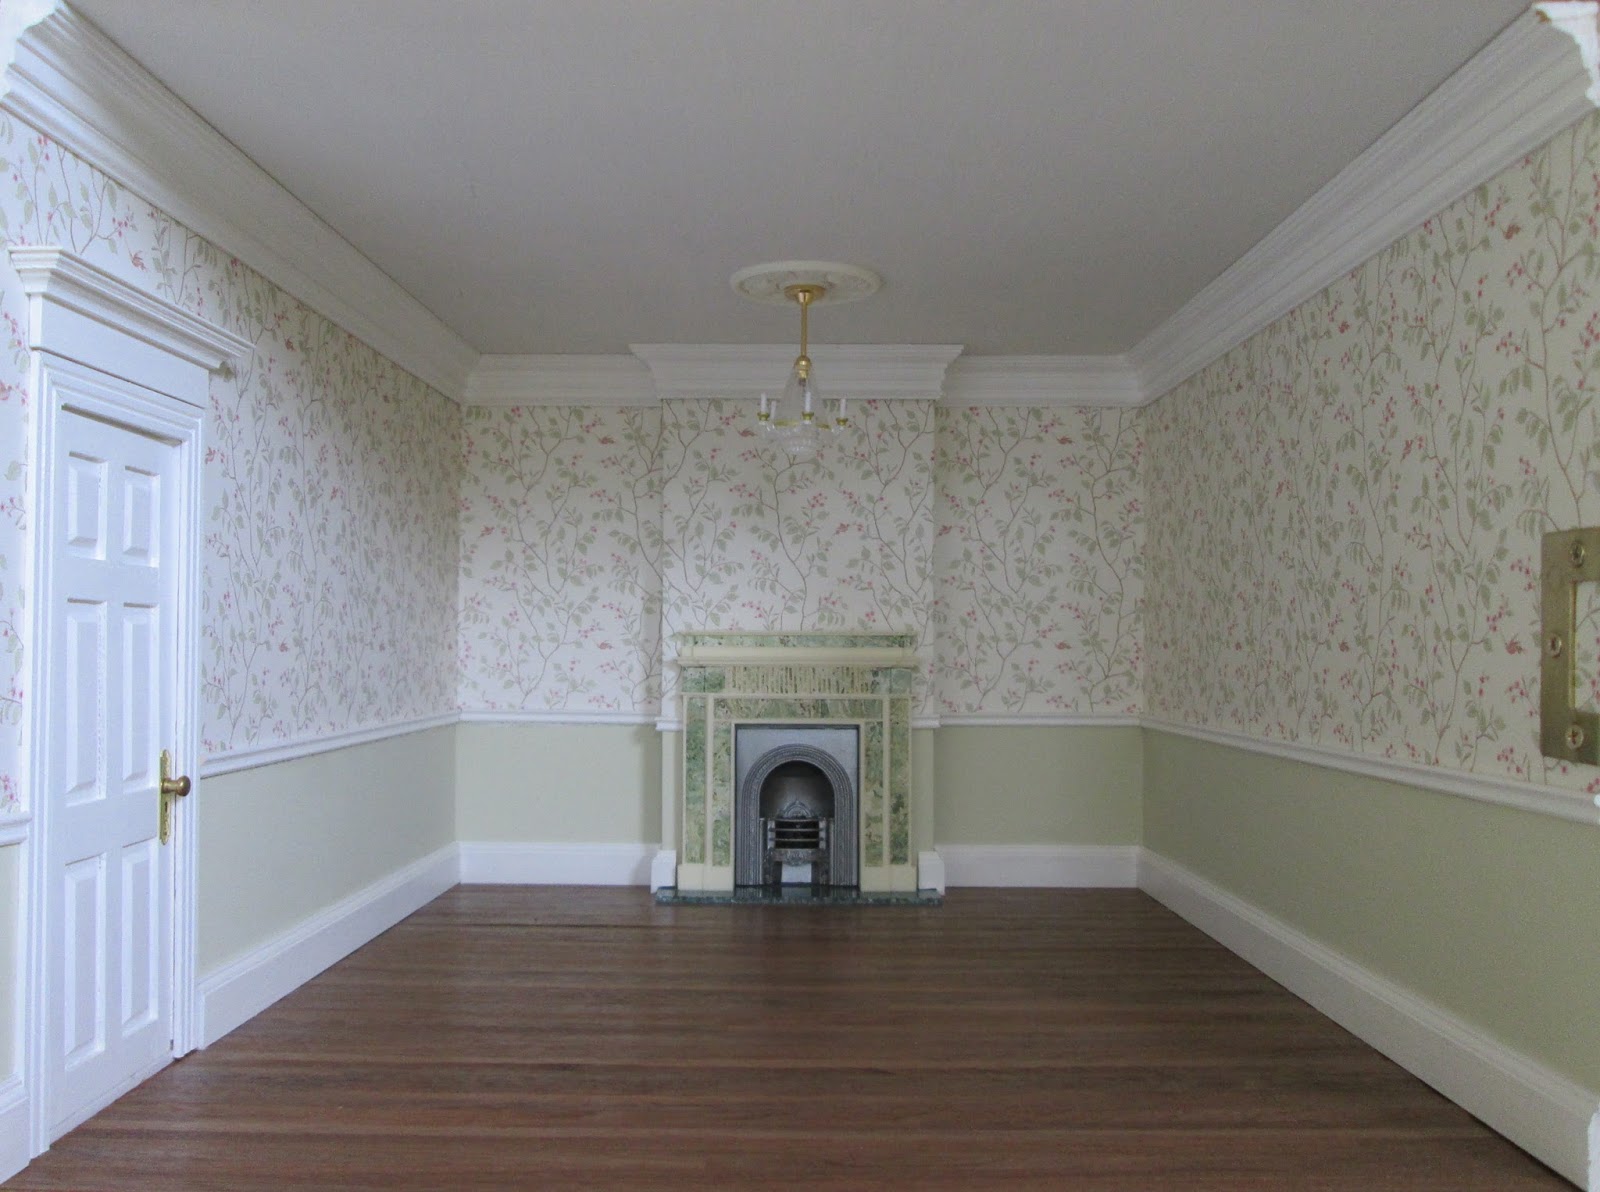
They are measured and cut in the same way as the ceiling trim and in they go, followed by the skirting board.  

Skirting Boards

The secret of successful skirting boards is to make sure the top edge clings to the walls - it looks dreadful if there are huge gaps.  I use my favoured De Luxe glue.  Whatever you use let it go very tacky before trying to fix the trims to the walls - you want them to grab as quickly as possible.  With skirting boards I make sure all of the top edge has glue along it and I add a few drops of superglue here and there to give it an instant solid grab when it goes on.  You also need to push them hard down on the floor to make sure any kinks in your flooring don't shove the skirting out of place.


The room is finally ready for me to find all those chairs and a card table and paintings that it needs.

There will be two chaise lounge type window seats at the front edge of the room.  The idea is that this is a 'public' space in the house used for the occasional 'recital' so it needs to seat about a dozen people.


------------------------------------------------------------------------------------------------------

Penny pincher's footnote:

Most of my trims on the last couple of builds have come from a fabulous dollhouse (and trims/mouldings) maker - Doll House Cottage Workshop.  My introduction to them was at a show when I was working on Chocolat and I asked if they could make me some treads for stairs to trim up some pretty ugly MDF ones.  This was duly done at a great price and good speed.  The wood used for his trims are of much better quality than those generally around the place and his prices are pretty much the same.  What's not to love. 

A couple of months before the York show I was ready to do the music room dado rails and I went to my box of wood to discover I only had one DHCW dado rail left.  Being a cheapskate I decided to hold off and pick some others up at the show and save myself some postage.

I found three lots at the show and none were outstanding - eventually I settled on a vendor and bought eight pieces (to stock up a little).  When I came to use them I discovered they weren't long enough for my room.


Good old DHCW trims are 18 inches long and these were only twelve and I didn't even really like the profile of them or wood quality....so I saved a lot of money there then .....not!


my one good one alongside the 'good idea' ones

Off to order from Chris and the following day I had dado rails (five for £4.50) and a strip of board for stair treads (99p) which I want to make windowsills out of 
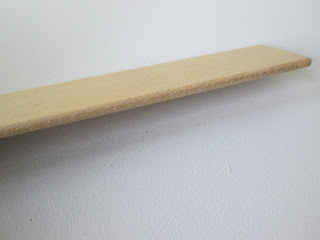
lovely stair tread strip

 and .......   here is the 'nutty' purchase.... some terracotta tiles for the porch of the next project that I haven't even bought yet and may never do so....  but I loved the tiles (£3.50)


Apologies for an overlong and rather disparate post this week.  I am trying to get back on track.


Saturday, 29 July 2017

Music Room - A trim too far?

It is strange the things you get up to trying to avoid watching paint dry.  I am painting the various trims to go in the music room, all twelve of them, so there is a lot of waiting time between coats drying.

So, meanwhile, I pondered how to pretty up the music room without it getting too decorative - bit of a contradiction.  I have ended up with a very plain room - just as in my real life.  On the one hand I validate it by saying this is how I would live there and that Elizabeth is my alter ego in my dream life so why not follow that path; then, on the other hand, making minis is a way to escape your real life and real self and do something else.


Back to the overly plain room.... how about a decorative ceiling.  I did lots of gandering around the web looking at Georgian/Regency/Adam ceilings and, boy, were they over the top.  Very beautiful but not what I was looking for.  So, starting with a memory of some laser work I had seen somewhere and the idea of keeping it angular (to go with the dental trim) I doodled around on some graph paper.


thoughts become concrete

How to make it (?) not sure cardboard would work, lets try coffee stirrers....


made more concrete
Here is the finished product - a bit inelegant but you get the idea.

spot the missing bit

In this room I would need two of these to define each area.  The room is a combined original room plus a space that was once divided off for a staircase.  The position of the windows make my larger room sort of offset still with a larger and smaller portion.  It works fine and rooms were often like this.  The main part of the room will divide again into two as there will be two ceiling lights, one either side of the ireplace.  I measured and fiddled the paper and stirrers up on to the ceiling along with a light and tried to imagine another to the right of it.  My plain brain screamed, " Too fussy, too fussy"


Do I like you?

How about if I  paint you white and cut you out?


Still probably too much for my plain room.

So, I wandered around the house.... no use in the dining room or sitting room unless I put one in each as the rooms are - one on the left of the hall and one on the right of the hall and it sorts of knocks them off symmetry.   That left the hall......... 


winky-wonky


It is a bit winky-wonky and either the light is off centre, or my home made 'plaster-work' leaves something to be desired as it won't quite centre itself nicely.  It has set me off wanting one (or two) proper ones though for somewhere.

--------------------------------------------------------------------------------------------------------------------------------------------


Hey Presto - ordered from Dolls House Direct.  Now the big debates begin.....

.......small set diagonally, small set square on, two pairs in music room for each light in there, one in dining room and one in sitting room, one in the hall and none in the other rooms, none at all.....  see how my poor festering brain dashes around getting no where.


First I made a template of the ceiling using a wallpaper sample


Then spent ages deciding on best place for them


I balanced the lights where they would go, took a photo and spun the photo upside down so I could get an idea of what they would look like suspended.......  OK that was eleven squid wasted - just don't like the idea any more - find it too fussy for a room I intend to keep sparse for paintings and they drown the puny lights.  (ceiling too low for grand lights)


(18/5/17)

Saturday, 22 July 2017

Library Trims

 I used to add the three pieces of trim you get with a door in situ, but I now find if I join them first and add them as a unit it is easier and I get a better balanced result.


trio for a doorway


Sometimes you can get a badly fitting corner with a gap like this.

nasty join

I keep a small jar of sawdust collected from any sawing I do

need to cut some wood stock is getting low

 I dip a brush in paint and then in sawdust and push it into the gap


shove it in

Let it dry and rub it over with the usual fine buffer, clean it up well and give it another coat of paint. I do this with any bad corner joins in coving and skirting too.


still needs a bit more cleaning up before painting again
When painting trims like skirtings and coving try to do it with the thinnest of coats - two or three thin coats are so much better than one gloppy one.  The first coat really is a primer and the wood needs denibbing when its dry before adding the proper coat.  Be sure to be scrupulous about removing any dust from the sanding process.  Wipe with cloth and use a dry brush to clean any grooves.  Usually, if your paint is good, a second coat will see the job done.


First/primer coat

So, when all prepped and painted, trims go in place.


tidied up door trim now looks fine
The small cupboard trims were nice and easy to saw through.  In the photo below the joins need going over with paint to finish them properly.


I thought that the white skirting and coving that I added to finish the room looked very 'contrasty' and not at all what I wanted so I just painted over it - very, very carefully - in the same colour as the shelves and everything went much calmer, including me.

I could not figure out any way to make the convex coving around the top of the shelves meet the concave ceiling coving in a neat join - two completely different profiles.  In retrospect extending the shelf coving might have been a better idea. 


I thought I might need about a hundred more books but decided I should check properly so that I didn't end up buying too many.  Huge joke - it seems about five books occupy one inch of shelf and by the time I had multiplied out my inches I actually need about 500 books.  (My first calculation came out at 2,000! and caused a bit of a panic)  This is the moment where I really, really regretted the idea of a small library.  Hey ho!


----------------------------------------------------------------------------------------------------------------------------------------


It has only taken me five years to realise that a small box on your desk pretending to be a rubbish bin is really, really useful!


desk bin


(18/5/17)

Saturday, 4 March 2017

Ground Floor finished

Well 99.9999% finished - I still have to buy a ceiling rose for the dining room and (at the time of writing this) I am still a couple of days away from a dolls house show so I am hanging on for a particular one.

Before showing you the three rooms on this floor, I just want to add a little bit to the stuff I wrote about doing the trims in a room a few posts ago.  When I do the coving that wraps round the chimney breast I make that as a 'finished' wrap-around piece.  That way I can get it as good as I can before it goes in place because I think that these coving joins are the ones that show up the most in a room.

I glue the pieces together on a right-angled jig to make the corners as good as I can.


glued in place - first fit with all its rough bits

after a bit of a buff and paint touch up

three-sided piece ready to go in place

With that in place the dining room is pretty much done - as I said I want a subtle and thin ceiling rose like the one in the sitting room for this room before I fix the light in place for real.


So, here are the three rooms on the ground floor waiting to be filled.


Dining Room

Entrance Vestibule - remember there is an inner hall and stairs beyond the door at the back

The Sitting Room

I am so excited to be moving upstairs and starting on the (largish) Music Room and a small Library. 


(01/09/016)