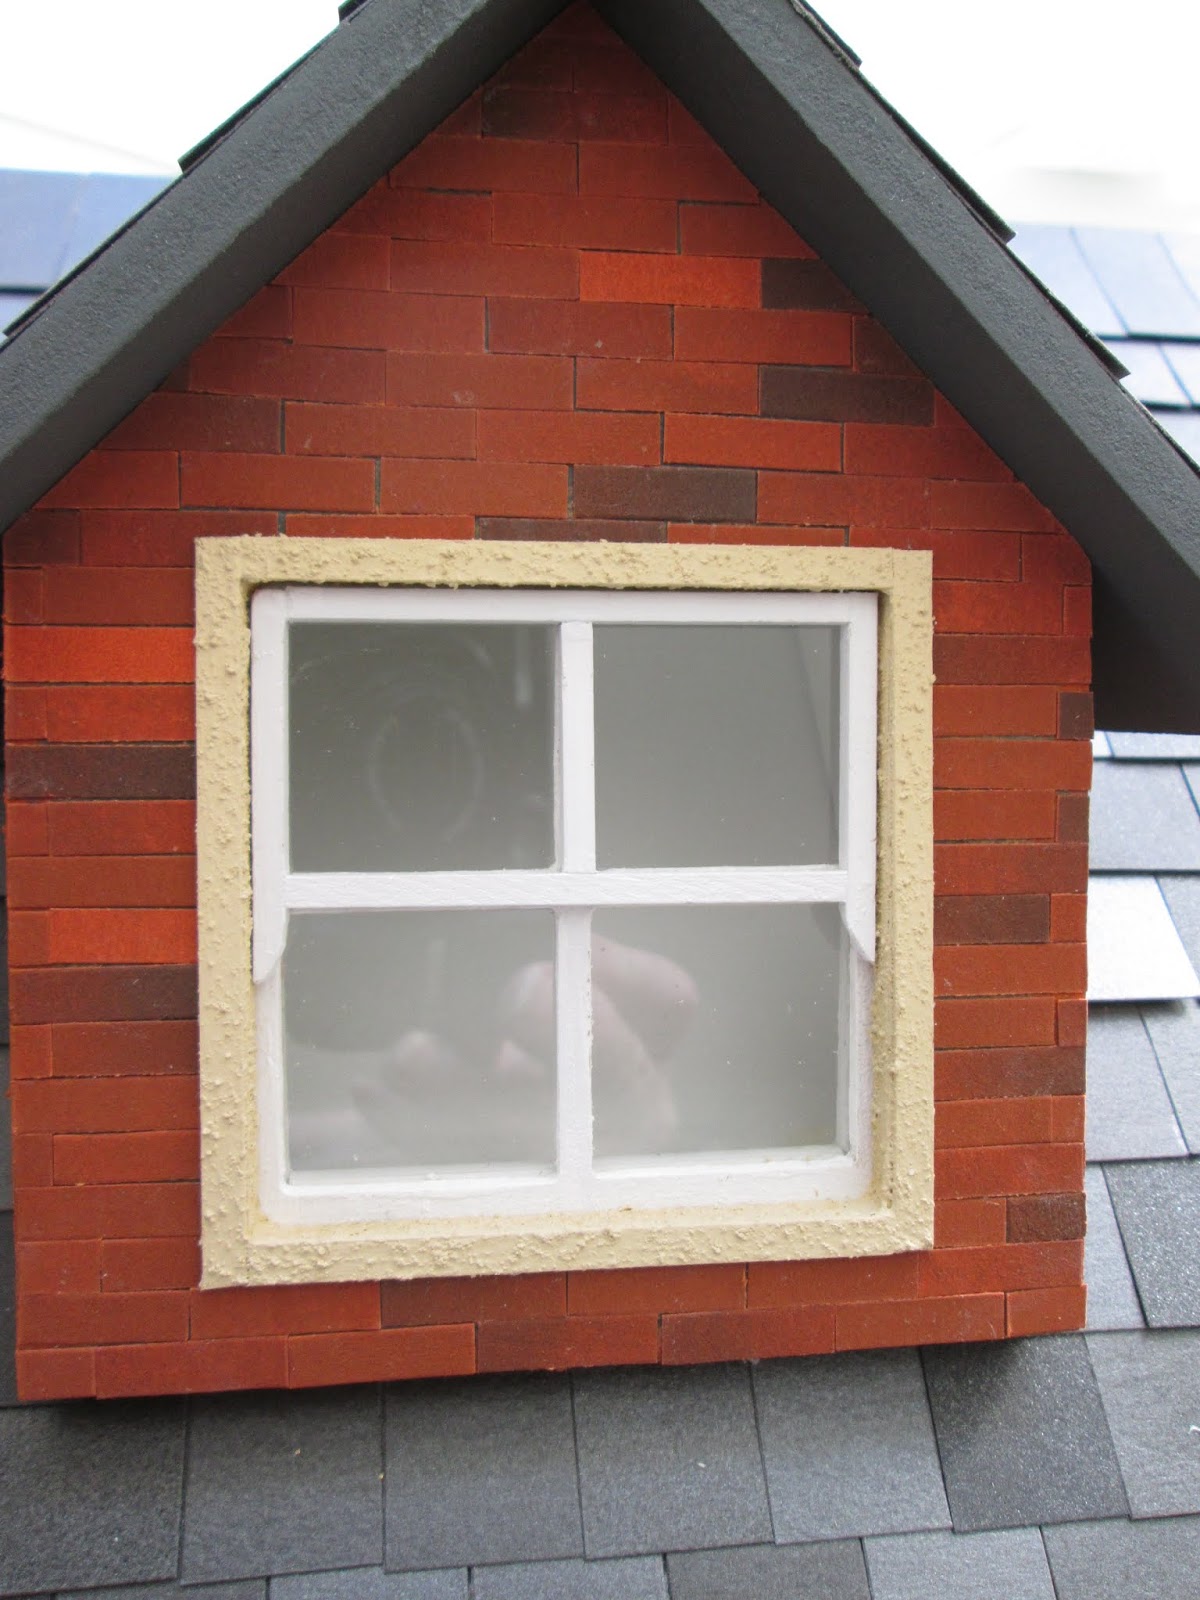
I am pretty much all finished with the construction and decorating of each room. I have a few locks, alarms and (mock) electrical outlets of various sorts to add in, otherwise the rooms are done; so it is on to the fourth wall.
I suspect there may be extremely well-organised and finely tuned planning type folk who do any work on the inside of the wall before it even gets attached to the house. This is not for me I'm afraid. I want the whole outside of the house done first. I am sure it is a sort of psychological thing of working on a (real-to-me) completed building. The exterior finishes might then 'suffer' if they were laid down to allow work to be done flat on the table when doing the inside. I also want the doors and roof on fairly quickly to reduce the amount of dust collecting inside the house. My two main fourth walls, therefore (for me), have to be tackled in situ, which means working on a vertical plane.
The big debate
There are various schools of thought when it comes to finishing the fourth wall of an English-style dollshouse.
1. Some feel it is best simply painted in a muted colour and left alone so that it doesn't detract from the finished rooms when you open the doors. This seems a very reasonable stance to me and makes for an easy finish to the project.
2. Others feel the fourth wall should look exactly as it would if it were actually a fixed wall in the house. It is therefore completely decorated and trimmed and dressed and even furnished by attaching furniture to the wall or making a small platform for it, also attached to the wall. Generally these folk, treating it literally as the fourth wall of their room, will complete this area at the same time as doing the other three walls. One room at a time. This seems a very reasonable stance to me and makes for an easy finish to the project.
3. I never have any idea of which way to go. On every project I have honed my procrastination skills in respect of the fourth wall and just entirely ignored it until I have to deal with it. I have then gone on to compromise and try to find a middle ground where the walls get decorated and the windows dressed and I leave it at that. Any furniture standing against that wall simply stands in the house. That takes some thinking about as you don't want to see the backs of most things or obscure the view, but there is usually some sort of wriggle round it if you choose the item carefully.
I am very happy with this level of distraction that the decorated 'doors' create when viewing the open house and it does mean that the windows look finished when seen from the outside. That will do nicely for me. This seems a very reasonable stance to me and makes for an easy finish to the project.
Feel free to go with any of these three or your own mix, there is no right or better way to finish the fourth wall.
Let's start with the dormer
When you start any work of any kind, it is wise to sort out every little thing you are going to need before you begin. In this case two kinds of trim, two kinds of paint, wallpaper, two kinds of glue and a bunch of different tools such as scissors, saw, mitre block, brushes, rules, pencil, eraser and probably more. This is a vital step - you will understand why later.
I find it impossible to work on a roof flap in situ - the height of the house means I would be working on a step-stool and everything would be upside down: I, therefore, removed the roof from the main house and flipped it over to work on.
I was nervy about doing this as I didn't want to damage the finished work on the outside. Luckily it seemed to be OK and everything was lying neatly in place underneath

Here comes another 'don't skip this' step. Make a (very scribbled) plan of what you intend to do. This helps in a few ways. Firstly the orientation has been flipped and your left is now your right, so it is important to be clear which colour paint or wallpaper goes in which place. You want to think about any trims you might want to add and how they will interact with the edges of the room and trims you have in there. They must be clear of those edges or the roof won't close properly. In my case I also needed know where I wanted the white paint to go and I like to avoid drawing all over the actual piece and marking up with pencil. It often bleeds into glue or paint if you leave it behind and it is sometimes hard to rub out. I like to have the measurements all worked out on my diagram and then use masking tape to outline the various spaces. I don't want to be continually working out what goes where as I go along; so, the rough sketch with measurements keeps me on task.

Eventually I want to improve all the windows in my build and try and make them look like sash windows. I will need to add a lot of trims (starting with the dormer) and I always like this sort of thing to be ready to go when I need them so, although I only need a few for the dormer, I may as well paint the lot. There are a couple of pieces of dado rail here too that I will be using.

Another handy tip..... buy the very best quality trims you can find/afford. I get some very good quality wood ones from J & A Supplies when I am at a show, but I can't see them on his website. I didn't do this with these trims (1/8th inch x 1/8th inch square). I wanted so many I bought a ton of cheap ones from Hobby's. They immediately want to bend as soon as paint touches them [painting all four sides pretty much mitigates this] and they are not super smooth to begin with and the wood produces quite a lot of nubs when wet. All this will be manageable but better quality can save you some blood sweat and tears.
Here is my quick way of painting these -
Dab some generous dobs of paint along one edge.....
....... rub it along the wood gently, keep dobbing and rubbing all the sides and work your way along the trim roughly a third at a a time. Leave them to dry.
I did the maths and I painted 27 trims x 19.5 inches x 4 sides x 2 coats and that's about 350 feet of fiddling with paint. Don't be deterred it is a pretty pleasant mindless task and they only took a little over two hours..
Dormers are notoriously badly made - it is not my assembly skills - more the maker's design/cutting. The worst of this particular one is the bottom of the window which luckily is a sort of overhang and looks fine from the outside but from the inside there is a decided gap.
I covered this with a piece of (already painted) leftover simple coving. The configuration doesn't make a lot of sense in real life world but will suffice for this roof flap which is never really scrutinised and merely gets lifted up out of the way.
Each side of the roof has the wallpaper areas outlined with masking tape so the rest can all be painted white. The centre room will be all white as it is the kitchen, so there are only two small wallpaper additions needed.
As I said the inside edges were pretty gappy.......
......... but a coat of paint improved them greatly
I always make a template for any wallpaper even ones that seem to be simple rectangles (they never are). The wallpaper itself is not particularly cheap or easy to find so best to get it right first time. This template is just a piece of ordinary A4 printer paper.
After painting I had two areas like this waiting to be papered.
Here comes a bit of an aside. Way back when, I bought an A1 portfolio very cheaply from eBay which stores my wallpaper beautifully; no rolling and then trying to flatten it, no knocked up edges or grubbiness. I commend it to you.
This is where tragedy struck and my following my first instruction would have been useful. I don't have any green wallpaper big enough to cover the space. Yes, I have checked here there and everywhere on line and no one has it. It was on its way out of Dolls House Emporium when I bought it on sale several years ago. A couple of other folk had it but they don't any longer.
As for the grey paper I don't have a shred of it. There is absolutely no hope of getting this one as I bought years ago from some Etsy maker (in New Zealand I think!) who made to order and was also 'winding up'. I did waste a lot of time 'just checking' though.
I have a white flap with two unpainted areas waiting to be covered. I could just paint them white and get on with it but I had already measured and drawn up a plan and painted and cut dado rails and masked and carefully painted, all with a view to papering... .... all of which was a complete waste of time and brain power if I just ended up with a white flap.
So the current state of play is me walking away and controlling the urge to rant or cry and eventually coming up with a not very great solution. Come back next time if you can stand the excitement of watching paint dry.