Showing posts with label Soft furnishings. Show all posts

Saturday, 4 April 2020

Just some purchases

As you know this is to document every tiddly bit of my project for me to warm my toes by in future years, so I do also note any purchases I make....

Last week I got some lovely fabrics from my absolutely favourite fabric lady,  Maria's Fabrics


I may have, at last solved the drapery issue!

At the start of this week I received delivery of a fabulous work light.  The lighting in this room is poor - north facing in the daylight and a poor ceiling light behind me casting shadows over anything I am working on in the evening.  This lamp has varying temperatures of light and various levels of brightness and it is well articulated to move in all sorts of directions, even the head swivels.


Tao Tronics dimmable eye protection LED lamp - huge range of prices if you go look for one.

Yesterday and today I received a long awaited order from Delph in two parts.

I left these three tinies on a card table to give a sense of the perfect scale....  hairspray, hand soap, nail polish.


Here is a little something I need to remember each day


Eight of these for the library.  I so want to punch little holes in little paper and fasten them in the rings inside.


Two phones - one for the Hive (basement workroom) and one for the library - my student lodger uses her mobile phone of course.


Twelve light switches - that will be fun (not) gluing those in place


Eleven wall sockets to finish off ones I already have here and there; ditto the above sentiment


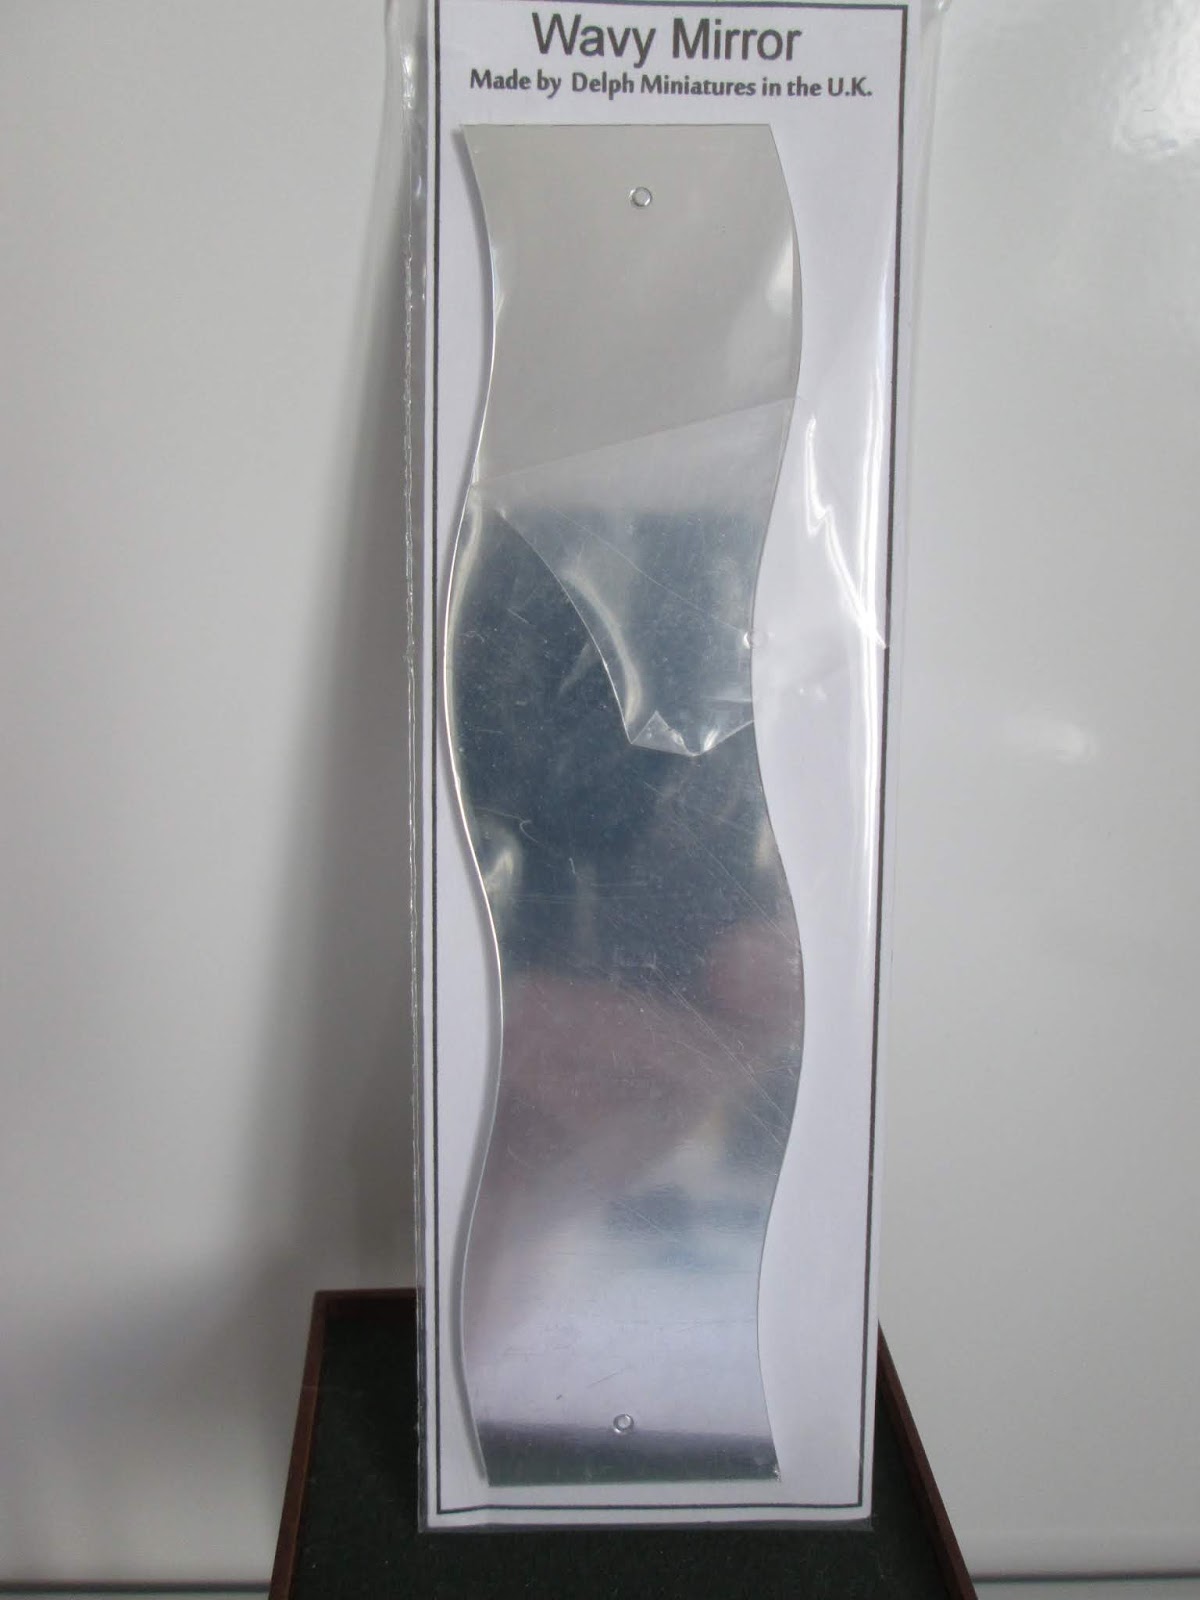
A touch of Ikea for the apartment - bedroom? or replace the one I made in the sitting room?


Just a thought on this pandemic.  I was unpacking eighty (!!!) items of grocery today which had been delivered to me safely by Tesco (I have used the service for years) and was bemoaning the two 'swaps' and three 'not gots'.  I suddenly thought about my mother and realised how she would have thought all her Christmases had arrived together if she had been looking at what I had spread out before me.  At the beginning of the war in 1939 she was 23 years old with a new baby and her husband away, three years later mom lost her baby when she was just six weeks old.  She was bombed out three times losing her home each time.  By 1945 she had a new baby to take care of too.  During all this time and for even more years after the war she lived with rationing and had to figure out how to keep her family fed.

One adult per week:
  • Bacon & Ham         4 oz
  • Other meat            value of 1 shilling and 2 pence (equivalent to 2 chops)
  • Butter                      2 oz
  • Cheese                     2 oz
  • Margarine              4 oz
  • Cooking fat            4 oz
  • Milk                       3 pints
  • Sugar                    8 oz
  • Preserves            1 lb every 2 months
  • Tea                        2 oz
  • Eggs                     1 fresh egg (plus allowance of dried egg)
  • Sweets                  12 oz every 4 weeks
I was peeved I didn't have the exact rice I wanted.  Really !!!! 

 We are just asked to stay in our (for most of us) nice comfy homes for a while and have stuff brought to our door, how dare we even whisper a complaint.

Please stay home and save lives.


Wednesday, 5 February 2020

On a spree

I have finally reached the stage in life where I think going to shows is probably beyond me now, especially since moving to Scotland.  Any UK shows are something of a trek from here and the thought of long haul flights to the American shows (sadly) brings me out in a rash (not literally 😊)  I did fifteen years of trotting back and forth across the pond and the actual travelling seemed to get worse and worse in all kinds of ways.  I have crohns disease and part of my condition is chronic fatigue.  I need say no more.

So!  I decided on a little online spree in lieu of the Miniatura show at the NEC next month. I keep a little show notebook with samples of paint and fabric that I have used in Dalton and photos of my project in its current state, some measurements and, crucially, my shopping list.  Out it came and I was off.


My first stop was at  Jennifers of Walsall's stand.   Jennifer and Andy have always been my go-to place since I started this game for a myriad of things.  My lovely real wood flooring, for example, has always come from them.  

This time it was a quick run through their fabric section as I am still struggling to get something I like even though I have a shoe box crammed full of pieces.  The silk Brodnax fabric was £5.95 a piece not the £10.50 shown on the packs.  I haven't the slightest idea why I bought the very pretty blue piece - really - I don't have a speck of blue in the place. 
😱  

The plaid is a very pretty combination for the sitting room; the colours are spot on for the cherry pattern wallpaper but it is decidedly a bit 'modern' for everything else that is going on in that room; so............ I am still looking.

Fray Stay is a tad pricey but it is the one I really like so, hey it's only money.  I am not convinced that PVA, let down with water, does quite the same job.


You know what it's like when you stop by a stall, your eye lands on something not on your list:  happily for me, it works the same way when I am trawling the net.  I have loved the teeny Phoenix condiment set for many years so that went in my basket and I know I want a tray for sherry or whiskey decanter on one of my huntboards. The cruet is so dainty I had to set it up with tweezers.


Another stall I always check out is Little Trimmings.  They won't be at Miniatura this year and I am pretty sure they are running down their stock, so I grabbed - yes, you guessed it - more fabrics while I can.

Eeeehhh, the lime green stripe is truly lime green.  I was living in hopes it might not be - how mad is that. The next one up in denim and gold has the perfect pair of colours for the music room but it seems too casual for a formal room.  The tiny floral will be lovely for covering some chair seats (I hope).  The next grey and gold piece, right now,  is the best I have for the music room.  I need grey and/or gold or combination of.  Ideally I would like a pale grey and white striped silk...... if anyone knows of one, please, please direct me to it.  The top two cottons are for curtain lining and sheets and pillows for the student bed.


I have also visited Delph Miniatures and Masters Miniatures - as I would at the show and did a bit of buying from them and will share with you when those goodies arrive.

My final bit of ordering is with a company called Proops Brothers Limited - that should keep you guessing.

Bye for now - off to start making a sweet little window seat.  The windows themselves are on guilt-free 😇 hold until Proops Brothers deliver.

Thursday, 14 February 2019

Bedding kit from ELF


Like the mattress, I could make a duvet and pillow set from scratch - basically three stuffed bags - but rummaging through ELF's sale I spotted a set I liked and in an inexpensive kit form.  The colours worked well in my green apartment bedroom and I wouldn't have to lug out my sewing machine or, even worse, spend the days I know I would spend trying to decide which of my zillion fabrics to use.  I dread getting that particular box out.  Roll on making curtains and blinds  ....

So, here we are with ELF's bedding kit.  Firstly the fabulously written and illustrated instructions:


Here are the components.  One duvet stitched on three sides, with a small opening to enable you to turn it to the right side and fill it.  The gap is very small and turning it to the right side is a bit fiddly - just have a little patience when you are doing it and it will happen.  There are also two pillows in the pattern fabric and the plain red.  I might make two cream pillows some time as all my real beds have two plain ones to sleep on and two to complain about and chuck on the floor every night..... but the bed looks nice.


First job is to trim all the corners diagonally to remove some of the bulk when you turn the bag to the right side.  On the pillows you don't need to trim the corners at the open edge.


Turn the bags to the right side.  Initially the corners will look like this which clearly won't do.


Use some smooth small object to help you poke out the corners into a sharper shape.  I have sewn for years so I do risk using the points of scissors but you need a gentle and practiced touch to do this without damaging the stitching.  I tried to do this as if it were my first experience of sewing so I pushed out and shaped the corners (from the inside) using the rounded end of a pair of long tweezers.  It worked just fine.  If you had a mini iron and attachments this would be a cinch to do.... more of this later.


Quite definitely iron your pieces flat making sure you pull them gently into the shape you want and that the seams are lying nicely.   A mini iron is perfect for this!!


 I wish I hadn't been so mean throughout all my dollhousing years and had invested in a mini iron; time and again I wish I had one when doing something.  Here's an example of one.  If you aren't mean like me, just Google 'mini iron' and you will be able to find them for under a tenner right through to forty or more pounds.  This is the one I would like because it has loads of attachments for doing all kinds of nifty jobs.


Image result for mini iron images


When you have the pillows turned and ironed you will need to fold in about a quarter of an inch at the top.  This is fiddly.  The only tip I can give you here is....... if, like this one you have two different fabrics (cotton and cotton/polyester) decide which is the worst one to iron and then crease in and fold the top over with that side uppermost.  So, for this project, the red side was polycotton and is a bit of a pig to get a crease in, so I folded my quarter of an inch edge over with the red side uppermost and pressed hard with a steam iron.  I then opened up the bag, turned that red edge inwards and then worked the cotton side of pillow to turn inwards the opposite way to the way it had been ironed.  I hope that doesn't sound too convoluted.  Oh how I would have liked a mini iron that would just go round round the whole inside top edge of the bag. When you have succeeded in wresting with small pieces of fabric, catch it quickly with the iron before it all springs undone and press well.  The one of the left in this photo is ready to fill, the other is awaiting three falls and a submission.


I mentioned in the previous post That I have used sand before to fill cushions and they make terrifically posable objects but mine were prone to leaking a little sand now and then if I messed about with them.  I moved on to preferring micro balls - styrene ones from a cheap plush toy from a pound shop.  The very best answer is micro beads.  They are just perfect but I am out of them right now.  Google 'no-hole glass micro beads' and you will find a ton of them at all sorts of quantities and prices.  Believe me they are the absolutely perfect solution.  They are easy to handle - the styrene ones just want to fly everywhere as they seem to be always elctrostatically charged.  With the glass micro beads just work over a tray to catch the odd rogue and you'll have it cracked and will end up with a reasonably weighted, nicely 'stuffed' cushion or pillow etc which can be pummeled and poked into all sorts of shapes to lie naturally on furniture.  Terrific for a bean bag for your little people or for smashing a dent in the top of your settee cushions which seems to be the latest (RL) fad.

Sand...... and all other fillings......  is easy peasy if you have a small funnel (three in a set, very cheap from a cookery shop).  Can also make a funnel from paper, foil, card, whatever comes to hand.  Decant the sand into something sturdier and spoon slowly into your funnel, testing all the time for the amount of filling you want by lying the pillow down and gently flattening the sand inside.


Repeat with the other pillow and the duvet and then stitch up the small gaps carefully.  Very small stitches and pulled tight.  Dress your bed.


This picture is just to show how you can lob them down so they look rumpled - took about two seconds of flinging them in place.  Simply won't do for Mrs Freaky Tidy though.  Even if my PhD student wants to live like that I can't stand to look at it, so she will jolly well have to make her bed like the rest of the household.  Actually, being French, it is more likely she would (quite rightly) leave her bed turned back neatly to air.


It's getting more and more like a bedroom.


PS:  I have just ordered a mini iron.... just now I can't think of a thing I might use it for!

Tuesday, 12 February 2019

Singing ELF's praises again and a mattress

I have no shame in praising ELF Miniatures once again....

I love this bed which I bought as part of a complete bedroom set from Elizabeth/ELF ages ago - apparently it wasn't a big hit, so I  suspect there aren't many of them around.  It is beautifully made


Look at the amount of pieces used to make the base and the lovely joints


Just a little bit of shaping to the legs adds a mile of style


Gently waxed stain finish perfectly in scale, with just enough sheen to finish the wood.


.... and so to the mattress kit.

I am capable of making a mattress for the bed having done so a few times and in different ways.  I have used thin foam and cardboard rectangle covered with fabric; have sewn a box shape mattress and down filled it and buttoned it and have made other methods depending on the needs of the bed and the time in history.

This time I saw Elf's mattresses and bed linen sets in her sale (you can still snaffle a couple if you are quick) and thought why not reduce the labour and go for a couple of kits.  She also sells them ready made.

Here are the components of the mattress kit......

Lovely clear instructions as always.  They never assume any previous knowledge so are very detailed and helpful.


There is a balsa wood base, fabric to wrap round it and a piece of iron-on fabric to neaten up the wrong side when you have finished.  She also incorporated some webbing so you don't even have to use glue if you don't want to.  Iron the fabric.


Oops, my bad, never thought to check the size of the 'double', forgetting that I had a bit of a special bed......


Easily remedied, I just cut and added a bit more balsa - leftover from my bookmaking period.  A bit of wood glue added and a couple of clamps and off to put on a bolognaise sauce and throw it in a slow cooker so I can work on uninterrupted.  By the time that was done the two pieces were well glued and I was ready to crack on. 

Instead of balsa wood you could use stiff card and thin foam or, indeed any material which is firm and gives you the depth you want.


It looks a bit crude but works perfectly well.


I then picked up some soft 'wipes' of some sort that I had kept as a 'just in case'.  I have no idea what the fabric is - very light and soft and fuzzy and came in some sort of medical pack ages ago.

I had a notion that the wood edge might look too 'sharp' and though this might soften them up.  Take care if you add bulk that the end result will still fit the bed.  Mine was a very close call.

If you are any good at covering books or wrapping parcels this is as simple as that.  Basically you are wrapping the wood with the fabric keeping the corners as neat as you can.  Fray stop is excellent for doing just that.


I had a bottle of Fray Stop which is 'going off' - the glue is getting thicker and less usable so I stirred in a teeny speck of water, mixed well and used that to glue down the fabric, starting with the gauze stuff.


Glue down two parallel edges then trim off the unwanted fabric like this, ready to turn over the last two edges with no excess


Here it is from the good side, looking a little softer and more inviting to sleep on.  I did iron the cotton from the pack but clearly never ironed this!


Place this, right side down, on the bottom sheet fabric.  Ideally any fabric you use for minis should be washed first to remove the starchy finish in it so that it will drape better and always cut off the selvedges as they are very unforgiving when trying  to mould round things.  Fortunately this didn't matter in this instance as I was dealing with a straight edge.


Trim this top fabric in the same way to remove excess.  You can see the first cut here, the second cut would remove the excess fabric ready to make the turn.  You are basically cutting out the rectangle of fabric in the corner that is not needed.


This is the finished back with the fabric neatly folded around the base. You can leave it just like that as it will never be seen once it is on the bed or....


Glue on a finishing piece to cover the raw edges.  This kit has a piece of iron on cotton to do the job easily.  It is a bit too small as I had to enlarge the base.


Eh, voila, one Ikea type mattress in one Ikea type bed.


Thank you Elizabeth at ELF.