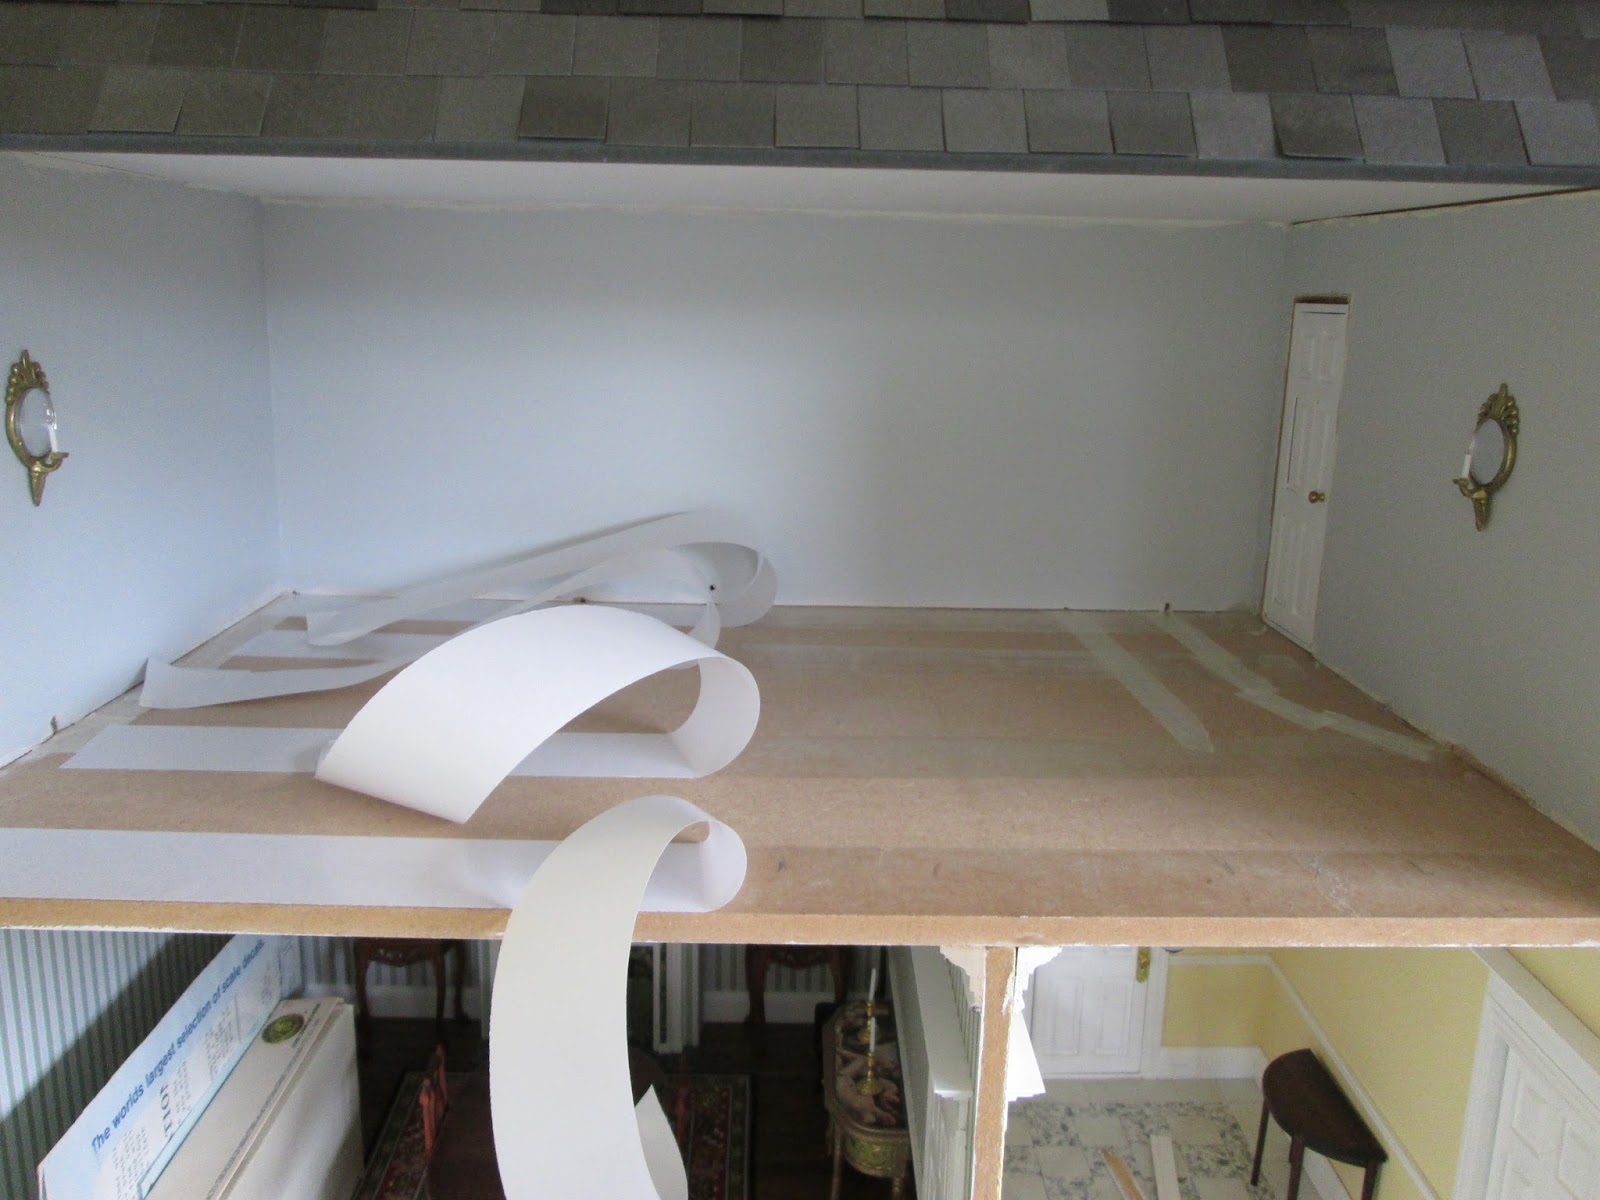
First of all there were six pairs of LED lights wires lying across the floor from the ceiling below. They each had the neck of the fitting slightly protruding above the floor. Rather than making six deep grooves to get the wires and neck laid down properly I worked out a different tactic - a false floor.
I bought some 1/8th inch strips of wood from Hobby's and used them like joists. I put a strip right round the edge of the room, laid three inside this frame front to back and put in the occasional strip across (for additional support) where the wires would allow. On top of this I glued a sheet of cardboard (thin but fairly rigid) for the new floor.
So all that worked out reasonably OK and I photographed each step of the way for this how-to-do-it post - then I wiped the card in the camera thinking I had downloaded the photos - I hadn't.
Here is the finished front edge - now that's a useful tutorial.
 |
| the edge of the false floor |
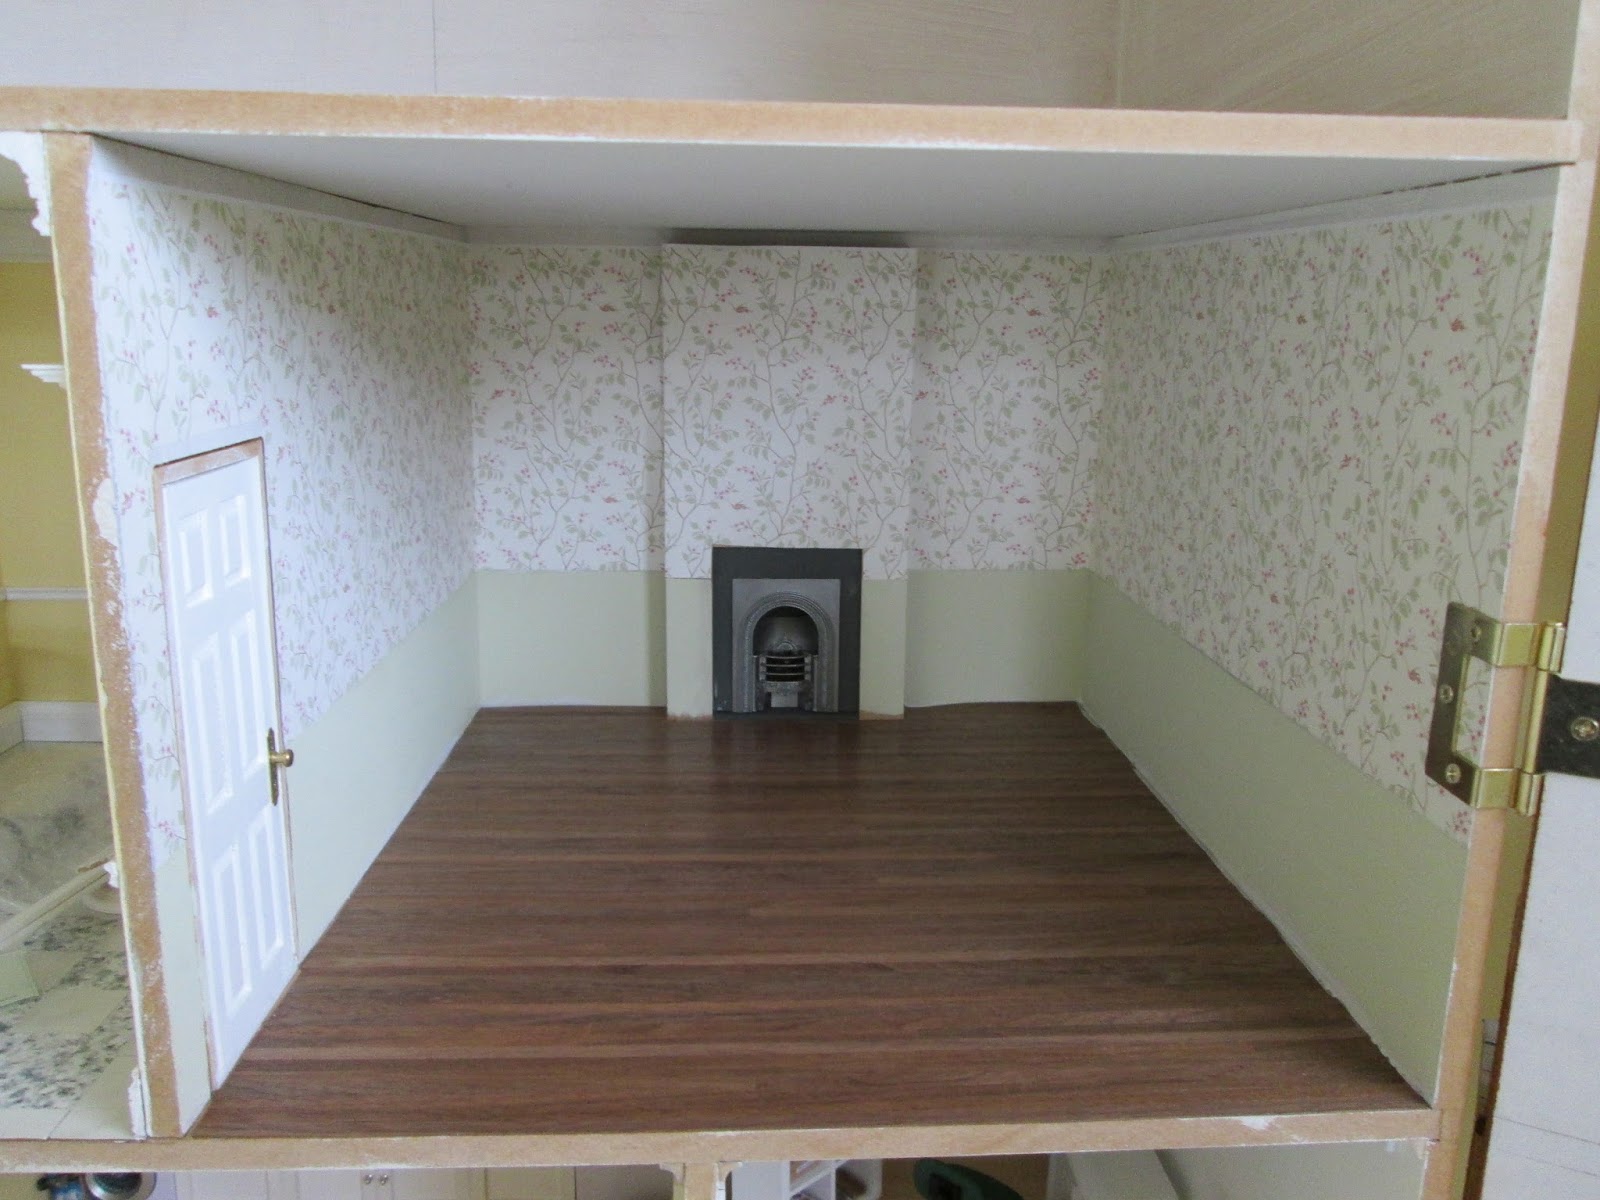
I then wallpapered and added the usual coving but held off on the skirting. Much ifs and ands and buts went into the decision to put carpet down first and then add the skirting. I like realism and, in real life, carpet certainly goes down after the skirting is in place, but I had the sense to realise that my carpet would fray a good deal and the edges would never go down neatly Any way when I look at my RL fitted carpet it is sort of almost rolled over at the edges to make a neat edge and it looks like the skirting is sitting on top of it.
I have never carpeted a room in a dollshouse - no, I couldn't believe it either. I found it something of a pain to do. The carpet seemed to stretch every which way and cutting it to fit round the door and door frames, trying to make that a nice tidy fit, was a pain; not to mention just getting the front edge to end up exactly in the right place. Once I had got the front edge OK I daubed it with fray stop and gently 'pushed' it into the pile with my finger. It seems to be holding OK so far. I used the usual double sided tape but I only added it as I went along so the fabric didn't catch where I didn't want it to as I worked.
Down went the skirtings. Ta dah - the end?...... not so, I had always planned a door at the back of the room to go to a bathroom. Moral dilemma....... leave everything as it is (no-one else knows there 'should' be a door) or find a way to cut out a piece of the skirting (perfectly) and shove the door in.
 |
| paper and trims all in place |
In went the door into the newly created space.....
 |
| ditto above plus false door |
Here is the furniture I have so far for this room. There will be a small matching side table and a plain small table to fit in the dormer window space for a desk and a chair for that. The wardrobe and drawers do open. Unlike some mini friends I may resist the temptation to fill them.....I love the idea but not the cost. It would be a delight for anyone 'playing' with the finished house to discover such things but, sadly, that won't happen. I have never kept a house to 'play' with. I really like the making and moving on. That said, this one was meant to be my first keeper, so you never know.

(05/10/17)