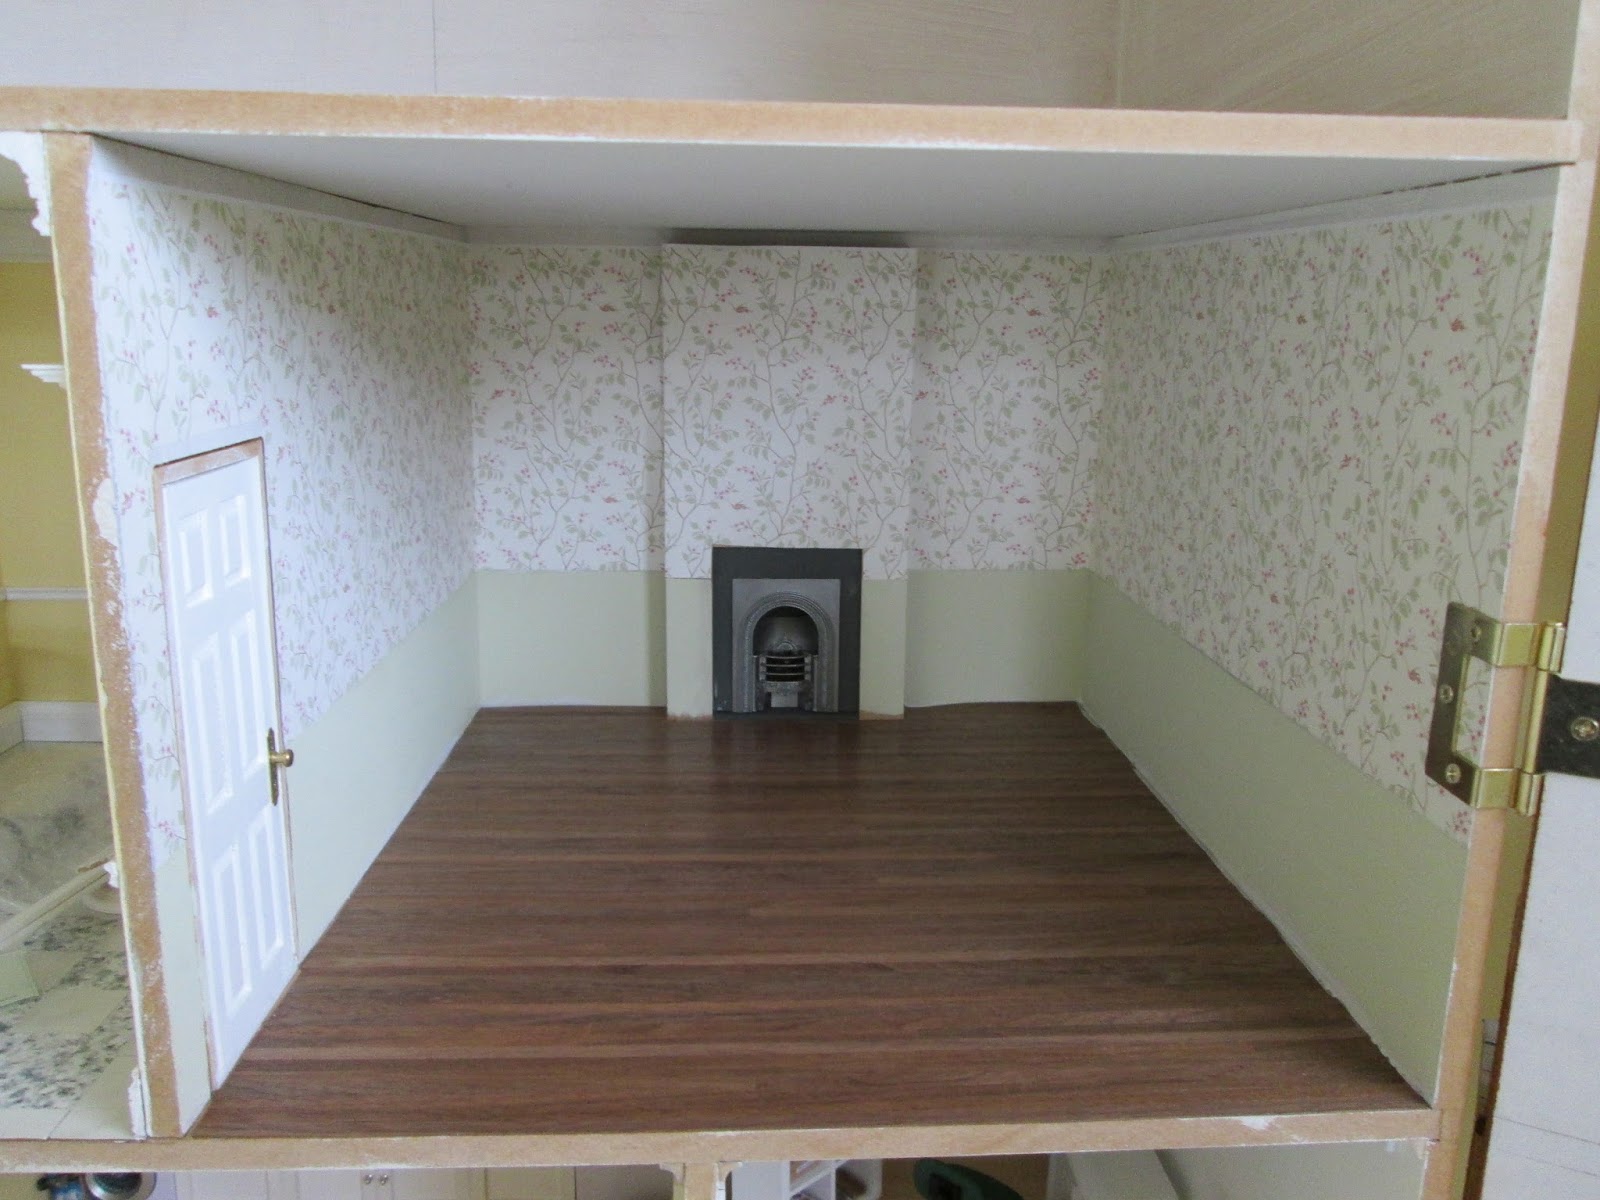
For this room and probably all of the remaining rooms I am using my very favourite flooring. This is real walnut laid in perfect scale strips on a backing paper. Mine comes from the States via Jennifers of Walsall so I know you can get it on both sides of the pond. It is absolutely the best quality I have found for real wood flooring.
 |
| the best real wood flooring |
First of all I make a template of the floor using real life wallpaper. Make as many as it takes until you get a perfect fit. Don't compromise or you will end up with problems later.
 |
| paper template and the cut floor being tested |
Using the template I cut out the floor. Be careful about making sure you lay the template the right way up on your flooring; it is too easy to flip the shape of the room and then nothing fits and you have wasted a (not-cheap) piece of flooring. I always turn my flooring over face side down and then lay the template on top of that also face side down, mark up round the edges, and if there is no identifying cut out, for a fireplace for example, I also write which is the top right hand corner, so it doesn't get rotated when I put it in place.
The flooring is in two sections as this is a deep roomed dolls house. I always start with the full depth of the flooring being used for the front section of the room. This puts the join as far back into the room as I can get it, so if there is any issue with the join its not as visible from the front of the house.
The floor is then given two coats of water based, quick drying clear satin varnish. You can choose a range of methods to finish the wood. You may just want to leave it as it is but you won't get the lovely colour and grain of the wood. You could just use use a couple of coats of clear wax polish, or a gloss varnish if you want a high shine or do a proper three or four stage wood finish - the choice is entirely yours depending on your skill and the required finish. This couple of coats of varnish is fine for me. Don't over-wet the piece, remember it is wood and wood and water are not happy companions. After the first coat is dry it is best to rub down gently with very, very fine sand paper 400 is best 200 up will do; best of all use a painters sponge that is designed for rubbing down paint between coats.
Remove all the sanding dust carefully and work on a clean surface and apply the second coat.
 |
| first coat done |
My floors go down with double-sided sticky tape as I want to be above to remove them should the need arise - repairing/replacing a light in the room below for example.
Only use tape that is as thin as ordinary sellotape otherwise the wooden flooring will stand away from the floor beneath . I got out all my rolls to see if I could give you a brand name - needless to say they are all blank. The wide roll is sold as carpet tape but it is very thin for that! They all look chunky here because of the wax paper covering the tape. I promise you they are as thin, if not thinner, than sellotape when in situ.
 |
| very thin double-sided tape |
I use a wide strip right across where the join will go and another wide strip along the front edge of the room. Then I dot bits and bobs around to help hold the floor down nicely. I don't bother around the walls as the skirting will clamp that down
 |
| waiting for the paper to be peeled off |
Lay down the front piece first to ensure that the front edge runs perfectly along the exposed front edge of your floor. Lay the joining piece behind starting at the joint and working away from you. Use a soft cloth to rub it down in place.
Love ur blogs keep them coming! I've learnt so much from u :)
ReplyDelete