Saturday 28 May 2016

What is an area?


I realised I keep using the word 'area' for the outside basement area and it might not be a word generally known.

...... an area is an excavated, subterranean space around the walls of a building, designed to admit light into a basement, often providing access to the house for tradesmen ... and access to vaults beneath the pavement for storage of coal ......

(Wikipedia)

Windows

Window frames in this kit are fairly basic - certainly not as 'smart' looking as the ones in my previous builds.  I've tried finding better ones but nothing fits in a way that I could do a straight swap.  I contacted a favourite house maker but he said the price would be prohibitive for him to make bespoke windows for this so I have resigned myself to just bashing ahead with them.


sixteen windows

I am using a Valspar sample pot of their water based satin finish in Tidy White.  I never use paint that needs a spirit to clean brushes etc; I prefer the simple (not smelly) water clean-up.

This is the process:

1. paint one side, leave to dry
2. paint other side, leave to dry
3. rub down both sides with the finest 'sander' you can get nothing coarser than 220 grit - look in the painting section for the pads painters use.
4. paint one side, leave to dry
5. paint the other side, leave to dry

Hopefully they are now ready to use.

But............
Check over very, very carefully - does it need another coat? will two do? do you want to rub down again lightly and maybe wax after that - the final finish is all about how fussy you are.

Here's a photo to show you the first coat before and after light sanding to get rid of the nibs


the after one is on the left, the before one is on the  right

P.S.  Talking to Wilma I thought I had written a post on how much work went into making the windows and other trims ready to paint.  I skipped back through all my posts and can't see what I thought was there.  Before I even started painting the windows (as described here) they had already been sanded to within an inch of their life.  The trims in this kit are fairly rough material and are roughly cut. DHD now does laser cutting so this should no longer be an issue.  I had to sand down thirteen windows and generally tidy them up before I could even begin the painting instructions that you have just read here,  For you, just be sure the material you are about to paint is as smooth as it can be before going at it with a paintbrush.


Monday 23 May 2016

York Show

Just a reminder that the York Show is coming up - it is one worth doing for sure.

Here is a list of exhibitors and from there you can find anything else you want to know


Exhibitors York Show 6 June


Saturday 21 May 2016

Bogey hole

 Messing around with the doors it occurred to me that when the basement gets glued on there will be a huge waste of space under the outside stairs.  In real life this surely would have been a bogey hole off the original kitchen or servants' hall.  It would have been useful for storing barrels of water and buckets of coal for the range for example.

I mocked up the wall with a hole cut in and a door in place.  


small access to a big space

It can be a full height door because that does give access to a handy shelf as well as the five feet high storage underneath the stairs.  This would have been just a slight stoop even for adults in the mid eighteenth century.  Mostly one of the youngsters would be sent to fetch coal or water or whatever, so the lack of height is not a real constraint.


This eight by six and a half feet cupboard has now been cleaned out for a storage space for the family.  It is accessed off the mud room and will hold all sorts of junk.  I am just living in hopes I can 'dress' the area 
much further down the line without it being too much of a nightmare .  Right now I can't bear the thought of the build grinding to a halt while I source 'junk' for the bogey hole before I can glue the basement to the doors. I can see the problems of filling a large space through a small access later on....  but I do love a challenge.


fiberglass brick finish

This is the brick 'paper' I used for the walls.  It is a really good product from Jennifers of Walsall.  If I didn't use versi-brick on the outside of my houses this is what I would use instead.  it is a terrific texture right down to its gritty mortar between the joints.  It is even Flemish bonded brick!  Perfect.

I have a sheet for all kinds of odds and ends like bricking inside fireplace chimneys for example.  You can then dirty it up with paint but still have the texture of old brick.

big space

This is the finished space.  The floor was done in the same way as the random slabs in the areas but this time I cut all the leftover slabs I had into the same size squares to make it easier for me to cover the area.  Cutting them is easy as every shape is based on this basic square.  Also, with fitting random shaped stuff you find that you have favoured one shape more than another so the leftovers are never very random.  It would have been a challenge to use them as they were.


[Note on 'bogey hole'...... not sure if this is a widely-used term?  It is a word from my Brummie childhood when any under-stair cupboard or similar nook or cranny got filled with 'it might come in handy' type junk.  So, in response to phrases like: "Where's the old green lamp?" the response invariable was, "It's in the bogey hole".  Not a place to rummage around in for anyone not liking spiders.]


Saturday 14 May 2016

Repairing a versi-brick


The reason I wanted to get these doors done and hinged on to the house was (in part) that they were getting the occasional bump hanging around the workroom.  I managed to get within a nano second of achieving that and then succeeded in knocking down a door and a basement piece.  They flew off the trolley that I moved to retrieve a book.  There were several bits of damage to bricks and pavers; luckily nothing major.  I can't say the same for my cup of tea and the surrounding area!!


One dinted brick

Hey Ho!  It gives me a chance to show you how easy it is to repair a versi brick.


Remove the offending brick, using implement of choice - mine is a dental pick and/or a very small palette knife.  You can make it even easier by wetting the brick carefully with a small paintbrush and water.


New brick in place and you'd never know there had been a problem.

I recently read a couple of people using versi bricks who go over them with a matt varnish presumably to protect them from dust?  I don't do that and am happy to leave them with their brick dust finish.


Friday 13 May 2016

Extra post - purchases

Don't worry, the Saturday (weekly) post will appear as per usual this is just a little insert to share a couple of things I got yesterday.

My house is on a trolley and very accessible except for the attic areas.  You can see them just fine if you are 5' 6" but fiddling around with them is not so good from ground level.  I saw this little step stool in a Lakeland shop and it is just the job.  Folds up small and pops out when needed.  At £6.99 I thought it was a cheap solution to a niggle.


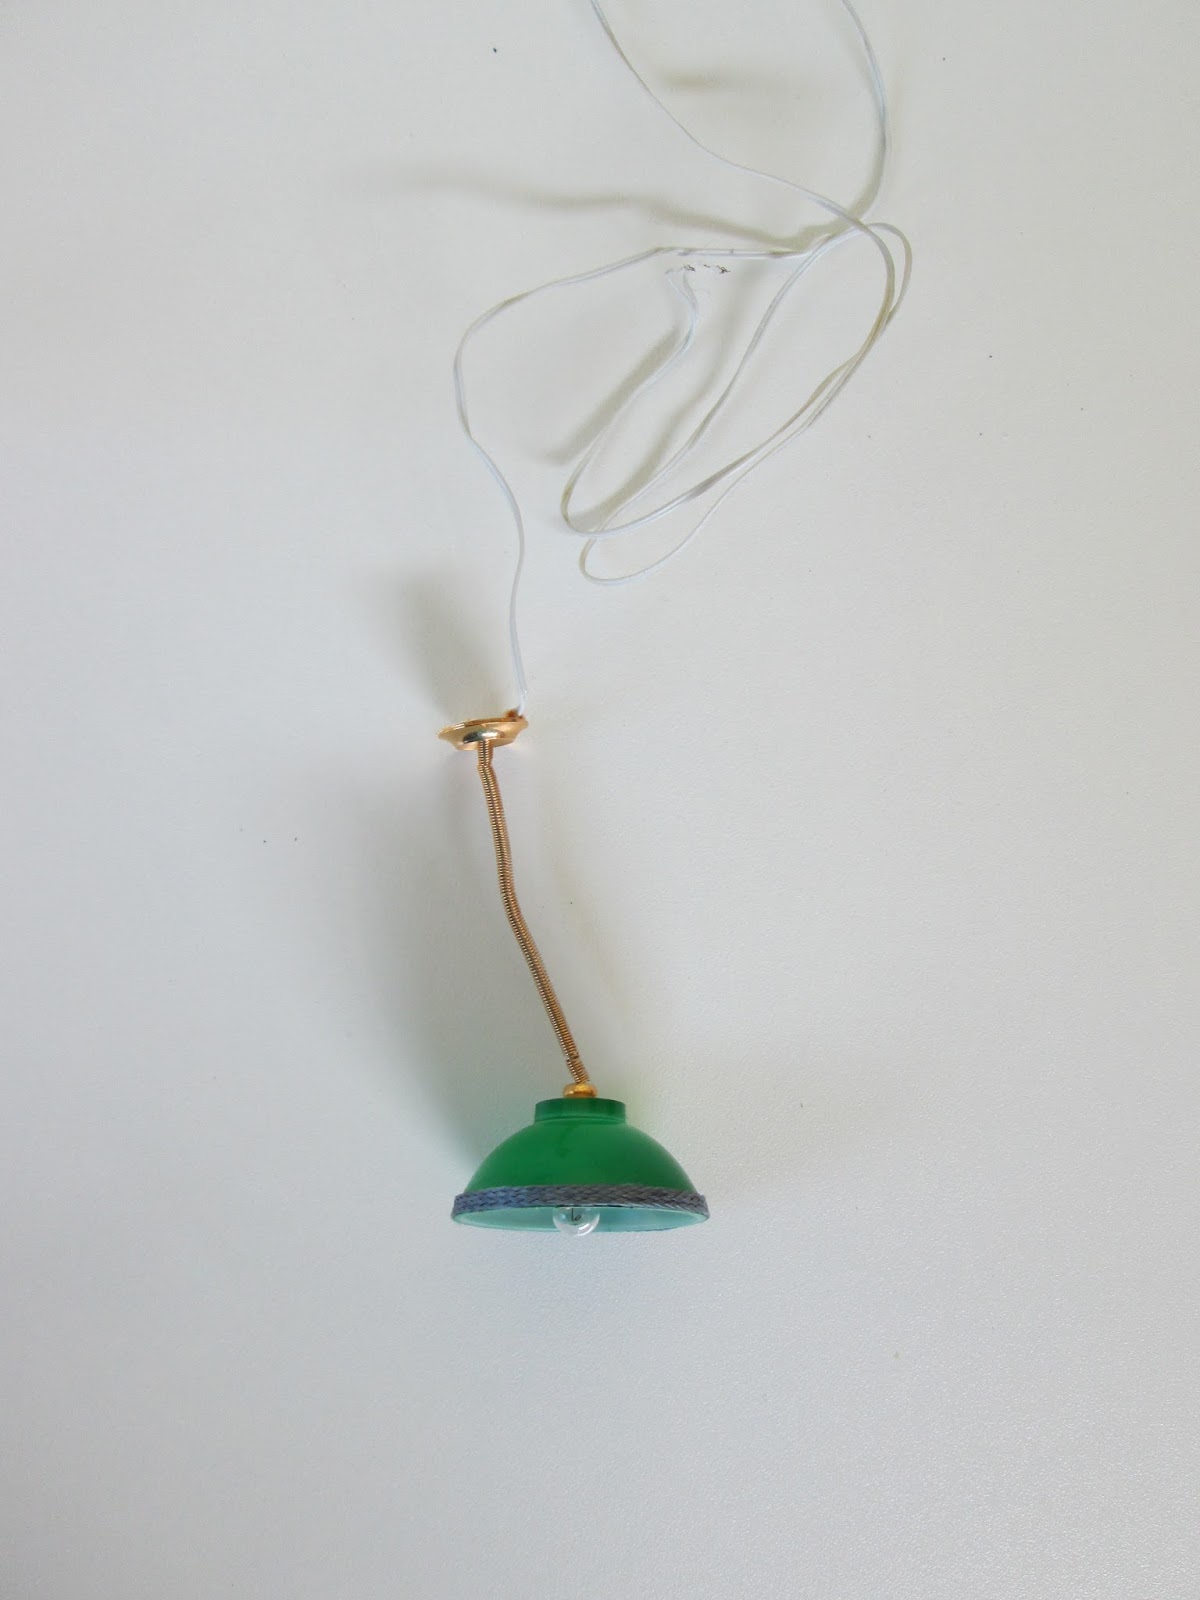
Below is one of those 99p EBay finds that please you now and then.  Nice little over the dining table light for my apartment in the loft.  Has a spring rise and fall on it and even a little pull chain (not showing here for some reason) in the light.  The strange (?) trim will come off, I hope!


This is what I really want to share.  I needed a nice hearth for a fireplace.  This looks and feels just like marble.  It is a material called Decrastone - mix of real stone and resin and polished to this finish by its vendor - the wonderful - Dollhouse-Flooring.    He will cut Decrastone for you for any size work-surfaces, tabletops, bars whatever you need it for.  This is five inches by one inch and makes the most perfect hearth.

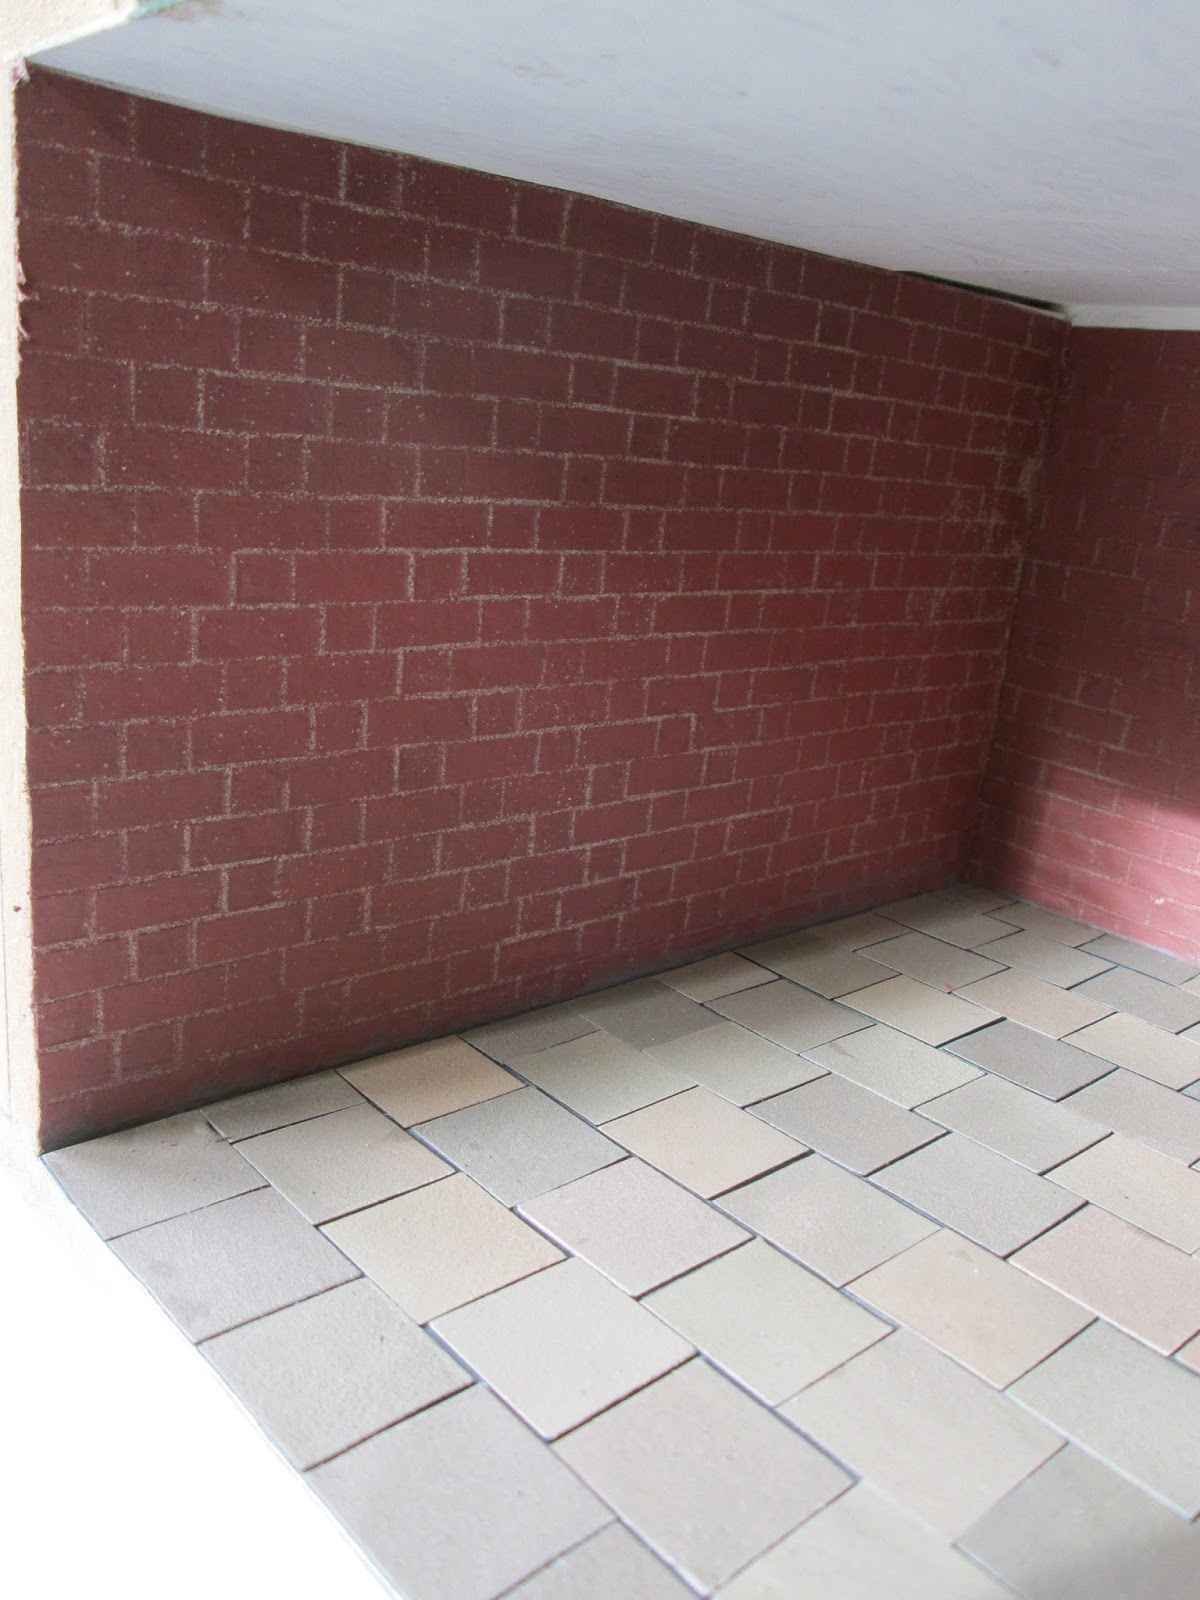
I have used his Marlike tiles for my marble floored hall and they are just lovely.  Please go there if you are looking for any kind of tiles - he is the best - great prices, the widest choices, wonderful materials, fabulous service - what's not to like. 

You won't get to see the hearth again until about November as my posts are banked through 'til then and I am currently writing the ones about making the fireplaces but I couldn't wait until then to share this little gem.


(13/05/16)

Saturday 7 May 2016

The area floors

After doing a few thousand bricks I am pretty much doing more of the same.  I used Richard Stacey versi slabs for the floor of the area.  They come with a buff side and a slate side so a choice of two finishes.  I am working with the buff stone side here.


measure the floor

First measure the floor


transfer to wallpaper 
Draw up this area on a piece of paper.  I use wallpaper - great size for all areas you will ever want, nice weight and loads of it and all for a pound from the left over wallpaper bin in a sale.  In truth the pieces you might be seeing for a long while are large sample pieces from B and Q and Laura Ashley - they are 'genuine' as we are redecorating the whole house so I didn't just scam them.

No idea why I am marking up on the pattern side (????)  Cut out the shape slightly oversized.

paper inside the space
Push the paper into the space and use your finger nails or back of scissors or weapon of choice to push into the edges to clearly mark up what you need to trim off.


mark the orientation

Trim to fit and put back int he space and check the accuracy of the fit.  I always mark one corner underneath to make sure it comes out and goes back in the right way round each time.  Spaces are rarely perfectly rectangular.


Paint paper 

I don't want the white paper to show between the cracks so I paint it with whatever dark colour I have.  Let it dry - well nearly! - I am too impatient.  Stick on the random slabs.  Being Mrs Symmetrical, I hate random.


under weights 

I then sandwiched it between a non-stick piece of silicone paper (glue side) and a chopping board and loaded it with books, I left it overnight to flatten and (almost) dry out.


Cover area with glue

Next day I covered the base with my favourite wallpaper glue.  I used a glue spreader for about a nano-second before I reverted, as I always do, to the best glue spreader - my fingers.  Usually my floors go down using double side sticky paper in case I need to remove them (wiring underneath etc).  I got brave here and stuck floor covering directly to floor.


et voila

The area is finished.  You will never see anything like this amount of it again.  Once the basement is glued to the doors you only get a glimpse from the pavement area.  Even so I am wondering if I should do something with it - after all my little people have to look at it through the windows. There again they can't access it easily.  If I was a good modeler it would be a bit grubby and maybe have a couple of weeds and some litter.  Then again I am reminded by all who know me that this isn't so if I lived there - it would be immaculate!