Showing posts with label decorating. Show all posts

Thursday, 1 August 2019

Painting and papering walls

I have written a lot about decorating and even made a video.  The links for these are on the left side of this post so if you are new to the game or think I might have a couple of useful tips you will find something there.

This post, therefore, is just my record of this particular bit of my project.

Mostly my time was spent masking-taping up this and that for painting.  The first round was to tape up for painting the three eighths of an inch divisions between the rooms.  Again, this is purely a personal choice.  No problems with joining up room to room.  I do it because I like the outline it gives each space and it remains true to the build in that where these lines are there would be walls separating each room.

The 'doors' had already been primed with a thin coat of ordinary household matt paint.  I do this when I open the flat back on all sides of the wood to stop it warping and sucking up glue and paint at a rate of knots when the finishing work gets done later.

The left hand side actually had two rooms already painted - I must have been on a roll at the time way back when.


before - masked ready to paint
 When all the tape was in place it was a simple case of two coats of Tidy White matt paint.  One handy tip when using tape is to let the paint dry a little but not completely and pull the tape off in one quick movement.  If you let it dry it can cause little flakes of paint to come off with the tape and if the paint is super wet it can run or smudge when the tape comes off, so something between the two gives a nice crisp edge.


afterwards - crisp white lines


I wonder if you spotted the mistake.  For some odd reason I missed out the top and long side edges; so, more measuring and taping and painting followed these photos.

After this you will pretty much need to reverse most of what you have just done and outline the walls that need painting with more masking tape. You need to do all the painting needed before you do any papering, otherwise you will end up with masking tape on your wallpaper and believe me if it is at all 'porous' the tape can grip and mark it when being removed.

Hugely annoying on this kit is this perfectly cut, smooth, curved groove in the top and centre of the main door.  It is like something made to receive a bolt but doesn't make an atom of sense in relation to where it is.  I spent a very frustrating time trying to fill it smoothly.


You can see in the photo below that as always I never obeyed my own rule and I fancied doing a bit of papering before I did any more painting.  That's how I discovered my original plan really was the best one!  So, do as I say, not as I do and finish all the painted areas first. 

To begin papering the wall space I made my usual template so I could cut out the wallpaper exactly.  Remember to flip the template before lying it on the back of your paper and marking up for cutting.  
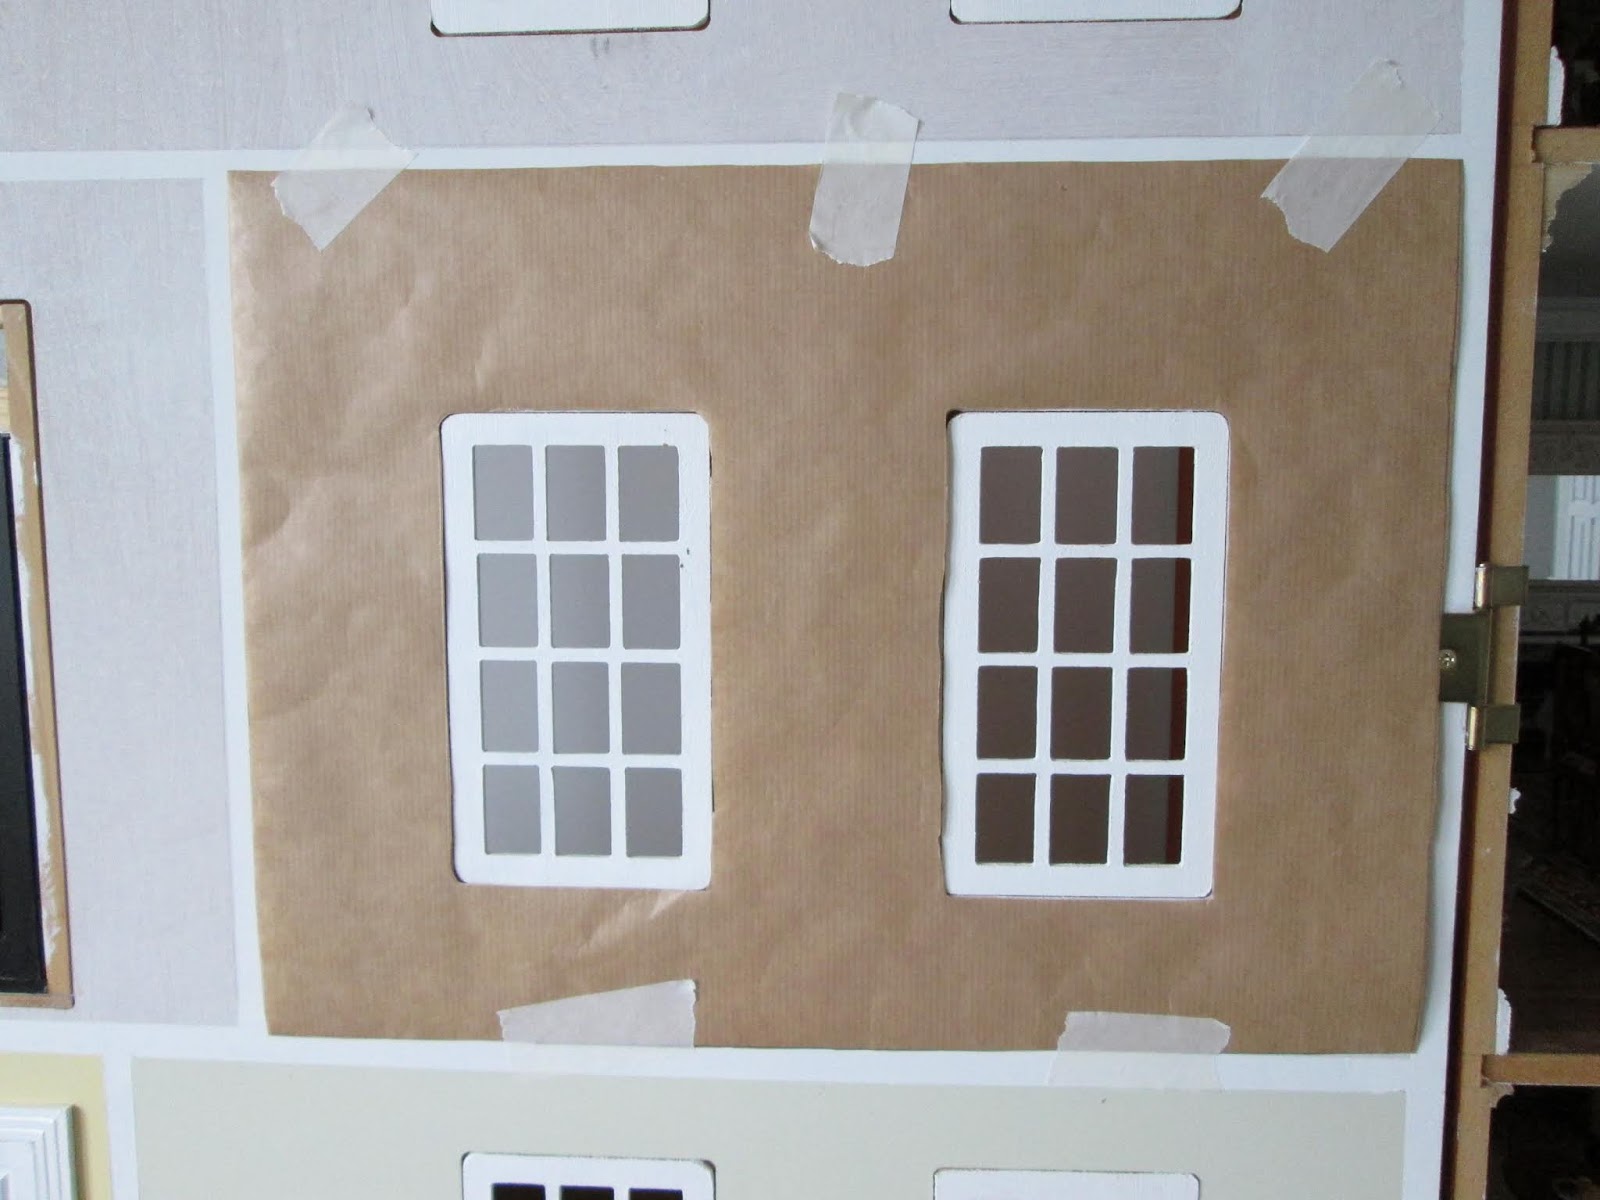

Dry test your cut wallpaper in place just in case you have made a mistake.  Better to find out before the glue goes on.  So far, so good.

When I pasted it (I use wallpaper border adhesive) and tried to hang it, absolutely nothing went right.  Hand on heart I can't remember ever having a problem hanging paper so I have no idea why it all fell about my ears this time.  The paper sagged and stretched and immediately clung to the surface (MDF is like a sponge) even though the wood had been primed as usual.  This meant there was little or no way to move it about to adjust it.  All of that resulted in a right cod's ear round the windows and it just had to come off.  Well, yes, that would be fine if if had just come off.  It seemed to have dried instantly and would not budge.

I had to resort to actual wallpaper stripping - dampening down and scraping off.  Took ages to get back to a nice smooth surface and equally long clearing up the mess.

I was using Dolls House Emporium paper in this room so if you have any just try a test piece first to see what it does.  Probably a good idea with any paper.  This was decidedly like trying to wallpaper with blotting paper.


I gave up on any idea of papering the window wall in one piece.  There is an easier way to get a good end result and is especially forgiving with stripes.  

This wall has been papered in seven pieces.  Three floor to ceiling strips and then two strips at each window to top and tail them.  If you do have a sheet big enough to cover the whole area the joins will match perfectly.

Simply cut five strips.  Number them on the back as go you from left to right and label the top and bottom of each piece.  Strip one is the width of the space to the left of the window, strip two is the width of the window, strip three is the strip between the window etc.

Paste strip one in place.  Take strip two and cut the paper to fit above the window making sure your top line remains your top and then the remaining part of the strip is to cut up to the window making sure the bottom is still at the bottom.  If you are careful with keeping your paper in the right order and right orientation when you come to butt the pieces together it will be a perfect match because you are simply reassembling the cuts you made when turning your original rectangle into five strips.

If your windows will have curtains they will cover most of these 'seams' any way.


Finally here are the two 'doors' painted and papered.  Ready for the next stages.


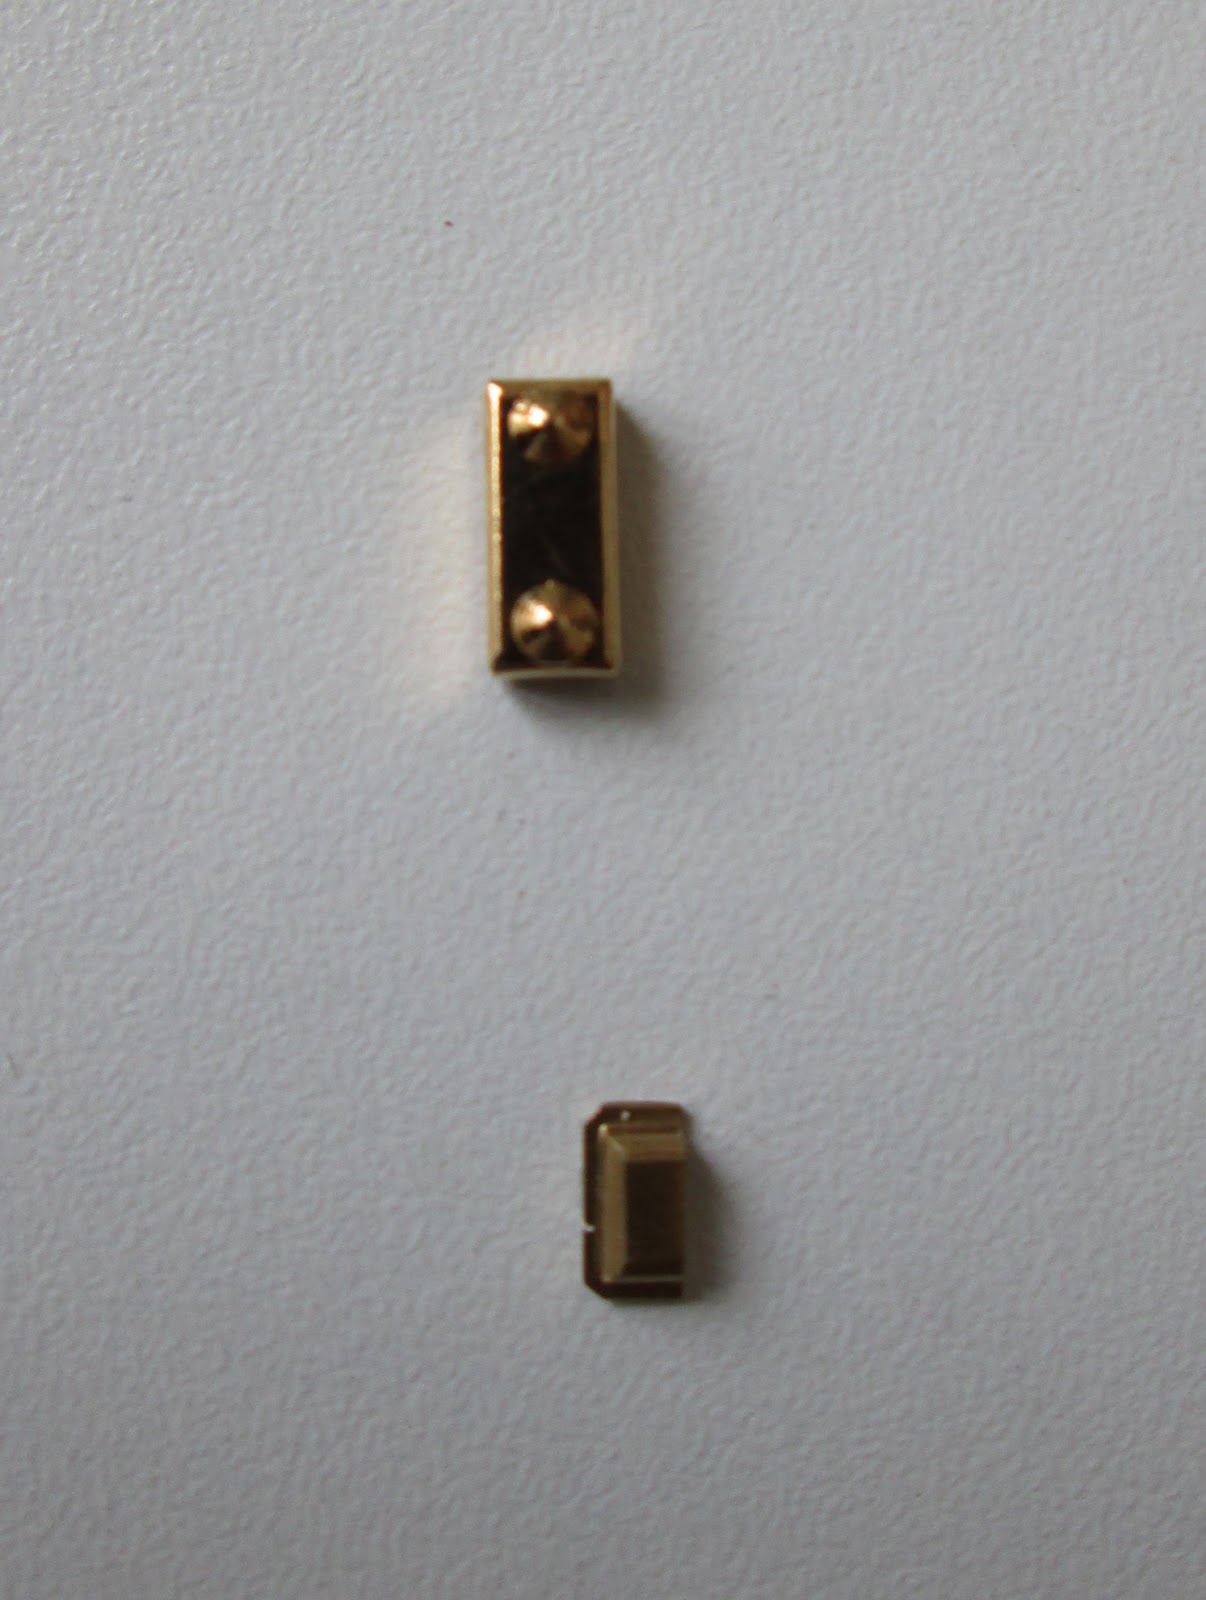
On the left side I also added a couple of things.  I finished painting the the door trim around the door and then added the architrave on top.  I also popped in the glazing above the door.  The door bell was added with the bell push outside and the bell box glued to the hall wall inside.  The door locks were then finished off.  The Yale lock and dead bolt needed the their other halves (the boxes) fitted.


The box for the deadbolt was too big for the space I had and I decided chipping a little out of the architrave to squeeze it in wouldn't look right.  I discovered it almost fitted the space if it was turned on its side, I just needed to file off the bumps which represented the screws.  Necessity is certainly the mother of invention when it comes to dollhousing.


I love a bit of remodelling


all sorted and complete

I am not able to add the dado rails in any of the rooms at this stage because, like a lot of things in RL building, one stage is often contingent on others being in place first.  The order of work now is:


  • fit lower window frames and glazing 
  • paint and fit architraves around the window
  • then the chair/dado rails can go in
  • make 5 pelmets and curtains
  • make 4 curtains and put up 4 brass poles for these
  • make and fit 7 roller blinds
  • add any wall decor such as paintings and mirrors to the fourth wall
I had every intention of also adding each room's coving and skirting boards and I have even just bought extra pieces and paint to do that.  Luckily I realised when messing around with the potential dado rails that the windows aren't in a uniform place from room to room and the ones on the upper floor were very near the bottom of the wall.  It suddenly occurred to me that there wasn't enough room for the skirting board.  It turned out to be a very snug fit and looked decidedly odd with the skirting butting up against the bottom of the windows.  So in deciding not to do those it also meant I wouldn't be doing all the other ceiling and floor trims either.  There would be no logic to all the rooms having their trims except the two and they are major ones.

Obviously I am not happy about the money I spent on trims and paint that's not needed now, but there is an upside......  I won't have to paint and fit all these .......


My huge tips following all this are

  • if you intend to do something about your fourth wall be sure your ideas will work by dry testing things where you can at the very beginning of your build
  • be absolutely sure you have enough paint, paper, trims whatever you need to finish the whole job when you first order them .
  • take your time and think about the order you need to do the work in: a couple of half hours doing this will save you hours of workarounds later.


---------------------------------------------------------------------------------------------


PS:  I just ordered a sample pot of paint from Farrow and Ball and there was no shipping charge.  Mind you they do cost £4.50.  I usually use Valspar test pots from B & Q.  They have thousands of colours and will mix it as a matt or a silk paint.  Cost £3

Sunday, 28 July 2019

Dormer windows

I kind of sorted out the no-wallpaper problem, rather than just white paint the lot.  I quite literally had three small pieces of the green paper left over which got patched and joined together with a panel each side of the window and a piece beneath.  The hairiest part of that job was having such a large pattern which needed matching over very minimal pieces of paper, absolutely no room for error.  

I did this before Anna kindly offered to mail me a couple of sheets all the way from Australia.  [Thank you, Anna]  Not that she didn't comment and email me as soon as the post went up but the posts run close to what I am doing but I am often a little ahead of them in actual work. At least my having already fudged it saved me from  having to make another decision of how best to go about it.  I seem to be floundering a bit in that department right now.

As I didn't have any grey paper at all I did my best to mix a grey as close as I could get to the one in the room - it really needed a slight touch of blue but, as I keep saying, the inside of a roof flap really isn't an area which gets looked at.  It just needs to give a good impression of being finished.  I keep telling myself that.

The decorated sloping walls also have a small dado rail trim between the paint and the 'colour' as it might do in real life.


On to the windows

I prefer to cut all my trims with a saw and mitre block, even the thin ones.  My husband can go through them with a knife in a couple of passes - me?....  I find it nigh on impossible to use a knife through wood.

If you are cutting very thin trims like these you need to boost it up from the floor of the mitre block.  Generally you would add a piece of thick(ish) wood.  I didn't have any so a sacrificial eraser was used and it did just fine.


I use. 0.5mm clear acrylic for the windows and this can be cut with scissors but I find it seems to squidge all over the place between the blades so  I cut it with a very sharp, new blade, Xacto knife.  I also resort to overkill in terms of preparation.  Having once actually sliced a small piece off the end of my thumb I am super-wary of knives.

I make a template for the window (in this case I could use it to cut three windows this size).  I fasten this to my cutting mat with tacky wax (double sided sticky tape will do).  I lay the acrylic over the template and then I even tape that down with masking tape.  Both my hands are now free to focus entirely on holding a steel ruler in place and cutting along its edge.  I don't have to try and stop stuff slipping around at the same time.


This acrylic was a leftover from previous exploits and didn't have any protective film on it.  It was super-dirty and even a bit scratched.  I have better on order.  It is sensible to gently soap and water wash it before  you use it as any really gloppy finger marks or whatever can be a pain to remove once it has been transformed into a 1/12th Georgian window pane. 

This is terrific glue for putting in windows but doesn't come cheap.  That said it has lasted me through several builds.  It does dry clear so if you are a bit messy with glue it won'r ruin your glazing. It also gives you some working time to get things positioned correctly.  It is water based for easy clean up and does a great job of sticking acrylic to a painted surface.


I don't know about you but every time I come to a glue I haven't used in a while I have to go tunneling for the glue down a teeny little hole.  This is my weapon of choice and is just dropped in my handy-on-my-desk box.  It saves a lot of bodging with pins, needles, toothpicks, dental picks, fine tweezers and a gazillion other things I used before I 'invented' this.  It even comes with its own handle, what's not to like.  


So.....  a very small amount of glue round the edges of the 'glass' and press it into place. In this case, on the lower half of the back of the window frames.


all four sides eventually had glue


It was then just a case of adding trims to make the bottom (inside) half of a sash window.  there will be architrave trims round this when they arrive. plus roller blinds to tweak it up a little and conceal even more dubious finishes.


I may have thoroughly shot myself in the foot with my latest dopey idea to 'improve the basic build.  Painting 27 sticks, cutting 264 smaller pieces very accurately, cutting two pieces of glazing for every window rather than one and then assembling this lot to make 16 'mock' sash windows is most probably very pointless.  As you all know once you set off on one of these paths there is no going back.  

Clearly that wasn't challenging enough, so I decided authentic windows needed those little nubs on the frame to stop them thumping down or up.  These require spot on measuring and judicious carving and sanding of just the right amount of stick to shape them and...... hey.......  I only have 64 of these to make.

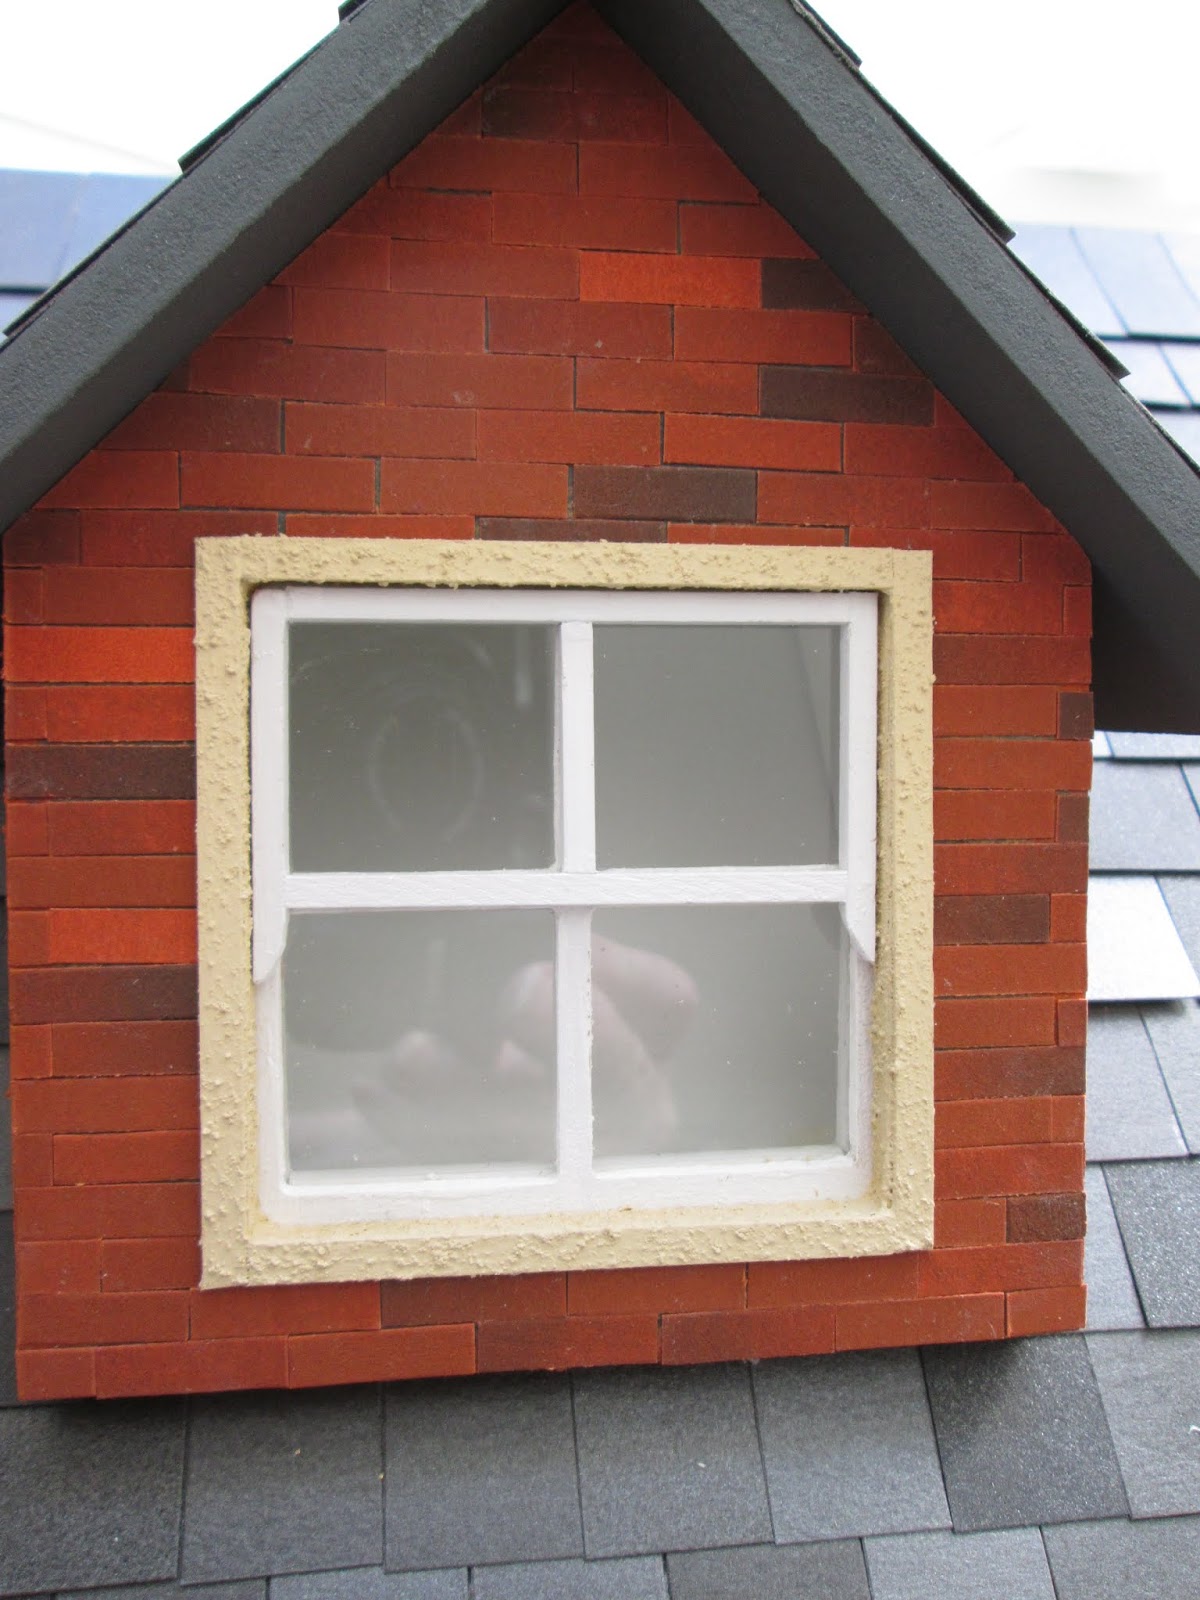
Here is the before and after photo of the outside.


before
after


before


after

Yes, I know it is not earth-shatteringly amazing but it feeds the soul of a slightly bonkers mini-enthusiast.

Monday, 22 July 2019

The fourth Wall

I am pretty much all finished with the construction and decorating of each room.  I have a few locks, alarms and (mock) electrical outlets of various sorts to add in, otherwise the rooms are done; so it is on to the fourth wall.

I suspect there may be extremely well-organised and finely tuned planning type folk who do any work on the inside of the wall before it even gets attached to the house.  This is not for me I'm afraid.  I want the whole outside of the house done first.  I am sure it is a sort of psychological thing of working on a (real-to-me) completed building.  The exterior finishes might then 'suffer' if they were laid down to allow work to be done flat on the table when doing the inside.  I also want the doors and roof on fairly quickly to reduce the amount of dust collecting inside the house.  My two main fourth walls, therefore (for me), have to be tackled in situ, which means working on a vertical plane.


The big debate


There are various schools of thought when it comes to finishing the fourth wall of an English-style dollshouse.  


1. Some feel it is best simply painted in a muted colour and left alone so that it doesn't detract from the finished rooms when you open the doors.  This seems a very reasonable stance to me and makes for an easy finish to the project.

2. Others feel the fourth wall should look exactly as it would if it were actually a fixed wall in the house.  It is therefore completely decorated and trimmed and dressed and even furnished by attaching furniture to the wall or making a small platform for it, also attached to the wall.  Generally these folk, treating it literally as the  fourth wall of their room, will complete this area at the same time as doing the other three walls.  One room at a time.   This seems a very reasonable stance to me and makes for an easy finish to the project.


3. I never have any idea of which way to go.  On every project I have honed my procrastination skills in respect of the fourth wall and just entirely ignored it until I have to deal with it.  I have then gone on to compromise and try to find a middle ground where the walls get decorated and the windows dressed and I leave it at that.  Any furniture standing against that wall simply stands in the house.  That takes some thinking about as you don't want to see the backs of most things or obscure the view, but there is usually some sort of wriggle round it if you choose the item carefully. 


I am very happy with this level of distraction that the decorated 'doors' create when viewing the open house and it does mean that the windows look finished when seen from the outside.  That will do nicely for me.  
This seems a very reasonable stance to me and makes for an easy finish to the project.

Feel free to go with any of these three or your own mix, there is no right or better way to finish the fourth wall.


Let's start with the dormer


When you start any work of any kind, it is wise to sort out every little thing you are going to need before you begin.  In this case two kinds of trim, two kinds of paint, wallpaper, two kinds of glue and a bunch of different tools such as scissors, saw, mitre block, brushes, rules, pencil, eraser and probably more.  This is a vital step - you will understand why later.


I find it impossible to work on a roof flap in situ - the height of the house means I would be working on a step-stool and everything would be upside down: I, therefore, removed the roof from the main house and flipped it over to work on.


I was nervy about doing this as I didn't want to damage the finished work on the outside.  Luckily it seemed to be OK and everything was lying neatly in place underneath


Here comes another 'don't skip this' step.  Make a (very scribbled) plan of what you intend to do.  This helps in a few ways.  Firstly the orientation has been flipped and your left is now your right, so it is important to be clear which colour paint or wallpaper goes in which place.  You want to think about any trims you might want to add and how they will interact with the edges of the room and trims you have in there.  They must be clear of those edges or the roof won't close properly.  In my case I also needed know where I wanted the white paint to go and I like to avoid drawing all over the actual piece and marking up with pencil.  It often bleeds into glue or paint if you leave it behind and it is sometimes hard to rub out.  I like to have the measurements all worked out on my diagram and then use masking tape to outline the various spaces.  I don't want to be continually working out what goes where as I go along; so, the rough sketch with measurements keeps me on task.


Eventually I want to improve all the windows in my build and try and make them look like sash windows.  I will need to add a lot of trims (starting with the dormer) and I always like this sort of thing to be ready to go when I need them so, although I only need a few for the dormer, I may as well paint the lot.  There are a couple of pieces of dado rail here too that I will be using.


Another handy tip..... buy the very best quality trims you can find/afford.  I get some very good quality wood ones from J & A Supplies when I am at a show, but I can't see them on his website.  I didn't do this with these trims (1/8th inch x 1/8th inch square).  I wanted so many I bought a ton of cheap ones from Hobby's.  They immediately want to bend as soon as paint touches them [painting all four sides pretty much mitigates this] and they are not super smooth to begin with and the wood produces quite a lot of nubs when wet.  All this will be manageable but better quality can save you some blood sweat and tears.

Here is my quick way of painting these -

Dab some generous dobs of paint along one edge.....


....... rub it along the wood gently, keep dobbing and rubbing all the sides and work your way along the trim roughly a third at a a time.  Leave them to dry.


I did the maths and I painted 27 trims x 19.5 inches x 4 sides x 2 coats and that's about 350 feet of fiddling with paint.   Don't be deterred it is a pretty pleasant mindless task and they only took a little over two hours..


Dormers are notoriously badly made - it is not my assembly skills - more the maker's design/cutting.  The worst of this particular one is the bottom of the window which luckily is a sort of overhang and looks fine from the outside but from the inside there is a decided gap.


I covered this with a piece of (already painted) leftover simple coving.  The configuration doesn't make a lot of sense in real life world but will suffice for this roof flap which is never really scrutinised and merely gets lifted up out of the way.


Each side of the roof has the wallpaper areas outlined with masking tape so the rest can all be painted white.  The centre room will be all white as it is the kitchen, so there are only two small wallpaper additions needed.


As I said the inside edges were pretty gappy.......


.........  but a coat of paint improved them greatly


I always make a template for any wallpaper even ones that seem to be simple rectangles (they never are).  The wallpaper itself is not particularly cheap or easy to find so best to get it right first time.  This template is just a piece of ordinary A4 printer paper.


After painting I had two areas like this waiting to be papered.


Here comes a bit of an aside.   Way back when, I bought an A1 portfolio very cheaply from eBay which stores my wallpaper beautifully; no rolling and then trying to flatten it, no knocked up edges or grubbiness.  I commend it to you.


This is where tragedy struck and my following my first instruction would have been useful.  I don't have any green wallpaper big enough to cover the space.  Yes, I have checked here there and everywhere on line and no one has it.  It was on its way out of Dolls House Emporium when I bought it on sale several years ago.  A couple of other folk had it but they don't any longer.

 As for the grey paper I don't have a shred of it.  There is absolutely no hope of getting this one as I bought years ago from some Etsy maker (in New Zealand I think!) who made to order and was also 'winding up'.  I did waste a lot of time 'just checking' though.

I have a white flap with two unpainted areas waiting to be covered.  I could just paint them white and get on with it but I had already measured and drawn up a plan and painted and cut dado rails and masked and carefully painted, all with a view to papering... .... all of which was a complete waste of time and brain power if I just ended up with a white flap.


So the current state of play is me walking away and controlling the urge to rant or cry and eventually coming up with a not very great solution.  Come back next time if you can stand the excitement of watching paint dry.


Saturday, 6 January 2018

Step by step wallpapering


Happy New Year - I made it back on time - just about.  I confess to having papered the room after lunch on Saturday which is my blog post day, but here I am.  Hopefully I will be able to keep some progress going on my project and stop by and share with you each week.  'What japes, Pip!'

I have done a ton of stuff about wallpapering through my many blogs and even YouTube but I thought I might offer a step by step instruction here for any newbies.  Apologies to the 'got it sorted' folk; hopefully I might have something a bit more interesting next week.

1.  Measure the height of the room


2.Trim one long edge of your paper if it needs it for any reason.  This is is on a sort of photo quality paper and has a white frame all round.


3.  Work out the width of the strip you need to cut.  Here my room height is 7.75 inches and the total width of my skirting board and small coving that is going in is about an inch.  I want the trims to slightly overlap the paper (this gives the neatest edge) but leave some wood bare for the trims to adhere to; this is better fix than just sticking the trims on top of the wallpaper.  So I will cut my strips 7 inches wide.


4.  Start with the paper for the back wall.  Score gently on the back of the paper a bit under a quarter of an inch in from the edge and fold it sharply over.  This will allow the paper to go into the corner neatly and give a slight wrap over onto the side walls.  No walls of a dolls house fit snugly together as they do in a real life plastered wall and so there is always something of a slight gap.   If you do this little overlap, it doesn't show in terms of wallpapering and it covers that gap nicely.


5. Snug the paper tightly into its corner using the folded edge.  Hold it firmly and then make a firm crease (fingernail will do) where the other corner will be.


6. Fold it over well and make a very sharp crease


7.  Trim a small edge like you did for the other side.


8.  Cut the paper for the two side walls without a folded edge


9.  The glue I use is a ready made border adhesive.  I am fairly sure it is probably just a basic PVA glue (like Aleene's etc) but it does feel silkier and goes on more easily - maybe it has water or something else added?  I have experimented with watering down PVA and using wallpaper paste etc but this is decidedly the easiest, cleanest and cheapest glue for papering for sure.


10.  Get a surface you don't mind cleaning up like this silicone baking liner (!) because you will make a mess.  Go over the back of the paper generously with a wiggle of glue and then spread it smoothly and evenly over every teeny bit of the paper taking care to take it to the very edge.  Easiest way to do this is with your hands and smear it until it feels evenly coated and sweep over all the edges to make sure they are covered.  I said it would be messy.


11.  Line up one of your folded edges carefully into the corner of the room.  Press down along that edge, taking care to make sure the little overlap on the side wall is well glued down.  Then work you way gently across the paper, dabbing and smoothing with a soft cloth (and your hand) to the other creased corner.  Handle the paper carefully to avoid getting glue on the surface.  If you do smear it, just try to clean it off with a slightly dampened cloth, try not to rub.  All papers and prints will behave differently.  At the worst you will have paper that sucks up liquid and tears and breaks when it is only slightly damp and sometimes you find printing with colours that run or smudge.  As with everything in life it is generally best to buy the best quality you can afford from a reputable merchant.  I have only ever had one absolutely useless paper and I very soon realised it was unusable so gave up on it and bought something else.  So, if you find dreadful things are happening when you are wallpapering it may well be the paper not you -  don't give up, just try another choice.


12. Clean and dry your pasting surface between pasting each piece of paper to make sure the good side stays clean.  Paste and stick up the other two walls and..... voila....one wallpapered room.