However there may be a couple of tips I can offer up about painting.
Brushes - Over many years I have acquired a zillion brushes for various reasons

Even when they are decidedly defunct I keep them and use them for one-off jobs like gluing or staining.

These have been my two favourite all-purpose painting brushes for minis for years. They are just cheap Chinese made ones picked up somewhere along the way but they have worked really nicely for a very long time.

I recently saw a set of Daler (good make) brushes in a sale and thought it would be nice to have some new kids on the block.

Since which time this size 8 Flat Shader has become my all time favourite.
Paints -
The paint I use for white interior wood work is Valspar, Tidy White, Silk. All my paints for everything are water based for easy clean up.
When I opened it, the top was covered in about half an inch of grey oily liquid - this is the silk finish element of the paint and rises to the top when the paint sits for a while. It takes a lot of stirring in. This is a really important step with almost every paint you use - elements will sink and rise and generally separate out from the base and will need a very lengthy stir - long past the point where you think it looks OK - if you want to achieve the best possible finish. I use a coffee stirrer for this but I am on the look out for a very small whisk.
I forgot to take a picture of the paint I am using, but this jar of wood stain is an extreme example of what I mean. It is a full jar and has 'split' into about 25:75.

I decant paint samples into little jars - those jams you get in hotels. The larger jars are ex Tesco Finest various sauces....mint, apple, cranberry etc. They are good for larger quantities of paints and some 'finishes' such as varnish and wood-stain. They are all much easier to use from jars rather than their badly made containers, they stay cleaner, tops go on and off easier and I can see what I have easily. They are light protected as they reside in a drawer.

Artist acrylics stay as they are in another drawer
 |
| Add caption |
My Valspar paints (sample size for about £2 something) already come in great plastic pots. With a couple of thousand choices of colours and three finishes and good value and a quality finish they are simply the best for me.

Ooooh look, three tins waiting to be decanted into jars.....
and finally.....
Trims in the Music Room -
Dental trim for the Ceiling
As always I don't want the hassle of trying to measure accurately the length of each piece of trim I need to cut. I tear up paper strips from a magazine....

Press it carefully into the two edges where the trim will go making very accurate, sharp creases with my finger nail. I then remove the strip and use it to mark where the cuts need to go on the trim.

I always begin at the back of the room and, if there is a fireplace, I work across that by fitting a strip either side of the chimney breast first.

I then construct the three pieces needed to wrap around the chimney breast before gluing them in place


Dado Rail
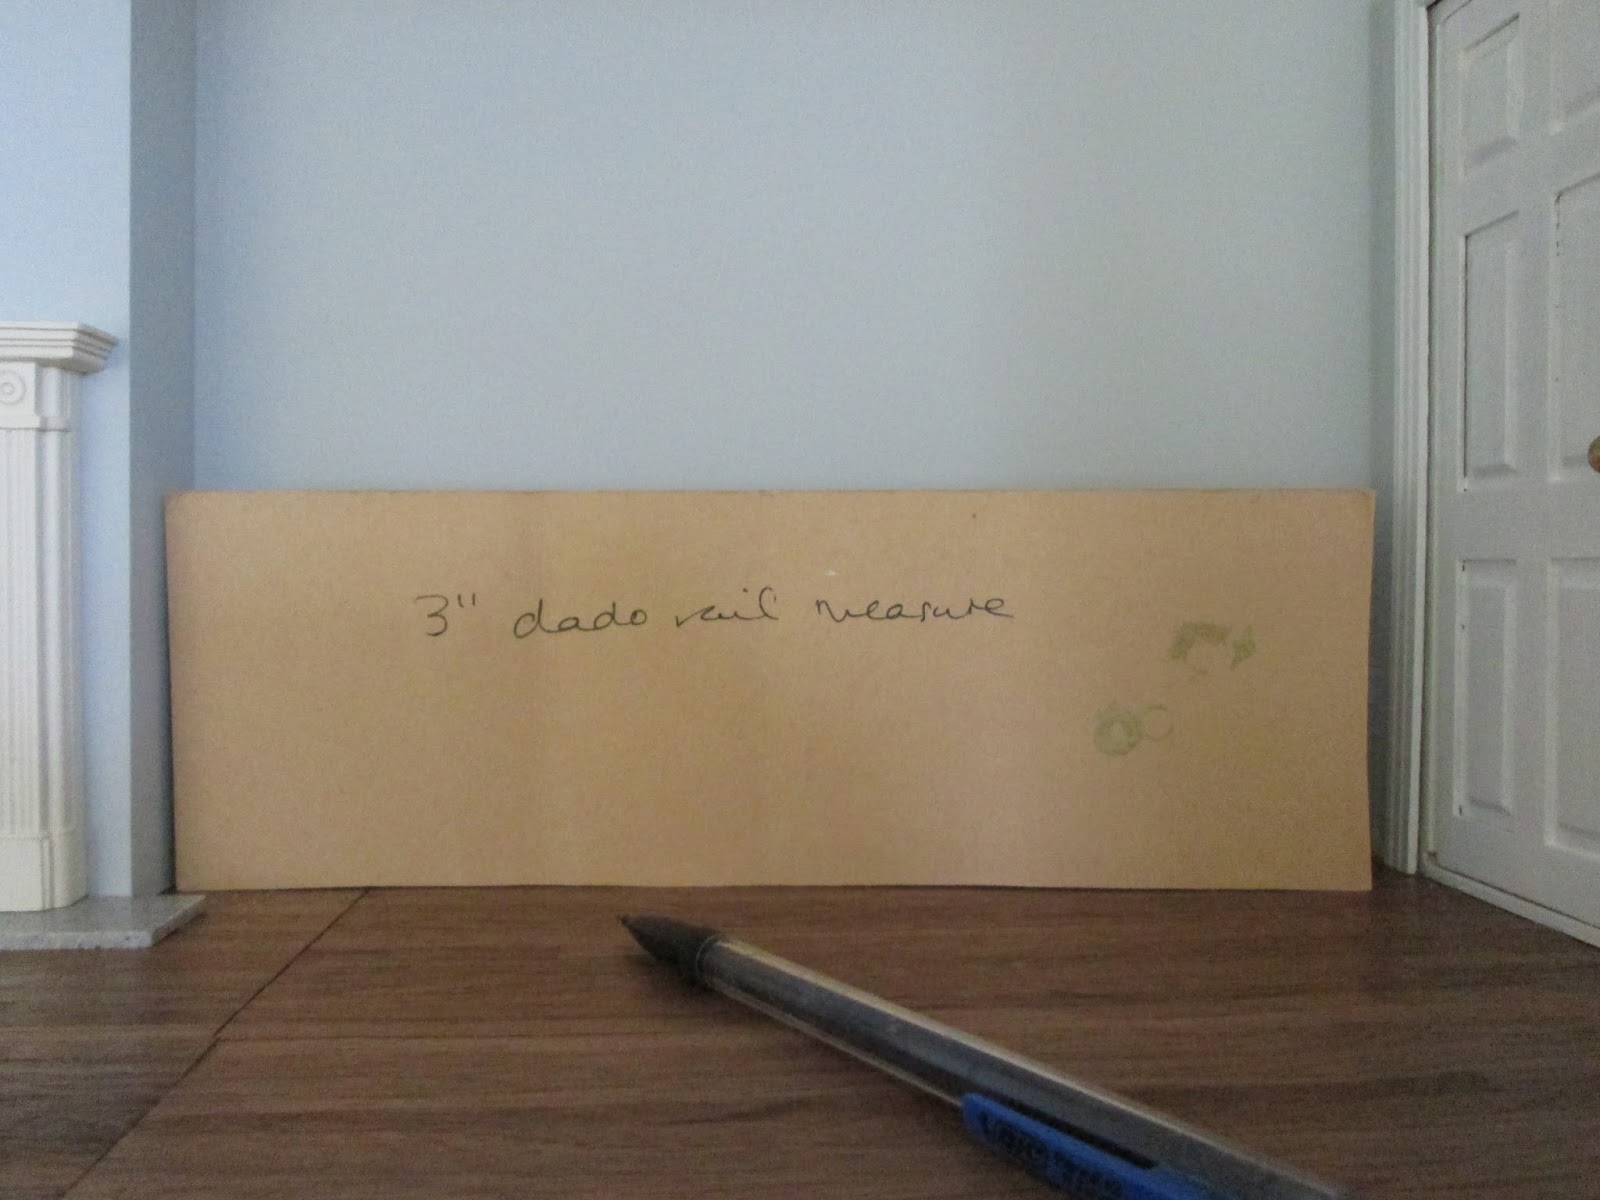
First thing to do is mark up where the rail is to go. I use a piece of cardboard I have now had for years. It is a three inch strip that I slide around the wall, making sure it is sitting neatly on the floor and draw a pencil line around the wall, marking where the rail will go.
When I paint thin strips of wood like dado rails I do have a 'system'. The top edge and bottom edge need to be painted first and I use my finger for this, brushes are just too large to do it smoothly. I can then lay the piece flat down and paint its face. All trims take two or three coats, rubbed down between each coat
 |
| showing the second finger painted coat along the top edge |
They are measured and cut in the same way as the ceiling trim and in they go, followed by the skirting board.
Skirting Boards
The secret of successful skirting boards is to make sure the top edge clings to the walls - it looks dreadful if there are huge gaps. I use my favoured De Luxe glue. Whatever you use let it go very tacky before trying to fix the trims to the walls - you want them to grab as quickly as possible. With skirting boards I make sure all of the top edge has glue along it and I add a few drops of superglue here and there to give it an instant solid grab when it goes on. You also need to push them hard down on the floor to make sure any kinks in your flooring don't shove the skirting out of place.

The room is finally ready for me to find all those chairs and a card table and paintings that it needs.
There will be two chaise lounge type window seats at the front edge of the room. The idea is that this is a 'public' space in the house used for the occasional 'recital' so it needs to seat about a dozen people.

------------------------------------------------------------------------------------------------------
Penny pincher's footnote:
Most of my trims on the last couple of builds have come from a fabulous dollhouse (and trims/mouldings) maker - Doll House Cottage Workshop. My introduction to them was at a show when I was working on Chocolat and I asked if they could make me some treads for stairs to trim up some pretty ugly MDF ones. This was duly done at a great price and good speed. The wood used for his trims are of much better quality than those generally around the place and his prices are pretty much the same. What's not to love.
A couple of months before the York show I was ready to do the music room dado rails and I went to my box of wood to discover I only had one DHCW dado rail left. Being a cheapskate I decided to hold off and pick some others up at the show and save myself some postage.
I found three lots at the show and none were outstanding - eventually I settled on a vendor and bought eight pieces (to stock up a little). When I came to use them I discovered they weren't long enough for my room.

Good old DHCW trims are 18 inches long and these were only twelve and I didn't even really like the profile of them or wood quality....so I saved a lot of money there then .....not!
 |
| my one good one alongside the 'good idea' ones |
Off to order from Chris and the following day I had dado rails (five for £4.50) and a strip of board for stair treads (99p) which I want to make windowsills out of
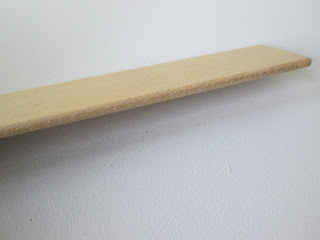 |
| lovely stair tread strip |

Apologies for an overlong and rather disparate post this week. I am trying to get back on track.
Love how the room turned out. I know what you mean about 'good ideas' that turn out not so good. I always end up wasting more time or money when I cheap out initially.
ReplyDelete.....why is it we don't learn? I have done similar things so many times, spent a fortune saving a penny. I now have eight trims i will probably never use as I don't really like them any way! M
DeleteI don't know why I didn't think of decanting paint samples into glass jars! You've mentioned it before and I thought "great idea" and didn't do it. Such an obvious thing to do - the best ideas are the simplest. Thanks too for the straightforward "how to" with the dentil trim. That particular one with the "teeth" is a devil to deal with as the little bits break off! I usually end up saying out loud to myself "cut to the left/right"!!
ReplyDeleteTime to start my collection of jars.
The dental trim was a pig and actually haven't dealt with it properly as I am sure it needed more thought as to the right place to make the cut. The teeth are sort of all over the place in the corners. Will do better next time. Trust me there is a none stop monologue between house and jig otherwise I wouldn't remember which way was what! As for the jars - I was leaving a breakfast in a hotel with our little half empty jam jars and felt obliged to explain why as it did look a bit 'off'. When we checked out the manager appeared with a bagful all beautifully washed. How kind, humouring a nutcase. I am coming up to the point of wanting more....but they must match the others!!!! M
DeleteSo sorry about my thinking this trim was called 'dental' and not 'dentil'.... you learn something new every day. Mentally noted, know all I have to do is remember - bet you felt like going through my babble with a red pen....I would have!!
DeleteGreat tips about the miniature jars of paint...I have found myself on occasion painting miniature trims from a gallon of paint! The room is very pretty with all the trims in place and furniture in position...amazing how the correct trim style and length can make a project go so much more smoothly than buying items in a hurry that aren't 'quite right'. I missed commenting on your last post and wanted to say the garden view from your chair is lovely...thank you for sharing good information and beautiful views! Cheers, Alayne
ReplyDeleteYou are more than welcome, Alayne. It is a joy to have people to 'talk' to who 'get' miniatures.... not to mention being able to show someone what I am doing. I know we do hobbies for our own pleasure but it is added pleasure if someone else is interested in it too. In truth the garden view from my chair is not the best of the garden but it is nice to see plants bobbing about. I know I am very lucky and I am very grateful for it. M
DeleteI ALWAYS have the Greatest Admiration for those who are able to tackle ceiling trims and NOT botch it up like I do. If it is FLAT then I can squeak through but if it has any kind of of curve then- I am literally LOST IN SPACE.
ReplyDeleteYour method for the dentil around the fireplace looks PERFECT Marilyn, and after seeing the clean job which you have made in cutting and installing your ceiling trims I am quite frankly- Pea Green With Envy!
If you only saw and heard me between looking at how the piece will go in the room and walking across to the mitre block and the saw, your admiration would diminish rapidly. I have to use hands to mime and mouth to repeat mutter something on the lines of cut right to left or whatever inspires me to remember the angle needed.... I have little or no spatial awareness. Marilyn
DeleteHello Marilyn,
ReplyDeletenever apologize for a long post...the more the merrier! I very much admire your techniques. your tip to measure crown molding are genius! Thank you for talking about brushes...painting is one thing I struggle with! The trim in the room is just beautiful!
Big hug
Giac
Measuring gaps is a real pain - rulers won't go in, tape measures are notoriously stretchy and unreliable and also we are often dealing in 1/32ths or something silly like that when we are trying to get a good fit. I use strips of paper to 'measure' all sorts of things when making minis - they make an immediate template. You DO NOT struggle with painting at all, your work is museum quality finish and to be greatly envied. All that lovely marbling is to die for.... as for the Alison Davies table..... The only brush I wield is a simple decorating brush, no lovely finishes like yours I'm afraid. Marilyn
Delete