Obviously a hole through the wall and the wires going through to the other side wasn't the answer as one would now be in another room and the other one would be on the outside of the building. They still needed to be concealed and somehow get to the back of the house.
The obvious and probably the best answer is to just add a false wall - thick card or foam board or material of choice. Decorate and add your light put it in your house with the wires sandwiched between this false wall and the one already there. Taking them to the back wall as usual. Me? I have to be different! I wasn't happy with the double front edge at the front of the house. I am sure paint and/or trims would solve this but then I fretted that those rooms would still somehow look different. Twerpy I know.
So my two final solutions were very similar. First drill a hole for the wire where the light is going..... eventually. Make a groove down the wall on the other side, drill a hole below that groove and back through to first side. Then cut a groove across the floor and drill hole to exit the back of the house to join the other wiring.
The fiirst picture shows the music room side where the light will be. You can see a 'test wire going through the hole, it then runs down a groove on the library wall side and comes back through a hole at the bottom of the wall back into the music room. It then follows a groove in the floor ans exits through the back wall. The wire running down the wall in the library doesn't matter as there will be shelves hiding it.
 |
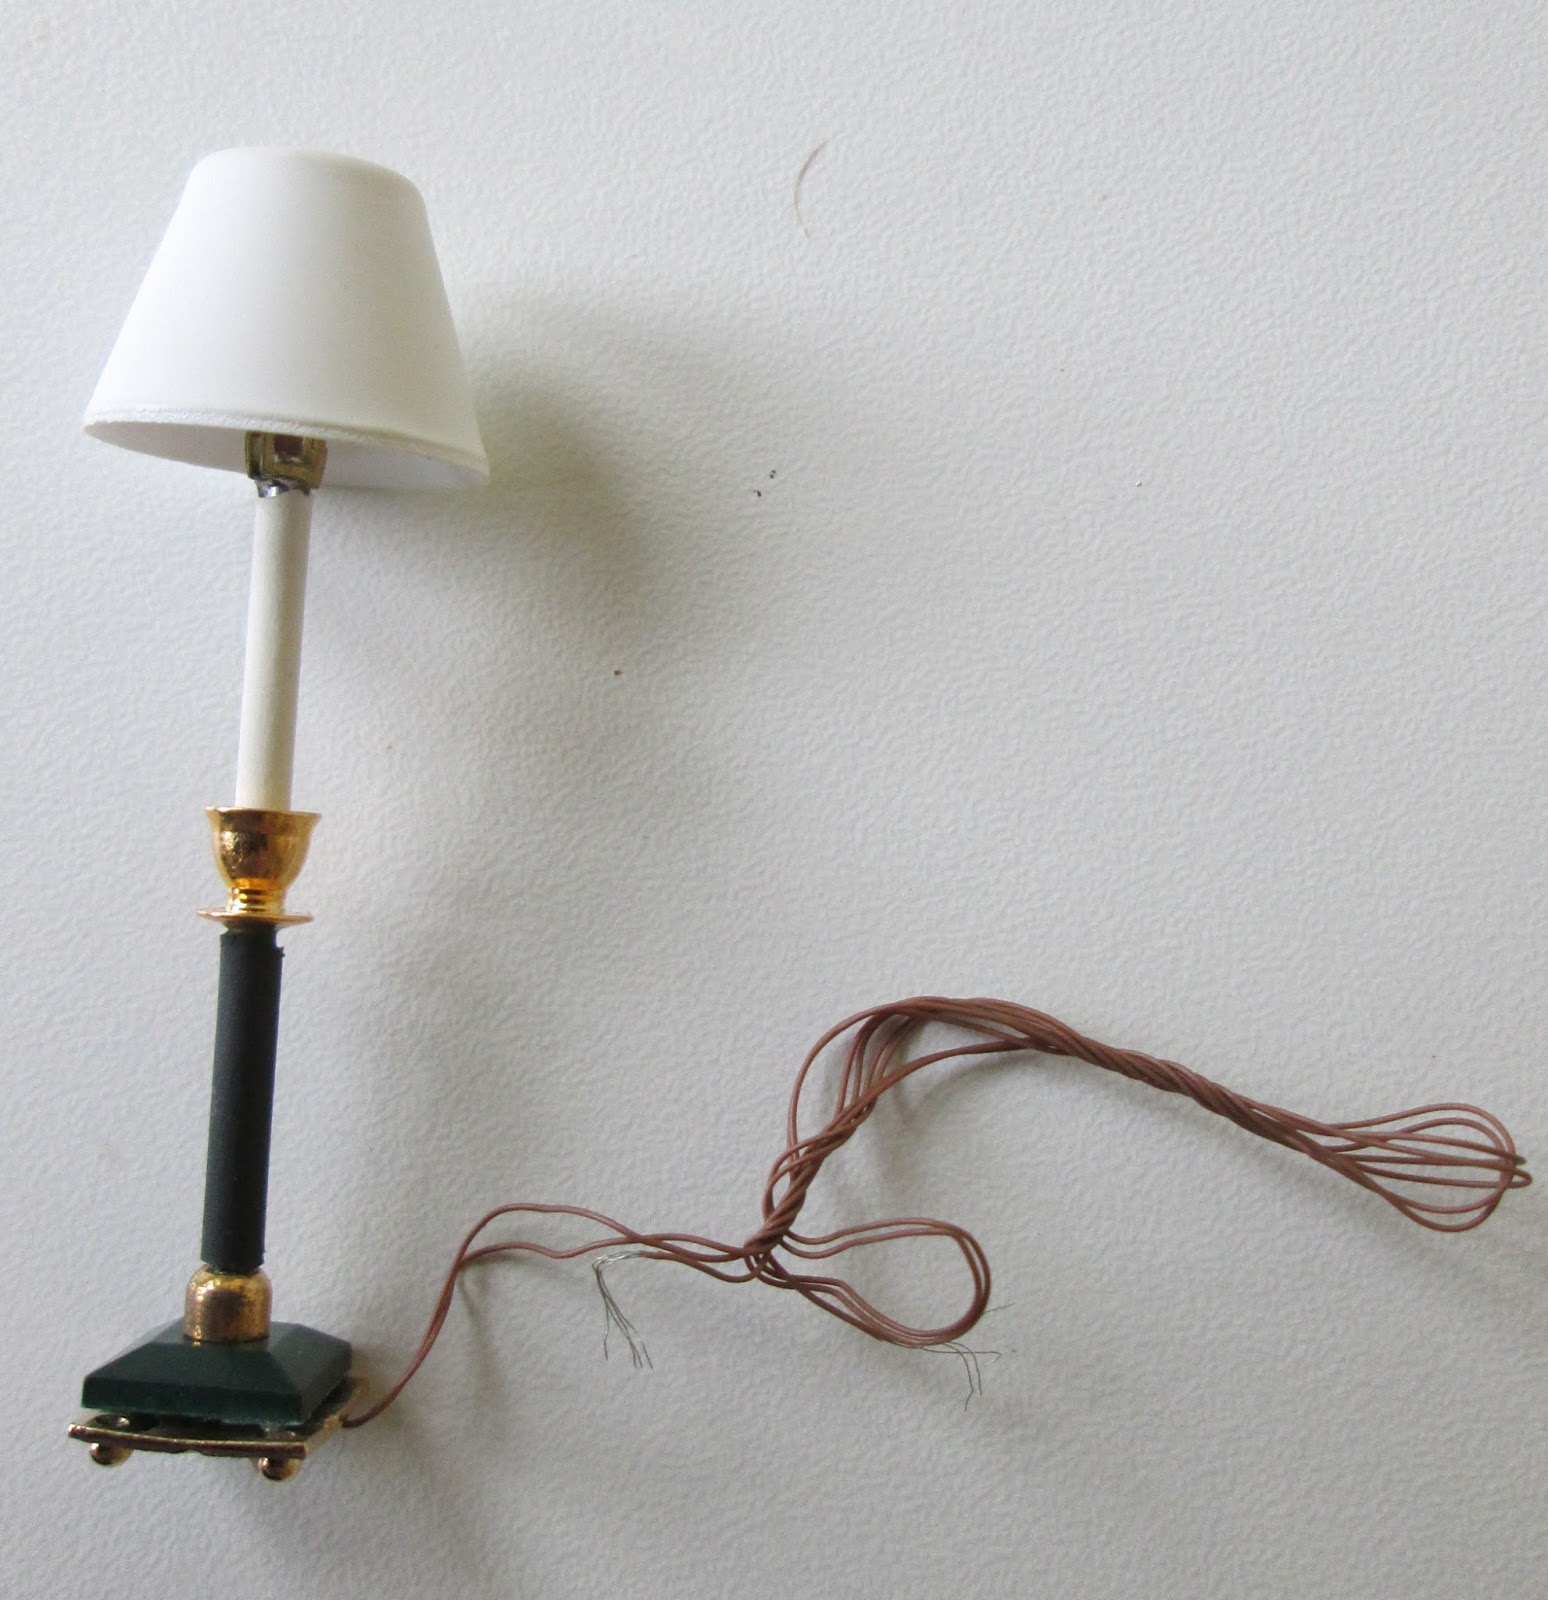
| testing with spare wire |
 |
| outside wall, two lines scored with box knife |
 |
| gouging out MDF to make the groove |
 |
| testing the wire fits in snugly |
The next picture shows where the wires on these wall lights will end up....
 |
| the cluster of wires shows how I am working my way upwards floor by floor |
 |
| I label each wire and do a test of each one before the final fit |
Just a note about detail.
Not only am I a fusspot about detail but I actually enjoy trying to get all the small stuff right. Lights and rugs are pains to find and ...... door knobs!
In the main they are the simple brass round knobs and that's that but, in real life, how many times do we encounter those sort of door handles/knobs? Hardly ever. Sadly on this level of the house I have had to resort to them as that's all I had; otherwise they would have held up the rest of the progress whilst waiting for a dolls house fair two months away to find something better. Luckily they are the screwed bar type so if I do find better I can always struggle and change them in situ.
 |
| This floor - not happy with these, always think they look too big and too shiny |
 |
| Basement - nice modern handles from ELF |
 |
| Ground floor - the right scale and not too shiny and a 'proper' door knob shape |
Bit of a footnote on the lines of ......do as I say, not as I do. I had a clean up today in the hive and was horrified to see how lazy I had been when working.
This is the cutting mat I use for cutting! No surprise there then. The old paint marks are from way back when I knew no better.

I also have a silicone oven mat for gluing and painting on - perfect as it takes a couple of minutes in soapy water and it is spotlessly clean again. It resides on top of my cutting mat because I do more gluing and painting than I do cutting.
Just look at the state of it..............
 |
| covered in knife slashes |
........ too lazy to move a mat aside when I want to cut something!!
(29/04/17)


