As I have arrived at the last fire to go in this house, I decided I would record in minute detail the processes involved in getting a chimney breast into the house. So every little step of the way was photographed. In a way this makes for a frustrating bit of work as you have to stop and do this, rather than just get on.
Eventually both jobs were done and content I had a zillion photos I put them in my computer to edit and discovered I had a scattering of photos taken throughout the process totalling six! I have no explanation for it and spent the following day pithering around with camera and computer and could not replicate the problem.
So, verbally, this is how it went..... with the occasional not too useful photo.
I had a chimney breast kit purchased at a show for five pounds a while ago. I forgot to note the vendors name. It is a good piece of kit, sturdy and had routed edges for the two sides to glue into which made a neat join and easy to keep square. So I began by gluing the three pieces together to make the wooden chimney breast. Make a note here - before you do that make sure you have checked the height of your room and the height of the chimney breast - no reason it should fit as it is made for a heap of people. Guess who never thought about that at all and then later had to get husband, with chop saw, to lob off the excess.
I then made a cardboard hearth. To do this I used the thick grey card I mentioned a while ago (ticket board?). I stood the chimney breast on the card and drew around it so I could cut a piece that would fit inside the chimney breast but come to the front edge of it. If you look at the second (front view) picture here you can see its shape. This is to sit under the place where your fire will go. I needed the grey colour of the cardboard for this project so it was just a case of putting some spots of pencil all over it (like the marble I will be using for the hearth at the front of the fire, and then a gloss varnish. I didn't want them to match but I did want them to blend into each other.
Then I made what would be the brick back behind the fire by scoring the same thick card and folding into a sort of screen shape,
 |
| back of hearth brick walls |
This was then covered in brick paper. If you are making a 'real' wood or coal fire in your project, you would need to dirty this up with some paint, but my fires are in a modern house and are all, in fact, gas!! This piece was then stuck to the hearthstone. You need to measure and mark carefully from each end to ensure the angle of the fold turns out the same.
 |
| front of hearth |
At this point you can put this in place on the back wall of the house and drill a hole through the piece and through the back wall of the house, so they will line up perfectly, for the wires of the fire to go through. I even pushed a cocktail stick through the hole to make sure I could locate it easily and that there was a decent size hole to fiddle wires through. What I didn't do however, is actually do it at this point. Looking at my photos it appears I did the hole drilling manoeuvre using a piece of spare card and just the fire back. Same difference though.
 |
| hole drilled and cocktail stick through back wall and brick facade |
 |
| left the cocktail stick in place after removing the hearth |
 |
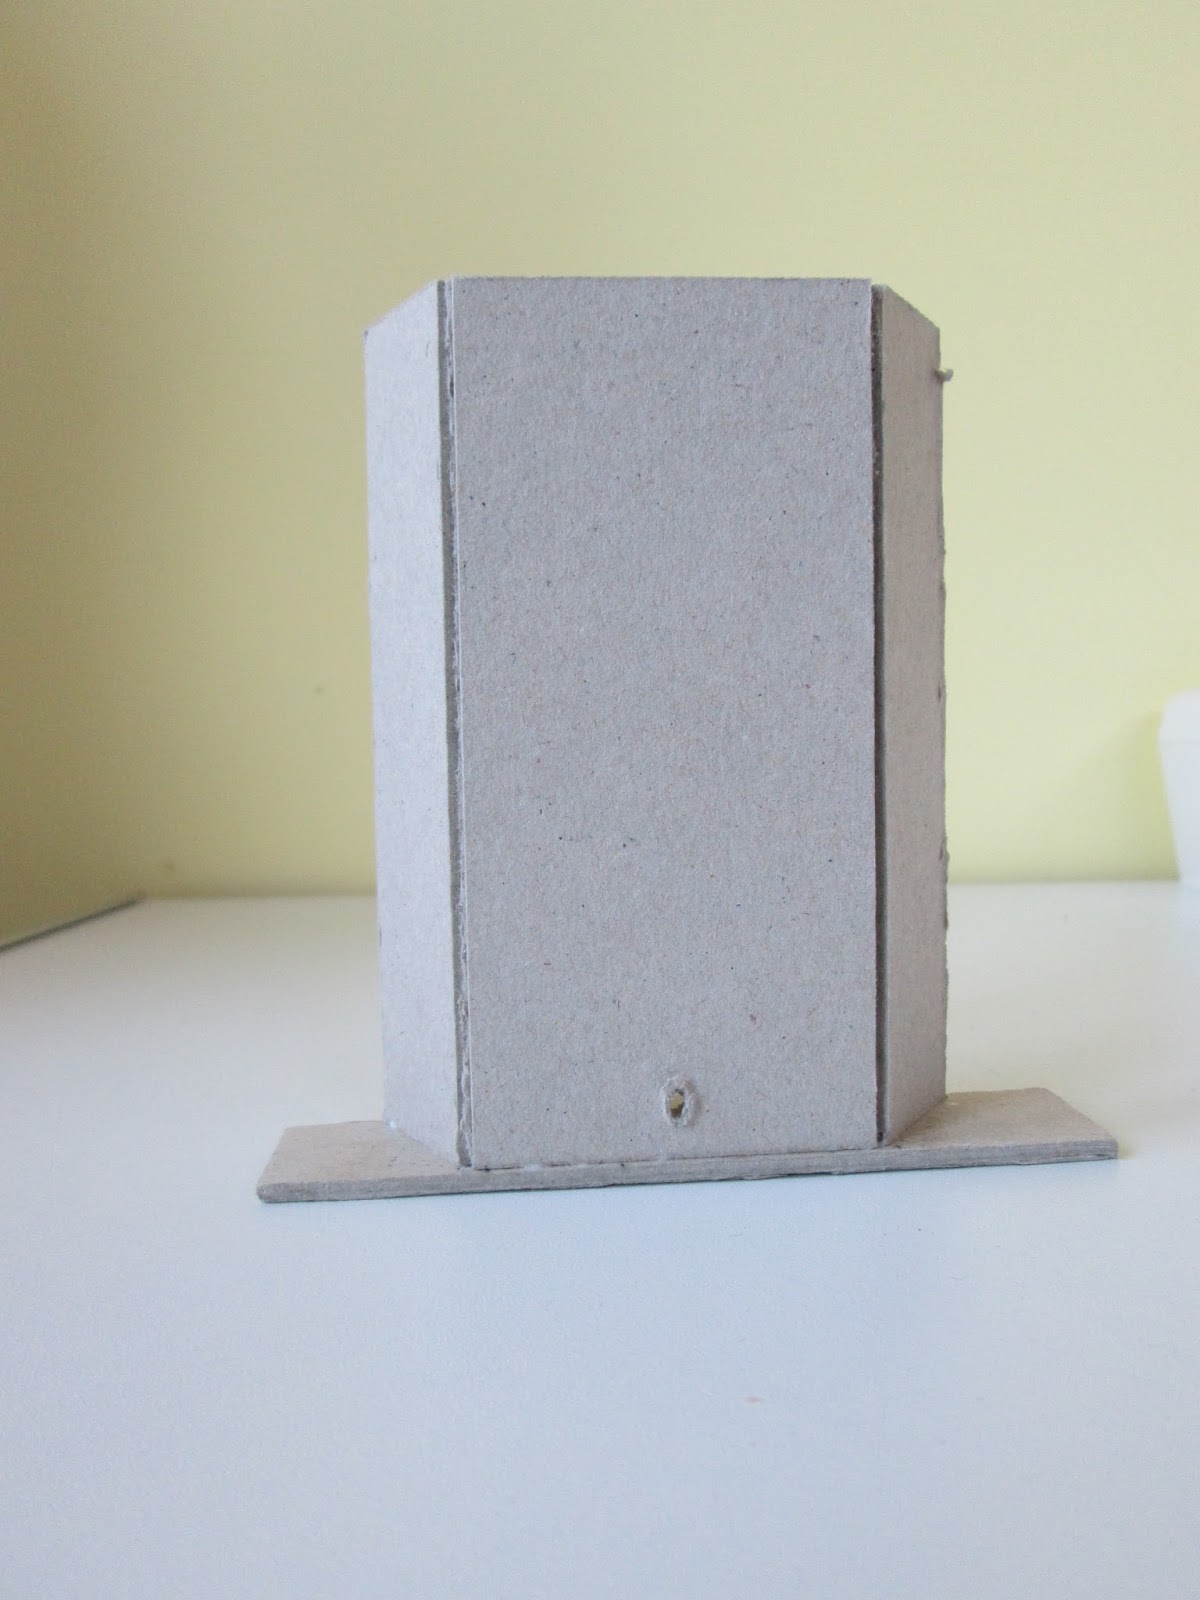
| back view of completed hearth and chimney breast |
I painted the front grey with a thin grey/black edge for inside the edge of the mantel.
 |
| front view, painted |
We now have a fireplace and chimney breast which fits snugly to the back wall and has a smooth front edge waiting for the marble hearth to be butted up to it. Now, for some choices.
It can be glued into your house on to the unfinished floor (and back wall) and any flooring can be cut to fit around it; this is probably the best way to go if you are wallpapering as you really need to get on with that before the finished floor goes down to ensure you have neat joins in the wallpaper and you probably don't want to be sloshing wallpaper and paste around a finished floor. As I am painting this room I think I can do the three coats of paint on the walls and the chimney breast separately and they will look fine when the chimney breast goes in place. (?)
I have to have all the walls in a finished state so I can put in the wall lights - remember that saga? - and run the wires across the floor, then the floors can go down. So, the order for me for this room is:
1. paint walls
2. put walls lights in
3. floor can go down
4. chimney breast in place and fire and mantel and hearth installed
Finally here is a mock up of what the finished article will look like when it makes it to the room itself. The walls definitely look pale grey not blue like they do in these photos.

Hopefully lights going in will be my post next week.
-------------------------------------------------------------------------------------------------------------------------------------------------
I quite like my bargain pair of tables for the hall. They were intended for the Dining Room but are far too 'busy' to go in there. I am still not too sure if they aren't a bit too 'barge-ware'.
They only cost £3.90 each from Maple Street so were worth a punt for a lick of paint and some decoupage. I searched the web for 18th century inlaid table images, found something I thought I might like, copied it to word, shrank it to fit, cut out bits of the pattern and glued it in place. I did give it a coat of matt Mod Podge afterwards to sort of smooth it over and they look just fine. They wouldn't bear close inspection. I am also a great believer in 'these will do for now' and when I see something better they can be switched out without a lot of guilt about money wasted.
 |
| Maybe they are a bit 'clunky' |
 |
| It was really just a matter of removing the frame around the pattern and separating the elements |
 |
| The hall is plain enough to take them???? |
-------------------------------------------------------------------------------------------------------------------------------------
There will be two posts this weekend as I want to catch up on the York Show post from last week which I didn't do. So the photos of purchases will appear here in this blog tomorrow and the show 'review' will be in my Dolls House Trips and Shows Blog
(31/5/17)
Nice job, Marilyn! The hearth and bricks look great! I also love the fireplace you chose. Turning inexpensive furniture into something really interesting like you have done for the entry tables is so much fun, and your tables turned out very nice!
ReplyDeleteHi Jodi, I agree with you the most fun is had by tweaking stuff I wish I did more of it. I seem to have got into the habit of trailing around for months on end trying to buy the thing I want rather than wondering if I could 'upcycle' or make it for myself. The basic table is just a bit too 'heavy' for my liking but they aren't absolutely offensive so they will do for a very long time I suspect and it gave me a chance to try my hand at changing a furniture piece so now I have ideas for other tables. Marilyn
DeleteI love reading about your adventures Marilyn, because you always keep it real! :)) Your missing photos must have been a hair-puller when you discovered it had happened, nevertheless your remaining pictures still convey your message and demonstrate your process.
ReplyDeleteYour fireplace looks GREAT!
I also love the twin tables in the entry. No need to ever change them as they add interest both visually and functionally and make a very pleasing arrangement!
Morning Elizabeth, the missing photos remain a mystery - latest theory is that the card in the camera was somehow not in properly and the images were not registering...???? that's the best I can come up with - never done it before or since. Personally I put it down to mini gremlins - us miniaturists know the havoc they can wreak. Thanks for being kind about the tables. Marilyn
DeleteHello Marilyn,
ReplyDeleteI really love your chimney and fireplace method. It looks beautiful. I really like those tables in the hall. I think you refinished them beautifully and they work perfectly in the space.
Big hug
Giac
N.B. thank you for the links you recommended on your comment in my last post.
Hi Giac, Hope the links are interesting for you . I am sure you research and research like mad for your projects so I know I can't add to your knowledge but maybe I can add some English flavour (?) Thank you for liking my stuff. Marilyn
DeleteLove those tables, I've been looking for some decoupage flowers suitable for miniature furniture but haven't found anything suitable yet so will try printing my own now.
ReplyDeleteThere are zillions of images for all kinds of decorative tweaks, just a matter of finding them. Google just what you want, eg 'decals for furniture' copy, print resize and off you go. I use a thing called a snipping tool on my computer, free downloadable, as this will copy things that sometimes can't be copied the usual way. M
Delete