My favoured flooring is a real wood walnut flooring made by Houseworks. It can be bought in the UK and the USA. It is a great quality product, nice colour and accurate size floor boards for Georgian houses. Wider floorboards are late Victorian onwards. It measures 11 x 17 inches so is a good size and generally covers most floors in one sheet. Costs £9.95 from Jennifers of Walsall.
First step is to cut out whatever is needed to cover your floor. You can now use the board as it is is or wax or varnish it. I use a satin finish B & Q water based varnish, easy to apply, easy to clean up with soap and water and you can get a small tin which has lasted me over four years! Handy tip - decant to a jar as the tin not only gets 'gummed' up, it also tends to rust and drop bits in the varnish - same with paints - all mine go in jars. After the first coat is dry (overnight) if you rub your hand over the surface it will feel really rough this is the action of liquid on wood. To denib it I use one of those nail buffers I mentioned in the painting post a couple of posts ago. One quick buff over is enough, don't over-do it or you will just remove the coat of varnish and then be starting again.

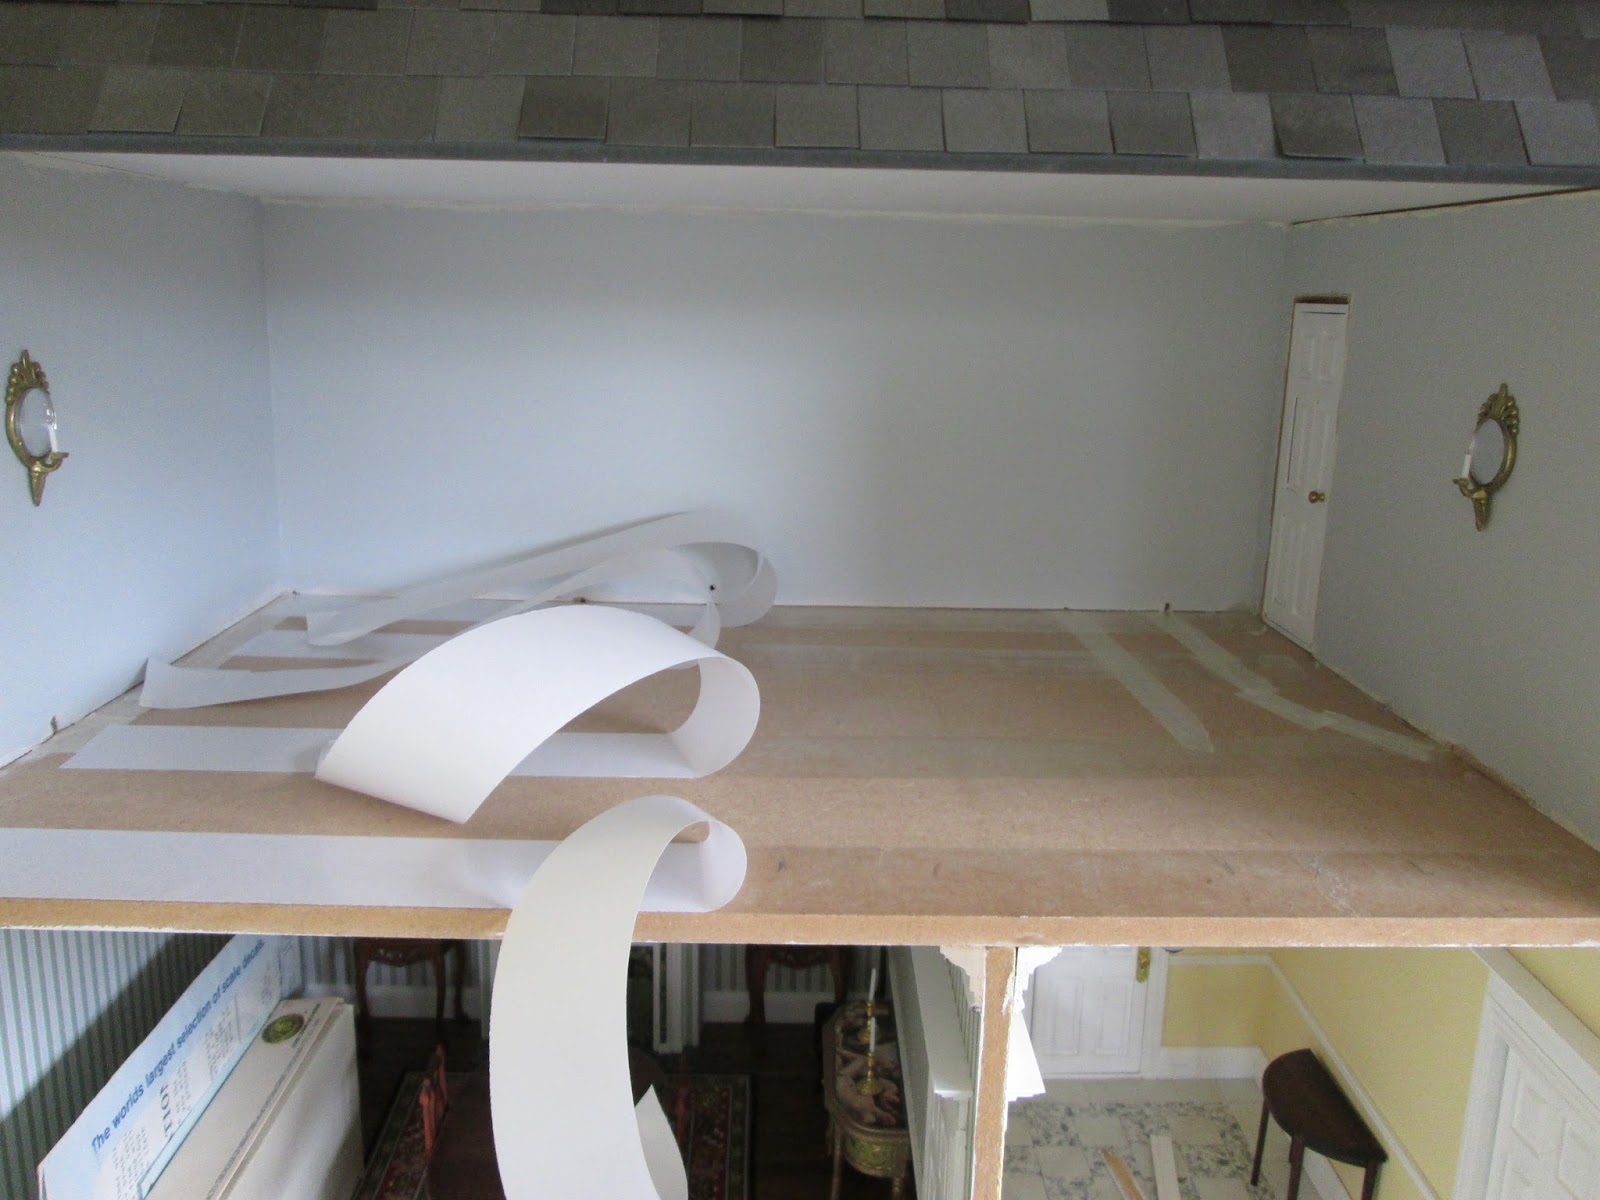
They then get a second coat. This will have made the sheets curl up a little.


In the morning I have nice flat sheets of finished flooring to put in the house. I keep the parchment for same again or painting or gluing on, useful non stick stuff.

The most important edge in the room is the one running across any doorway, others will be covered with skirting board so they don't need fussing with. The floor running along the door edge needs to but up to it without the tiniest gap.

My door in this room happens be at the back but I can't start with a piece of flooring back there. It is important to lay the floor from the front edge so that it runs perfectly in line with the front edge of the house.

First mark up where any seams will go, you will need these places covered in sticky tape or glue if you use that. Not keen on the idea of glue all over, makes removing the floor nigh on impossible. Haven forbid you will ever have to.... but if you do.....

My sticky weapon of choice is very thin double sided sticky tape - not the foam kind which would make the floor stand proud of the surface but any which is as thin as sellotape - indeed it is actually thinner than that when the wax paper is peeled off.
Tape all the across points - here I have taped the front edge - right to the very edge, then I taped where the seam will be, about two thirds down the room, and then the back edge, finally I ran another line and another line between the seam and front edge. I now needed to lay a vertical piece down for the seam which runs front to back, so the protective paper has to be peeled back to allow that to go in place.

The front right piece of floor goes in first to ensure a good edge at the front of the room

Then the back right piece. The challenge here is to make sure it joins well with the front piece and buts up against the door sill perfectly.


............the front left goes in next, again checking that front edge really carefully.

.......... then the back left section and it is done.

You could now give it another coating of varnish in hopes of pulling the seams together a bit more, or a couple of coats of wax polish or, as I do, nothing!
Major learn from this ... I don't remember having had a a room so wide that I had to join the flooring with a seam running from the front to the back of the room before. The seams do show. How much this will annoy me when the rugs are down and furniture is in I don't know but I so wish I had turned the flooring the other way round. If the boards had run front to back the joins would not show at all!!! I considered it briefly but always prefer the boards to run across the rooms (we read left to right so it is less jarring on the eye?) and I wasn't sure it would make a huge difference and I didn't want one 'odd' room. I now regret that choice. I am not ripping it out and redoing it at this stage as the fireplace has also been put in place and it would mean all kinds of messes to deal with.
(8/5/17)
Dang! But wow, it is nice flooring. I've never really looked at it before. I am sure, as you say, once furniture and rugs are in place, you will not notice. Especially if you can put a rug or furniture at the very front over the join, the seam will not be so noticable near the middle and back. Oh, or maybe a pet? A strategically placed dog, or basket of logs, a bag, the cleaner's caddy, ummmm, other small item carried into the room and placed on the floor for just a moment?
ReplyDeleteI like your thinking, cover up the ugly bits, excellent idea. Might need a very large dog! M
DeleteHave no regrets, Marilyn - it looks beautiful and as you say, most will be covered by the area rug. I have had to piece this type of flooring together once - in my moms lamp beach cottage. What I did was to remove every other board at the edge of each sheet where they would butt together. Then I used the longer boards to patch in over the seam. Then I filled in the rest with random left over pieces. It was not perfect, but was less noticeable after sanding and finishing. Nice job on the edges! Mine never look that good!
ReplyDeleteGreat minds Jodi. After much mulching over it I came to the same solution, namely weaving planks together. Right now I think I may go back and redo the floor BUT I may not have enough to do it with and it hurts to remove a ton of paid for stuff and buy again.... difficult being a cheapskate AND a peefectionist.😏
DeleteThis floor is finished beautifully Marilyn but I am thinking from your answer to Jodi that even though you consider yourself to be a "cheapskate" I do believe that you are far more the PERFECTIONIST. Having invested so much effort into all of the other rooms I think that you will not rest until you have corrected your floor. However have you considered dividing up the music room at the seam to reflect the 2 directly below? I know that it would be more work but you could gain an additional small room as a result and it wouldn't require as big a rug to fill the floor.
ReplyDeleteMeanwhile, your precision for getting the wood right up to the edge is astounding! I am going to look for that double sided tape because I know that I could use this technique in my Villa, so Thank You kindly for this excellent tip! :D
elizabeth
Hi Elizabeth, I am reluctant to put a wall back as I deliberately chose to leave it out to enlarge the room. Enlarging it of course is the very thing that gave me the problem of the flooring not being wide enough. Hey ho. I did choose the have the seam along that old wall line though so I could pretend that there had been two rooms there once and (my) Elizabeth (the inhabitant) had it removed and its left an ugly line!!!!! The things I do to validate 'ugly'. Marilyn
DeleteHello Marilyn,
ReplyDeleteGreat tips on installing flooring. I used the double sided tape once and I must say it is still holding strong today. They look beautiful.
big hug,
Giac
As I said I just don't want the permanence of a floor just in case.... That said I have never owned a finished project for more than a couple of months. Maybe this one is a keeper. M
Delete