Saturday, 9 January 2016

Hinges for the main doors

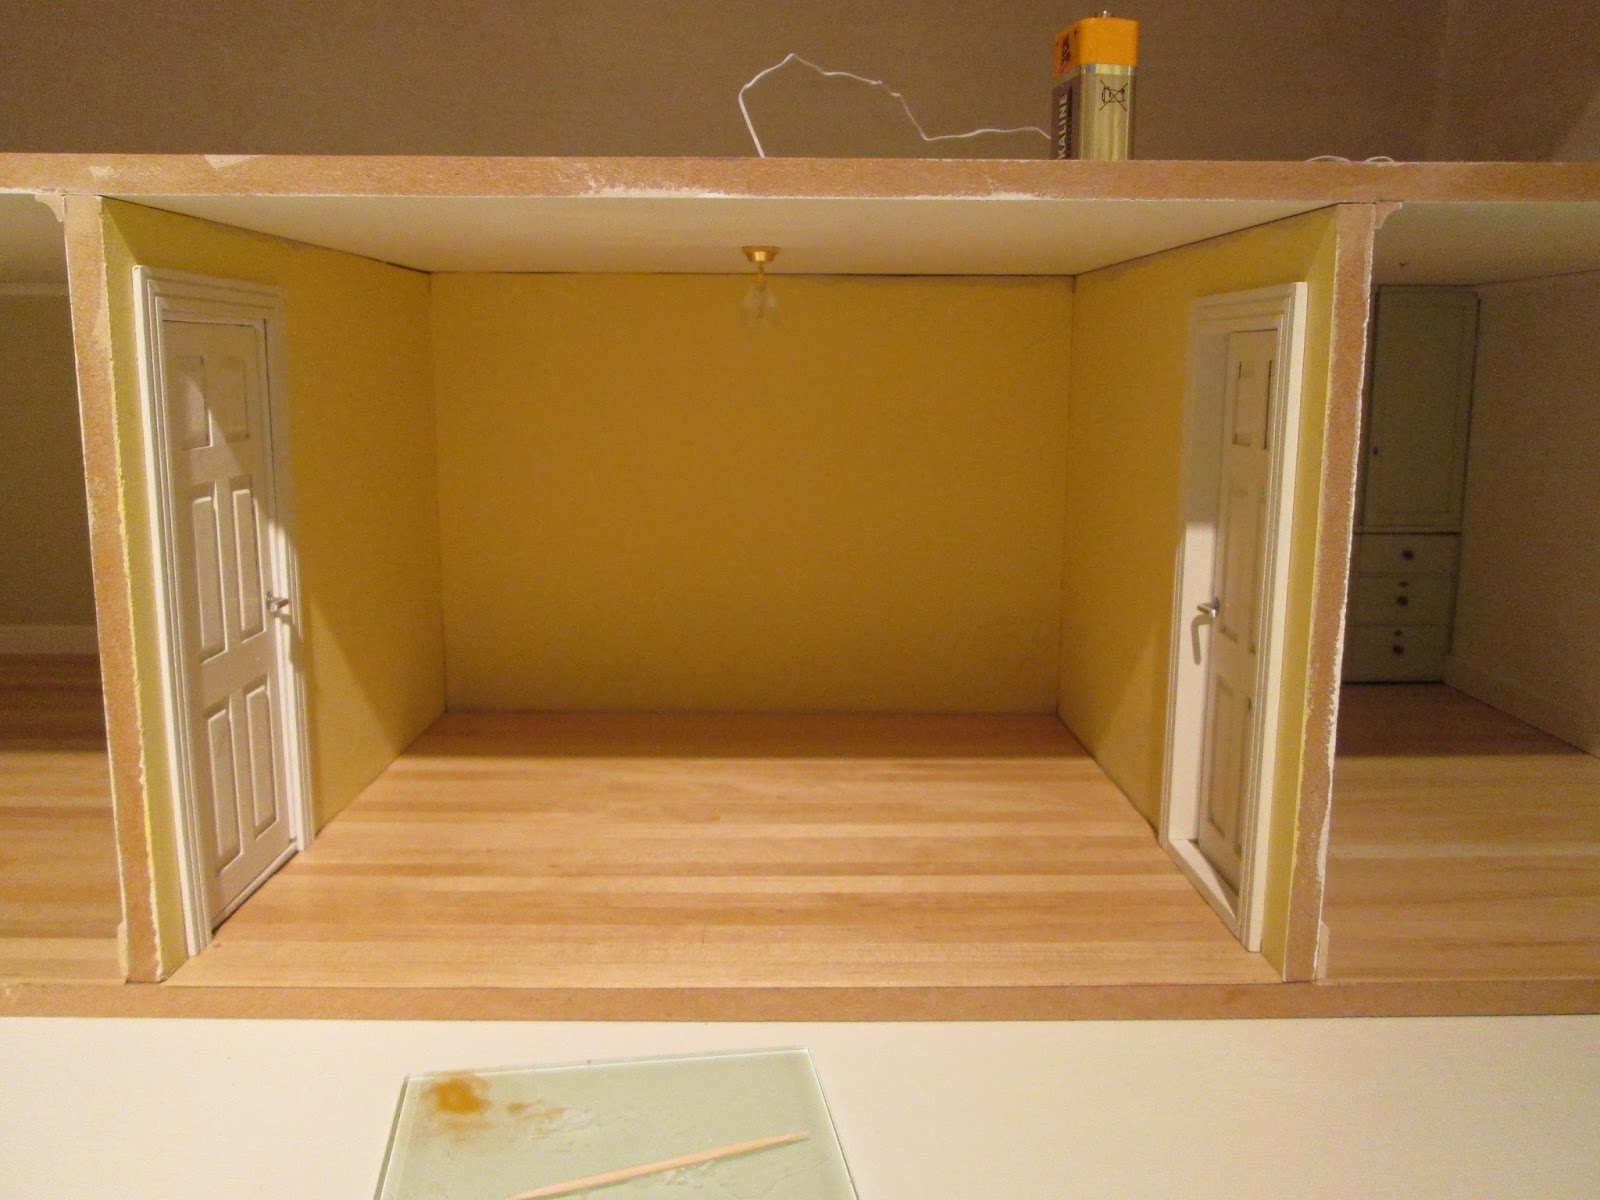
I thought on this build I might go for the more elegant option of using piano hinges to support my main doors rather than the usual cranked hinges.
One advantage being they would be nigh on invisible as they would sit right along the front edges of the project and run down in a very narrow strip (less than 3/8ths inch) on the open door.  This would allow for easier decorating.  There would be fewer front edges to paint which I always think is a chore at the end of a build.  I am never 'comfortable' with the huge brass hinge sitting in your rooms and for it to be tidy it needs to be attached after the room is fully trimmed and decorated.  

Section of piano hinge open flat

Closed and totally concealed 
 My huge doubt was whether they would support these particular doors.  My house has a basement area which is actually attached to the doors.  I specifically looked for this arrangement having had a couple of builds where you have to remove a large basement area to open the doors to view your house - all a bit of a fiddle for a lazy person.  So, with all that added weight, and it is considerable, I was dubious that a row of screws in the front edge of cut MDF may not be that strong.
I searched for a definitive answer and only found one person addressing the issue - a lady I respect greatly - she said that piano hinges were fine for smaller, lighter houses but not for anything substantial. (Grandmommy)
I then wrote to the builder of my house Dolls House Direct who kindly helped with this:
Hi Marilyn
We only recommend the cranked hinges as they get screwed through the surface of the board not the edge, a lot stronger fixing.
Because of the weight of the Dalton including the basement, I do not think that it would last long before the screws start to loosen.
Best regards Gary DHD


Hi Marilyn
MDF is soft wood shredded up and then glued the same way as plywood pressed back together between rollers. 
Piano hinge into the end of plywood and the screws would not hold. 
Regards Gary.

Incidentally go and look at their new house The Bentley (co-incidentally the name of the shop I made!) it is yummy.
Meanwhile another vendor was helping me - Pauline from Weaverthorpe Miniatures sent me a sample of their piano hinge.  Luckily for me it was too wide for the front edge of Dalton House so my decision was made.  
Another incidentally Weaverthorpe actually has a shop!!! so you can go browse.  Click the link to find out about it.
I will be using cranked hinges again for this build - it takes nine of them!


Closed cranked hinge

Large in a 1/12th environment


Wednesday, 6 January 2016

Almost last lap of wiring the house

Let's try for a quick pictorial tips thingy for putting in your lights....


The wire is curly and twisted which makes it difficult to lay down neatly

Straighten it out carefully with your nails or handle of paintbrush or tool of choice.


Remove pins from plugs and gently pull out the wire.  Pliers work better than teeth.  I don't need to do this as I won't be putting the plug back on so I can just smugly snip off the annoying plug with scissors.


Decide if you are keeping or removing the sticky pad.  Keep it - nice easy way to attach to ceiling.  Remove it - goes flush to ceiling with no pad showing but not always easy to glue in place.  I use a DeLuxe Modellers glue and a couple of spots of gel superglue to hold it while the other glue dries.  Also be careful to put the cut out space for the wire which is now longer needed to the back otherwise I promise you it will annoy you forever and a day.


Thread wire through hole


With glue applied or sticky-pad in place, support light beneath, pressing the fitting to the ceiling and pull the spare wire through gently.  Thread through the exit hole (usually at the back of the house and lay the wire in the groove.  I just broke the wire on one light being too enthusiastic.


Et voila!  One puny light in place.  I hope to add strip lights under cupboards at the back of the room.


When the light is holding up under its own strength, smooth out the wire in its channel and cover the wire and groove with masking tape just to help keep it in place and to make a perfectly smooth area under your flooring.  If you use thin paper flooring you may want to stick it to cardboard to conceal any bumps.  Reminder - use a few pieces of thin double-sided sticky tape to attaching all flooring to floor so that in the worst case scenario you can remove the floor intact and peel off the masking tape and remove the light at any time in your house's lifetime, should you want to.


To strip plastic from the wires a wire-stripper/cutter works better than teeth or fingernails.


I test and test at every stage to check I haven't broken anything.  Ironically this is the light whose wire I did snap.  Just touch bare wires to 9V battery - any wire to any terminal.


Sunday, 3 January 2016

If you need versi products buy NOW!!!!

As this is so last minute this probably wont find a single person to help but always worth a shot.  If you use Richard Stacey's products on your builds - bricks, slates, floors you need to get over to their online ordering in the next twelve hours.  Right now in the proper shop products are already reduced - 1000 bricks for example from the usual price of £12.95 to £11.65 but in addition to this if you can get to the online ordering site you will get a further 10% discount.

So, if you need any kind of walls, floors, roof covering Richard Stacey is always the place to go and for the next twelve hours is offering a double discount. So go take a look.

I use the Versi products on all my builds - they look great and don't add weight BUT RS also makes the most wonderful range of real stone, slate and marble and all kinds of brick slips.  You will need to finish the floors and the exterior somehow so, pootle on over......

Click here for

extra 10% on line ordering

usual shop link for Richard Stacey


The finish on my Bentleys and Chocolat

red versi bricks and grey slates

yellow buff versi bricks and terracotta tiles

As with all kinds of online shopping do your very best to make sure you have ordered everything you will want from a vendor in one go (if you can afford to do it).  I 'saved' £40.89 on postage by making myself spend more than I am comfortable with right now so I could get everything I think I am going to need from them to complete dalton's exterior.  Fingers crossed my calculations are good.

Saturday, 2 January 2016

Happy 2016


Happy New Year.  Hope 2016 is filled with health and happiness - what more could we want?

......  w..e...l...l....... some actual hobby time would be nice.  Here I am 2nd January and still not found a chunk of time to sit down and play.  If you read my Clavering blog you might realise why.

All I have to share with you this year so far is my new work-space which I have just christened The Hive!

I have worked here, there and everywhere around our home in the four years of doing this mini thing.  Ultimately (and happily) I ended up taking over the only guest room and making it my work-space.  This has worked well but I have always fidgeted with not having somewhere to 'put anyone up'.  Eventually I bit the bullet and decided we would have a room built on the side of the house in the 'utility' part of the garden (replacing the small greenhouse).

Here it is going into place:


floor and frame in place
8' x 11' and well insulated


fence will wrap back around it

my walk to work

Dalton House moved in first

mini work corner

office work corner

office end and view to garden with no fence

minis end and view to garden and house wall

I have been ensconced since before Christmas and it is just lovely and I know how very lucky I am.  It has light and power and heat and is plastered and finished and hugely insulated so, once inside, it is like any other room in the house but it is all mine and neat as a pin.


Just in case you think by now that I have actually given up on the build that is Dalton House I promise you I haven't, but I have reached another hiatus.

I now intend to complete the front doors/basement part of the structure and hang them on the 'box'.  I want to start to protect the rooms inside from light and dust and also (to be truthful) to have a finished look about it all.  This project is being deliberately slowed to a snail's pace as it is supposed to be the last house I do.

The doors and basement materials are taking up a lot of room and they sometimes have to be moved from here to there when I am doing something on the house so if they were finished and hung that would be all round easier and I would feel less guilt about making each room last as long as they are while as I go through them one by one.

So, right now, a good coat of thinking is in order as I have a few ideas of what I want the outside to do for me.  I am also negotiating (maybe) some bespoke windows and I need to order a zillion bricks and slates from Richard Stacey.

This is sort of how I want the house to look

so that's a lot of bricks to do

Admittedly Dalton is only two stories, plus basement and attic so it is a layer smaller than this but the general finish is where I am going with it.


I hope to be back very soon with something underway.


Friday, 1 January 2016

PS to Jennifer's comment

This lady is Jennifer Smith and is the bee's knees when it comes to lighting in the UK.  Great products and best of all super helpful in every way.  Here's a link to her site  J. S. Miniatures  She has a ton of helpful stuff on the site which is much more professional than my just sharing what I am doing.  So if you do need something or some help with wiring this is the place to go.

Monday, 28 December 2015

A rather lengthy reply to Jennifer's message

Thanks Jennifer for leaving a comment - much appreciated.  It is always nice to get some feed back from folk to see if I am being any help to anyone.

I did put a note somewhere about using eye protectors and a mask - maybe not on the video you saw - I must go back and have a look and add it to all of them.  So thank you for prompting me to do to that.  You are right - I hate MDF dust - irrespective of  health issues - it makes me itch and drives my eyes nuts so drilling and sawing is really truly best avoided as much as you can.  Indeed I have actually gone back to cutting two lines with a knife and gouging out in between as I am not a dab hand with the Dremel and really can't be bothered mastering it.

Don't let that put anyone else off - some folk love them and get loads of good use from them.  Horses for courses in this game.  Like any other hobby you find what fits you.

It is difficult with a blog and videos spread out over different time scales to recall what is written or said where so, yes, I did mention a lino cutter somewhere in passing but it is good to remind people that this is a very good alternative.  The only reason it didn't work for me was that I was a cheapskate and bought a second-hand blunt one!  

So, in summary - cutting grooves - 


  • Rotary tool if you like them and are a confident using them and remember to wear safety glasses to protect eyes from flying broken tools (it can happen) and a dust mask over nose and mouth to protect you from dust.
  • Lino cutter - good size - brand new and sharp
  • Box cutter (strong knife) score two lines and gouge out in between
  • V-shaped chisel - again new and sharp
Any other ways of doing it please share here....

Thanks again Jennifer, nice to meet you.

Tuesday, 8 December 2015

16 Tips for electrics 2


Just to let you know I haven't disappeared off the face of the earth.....

I have made a few videos that will appear roughly one a week.  Actual work on the mini house has given way to real work on the house we live in.  There are all sorts of jobs going on which seem to take up my time.  By now I am sure this will run me into, and then, past Christmas.

One exciting thing is we are adding a workshop to the side of the house just for me.  Well, that's the idea right now and men are hammering away at it as I type this.  I just hope against hope that I actually settle in and use it.  The fall back position is that it will make a great storage area for stuff from the loft and other inaccessible places so it will have a purpose even if I fenague (heaven forbid).

Meanwhile here's the second part of wiring the project.