Saturday, 30 January 2016

Back in my stride

Can anyone prevaricate, procrastinate and just generally dither as much as I do about any 'next step' in building the house.

My latest flap is whether to cover the boards in bricks and then add trim on top of those or to add the trims first and work round them.  Here's the thinking (aka dithering).

Trims first and then bricks makes for a flatter neater finish but cutting bricks into all kinds of shapes and sizes to dance around the trims is a real pain in the proverbial - I know because I have always done it this way.

This time I would like to just slap bricks everywhere and apply trims over them.... will it sit nicely on top of bricks and will the glue work OK?

Today's decision is to have a go at the second method.

Meanwhile I am becoming very disciplined about splitting my days in two so I get a ton of playtime.  In the olden days when I still had to go out to work the house still got 'run' just fine and we had clean clothes and food when needed so why do I devote whole days to 'real life' when it was once squeezed into weekends and a couple of hours each evening.

My current routine is to use the mornings on domesticity (and emails!!), cooking lunch for around one and then, after that I will work on my hobby until 6.30pm.  My commute to and from 'work' can be arduous each day as it is exactly seven steps door to door.  Lucky lady.

Here's what I have achieved in a couple of days.


camouflage doors painted now lots to think about

making exterior paint

just add this to your paint

Victorian trim, needs to come off

done (plus a cut finger) and the door removed for painting

painted all this lot

made the quoins look like quoins

The trims for this house are roughly cut and need work.  The two sets of quoins are done.  I have also tidied 13 windows with twelve panes each (!) and they are now sitting in their box awaiting paint.The thirteen stone trims which surround the windows also tidied up but they have been painted so are all ready to go.

It is lovely doing mindless jobs whilst listening to Radio i-Player.  I am a bit of a talk-radio fan and love Radio Four - mostly dramas and books.  I am currently following an interesting serial (The Secret History) so I particularly look forward to that each day.  This hobby allows for radio time, not much else in my life does.  Bonus.  

One smug lady.


Dolls House and Miniature Scene magazine

I have pretty much stopped writing for the magazine now but they do have a few of my pieces 'in stock' so I was pleasantly surprised to hear one of my show reviews is in this month's magazine - out yesterday.


Wednesday, 27 January 2016

22 painting small things


I don't usually put videos here - I assume if you want to see them you can do that by clicking the link in the left hand column but I do think this is a useful tip if you haven't come across it before.

PS: if you think the painting finish looks lumpy and dreadful that's because it is lumpy masonry paint.

Saturday, 23 January 2016

Finishing the front of the house

I am switching away from working on rooms for a long while and will be working on getting the front of the house finished and the main doors hung.

There is no right or wrong order in which to do a build.  I have always done the main doors last.  I thought it was better they didn't get too much 'wear and tear' and risk of paint or other work damage from working on the rooms but this is a very different build to the ones that took just six months from start to finish.  

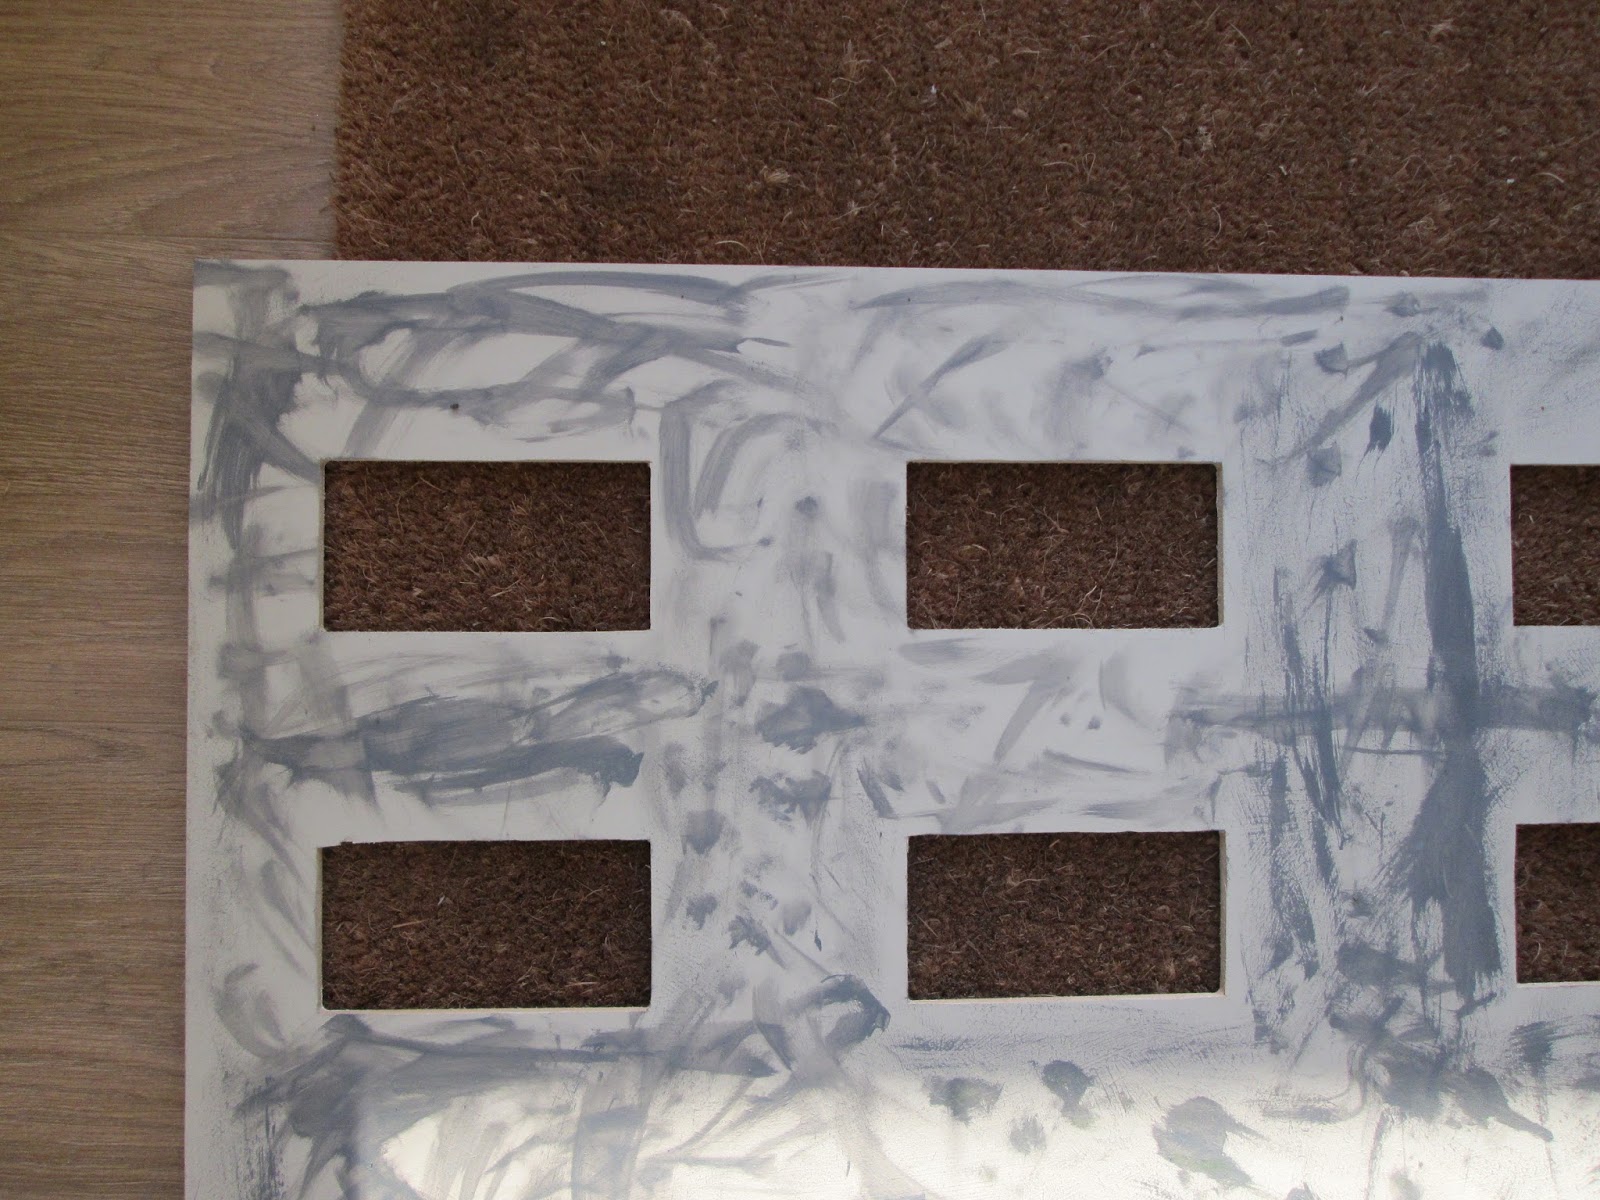
I am concerned about the pieces of basement and large doors hanging around my work-space.  They seem to be warping slightly which is scary and have certainly got a nick or two here and there from being shunted around.  They also commandeer a fair amount of space.  The prospect of all of this stretching in front of me for a couple of years seems silly.  Much more sensible (I hope) is to finish the outside access doors and hang them and the roof out of the way.  I can't hang them in an unfinished state as gluing on a few thousand versi-bricks without the board being flat down would be too much for anyone to go at and remain sane.

........ and so it begins ...........

The MDF is a pretty good mortar colour for a new build house so if that's your project just get on with gluing on the bricks.  Any house which has stood a while has mortar which is all shades of grey depending on damp and sun and all sorts of things.  I found when I did the versi-bricks the first time on Bentleys and stuck them straight to the MDF I was left with lovely straight cream coloured, rather shouty,  lines running row after row between the bricks - tidy but not realistic.  Admittedly only I could seem to see this!

On the next build - Chocolat - I devised a mortar base which worked really well.

Basically you find all your old scraps of paint and mix them together to form a sort of pale mud - if the mud is too dark just add some white or better still cream to get it to a rough sort of putty grey colour.  This is your first coat for the brick walls.


the only time rough painting is good!
Paint in all directions as roughly as you like this is mortar after all.  Do all the walls you are going to brick at the same time - obviously they are better if they all match.

Then take a small amount of this paint and add a little of whatever you have that might help it look dirty or damp - dark green, brown, grey, black, just about any dark scrap you have to hand.  Use a bit of sponge for speed, but a brush will do and add streaks and blobs here and there.


Repeat a couple of times with other tints added until you get a camouflage effect.


I promise you it works

Here's a picture from Chocolat to prove it looks right.  This is the sand coloured bricks Richard Stacey does.  I am back with the red brick of Bentleys for Dalton House.

remember this is at least three times larger than life


Saturday, 16 January 2016

End of wiring (for now)

Between this blog and the videos, I have pretty much covered how to get a light or fire into your house ready for the grand tidy up at the back and the eventual meeting up with the power.  I will be covering the connecting part much, much further down the line.  If you follow me in any way you will be sick of hearing how I am trying to stretch out this build indefinitely as it will have to be my last one - no more room for another house and I won't want to 'give' this one away - so the connecting to power will be pretty much the last task.

Here are the three lights I was messing around with during the last few posts.

In the children's Rec room (EBay find)

In the Mud room

In the Hive

If you wonder what the heck those rooms are I have finally settled on what their names are.

The Rec room is pretty much what has always been called since the shift from the 17th to the 20th century!  

The Mud room was being called the utility room but I have now decided a house of this size will have a laundry/utility room backing on to this one but it is useful to have somewhere to wash muddy wellies and kid's dirty sports stuff and for Elizabeth to use when she is in the Hive working on her dollhousing projects.  I have sink, cupboards etc on order from ELF as I type - watch this space.

The Hive replaces 'workroom'.  I have had a posh workroom built in real life and got fed up calling it the hut as it is far too grand for that so it has become the Hive.  As Elizabeth is sort of my alter ego she too plays with minis in her Hive.

Confusing running alongside me!

I am unable to share vendors for these lights as two of them just came out of a box of lights I have since time immemorial; the third was just an eBay find.  You can find anyone of them without too much web trawling, they are pretty standard items.  

I used the Hive one in my Chocolat project and one of the bulbs sometimes needed a bit of a tweak to get it to light up.....  bet you can guess which of the three bulbs it was...... yup, the one facing the back of the room.  I live in hopes this one loves me.

Every one of these rooms will have more lights added as these don't exactly light up the room.  Rec room will have a couple of wall lights and maybe floor lamp.  The Hive will have a table lamp.  The Mud room will have under cupboard strip lighting.


Saturday, 9 January 2016

Hinges for the main doors

I thought on this build I might go for the more elegant option of using piano hinges to support my main doors rather than the usual cranked hinges.
One advantage being they would be nigh on invisible as they would sit right along the front edges of the project and run down in a very narrow strip (less than 3/8ths inch) on the open door.  This would allow for easier decorating.  There would be fewer front edges to paint which I always think is a chore at the end of a build.  I am never 'comfortable' with the huge brass hinge sitting in your rooms and for it to be tidy it needs to be attached after the room is fully trimmed and decorated.  

Section of piano hinge open flat

Closed and totally concealed 
 My huge doubt was whether they would support these particular doors.  My house has a basement area which is actually attached to the doors.  I specifically looked for this arrangement having had a couple of builds where you have to remove a large basement area to open the doors to view your house - all a bit of a fiddle for a lazy person.  So, with all that added weight, and it is considerable, I was dubious that a row of screws in the front edge of cut MDF may not be that strong.
I searched for a definitive answer and only found one person addressing the issue - a lady I respect greatly - she said that piano hinges were fine for smaller, lighter houses but not for anything substantial. (Grandmommy)
I then wrote to the builder of my house Dolls House Direct who kindly helped with this:
Hi Marilyn
We only recommend the cranked hinges as they get screwed through the surface of the board not the edge, a lot stronger fixing.
Because of the weight of the Dalton including the basement, I do not think that it would last long before the screws start to loosen.
Best regards Gary DHD


Hi Marilyn
MDF is soft wood shredded up and then glued the same way as plywood pressed back together between rollers. 
Piano hinge into the end of plywood and the screws would not hold. 
Regards Gary.

Incidentally go and look at their new house The Bentley (co-incidentally the name of the shop I made!) it is yummy.
Meanwhile another vendor was helping me - Pauline from Weaverthorpe Miniatures sent me a sample of their piano hinge.  Luckily for me it was too wide for the front edge of Dalton House so my decision was made.  
Another incidentally Weaverthorpe actually has a shop!!! so you can go browse.  Click the link to find out about it.
I will be using cranked hinges again for this build - it takes nine of them!


Closed cranked hinge

Large in a 1/12th environment


Wednesday, 6 January 2016

Almost last lap of wiring the house

Let's try for a quick pictorial tips thingy for putting in your lights....


The wire is curly and twisted which makes it difficult to lay down neatly

Straighten it out carefully with your nails or handle of paintbrush or tool of choice.


Remove pins from plugs and gently pull out the wire.  Pliers work better than teeth.  I don't need to do this as I won't be putting the plug back on so I can just smugly snip off the annoying plug with scissors.


Decide if you are keeping or removing the sticky pad.  Keep it - nice easy way to attach to ceiling.  Remove it - goes flush to ceiling with no pad showing but not always easy to glue in place.  I use a DeLuxe Modellers glue and a couple of spots of gel superglue to hold it while the other glue dries.  Also be careful to put the cut out space for the wire which is now longer needed to the back otherwise I promise you it will annoy you forever and a day.


Thread wire through hole


With glue applied or sticky-pad in place, support light beneath, pressing the fitting to the ceiling and pull the spare wire through gently.  Thread through the exit hole (usually at the back of the house and lay the wire in the groove.  I just broke the wire on one light being too enthusiastic.


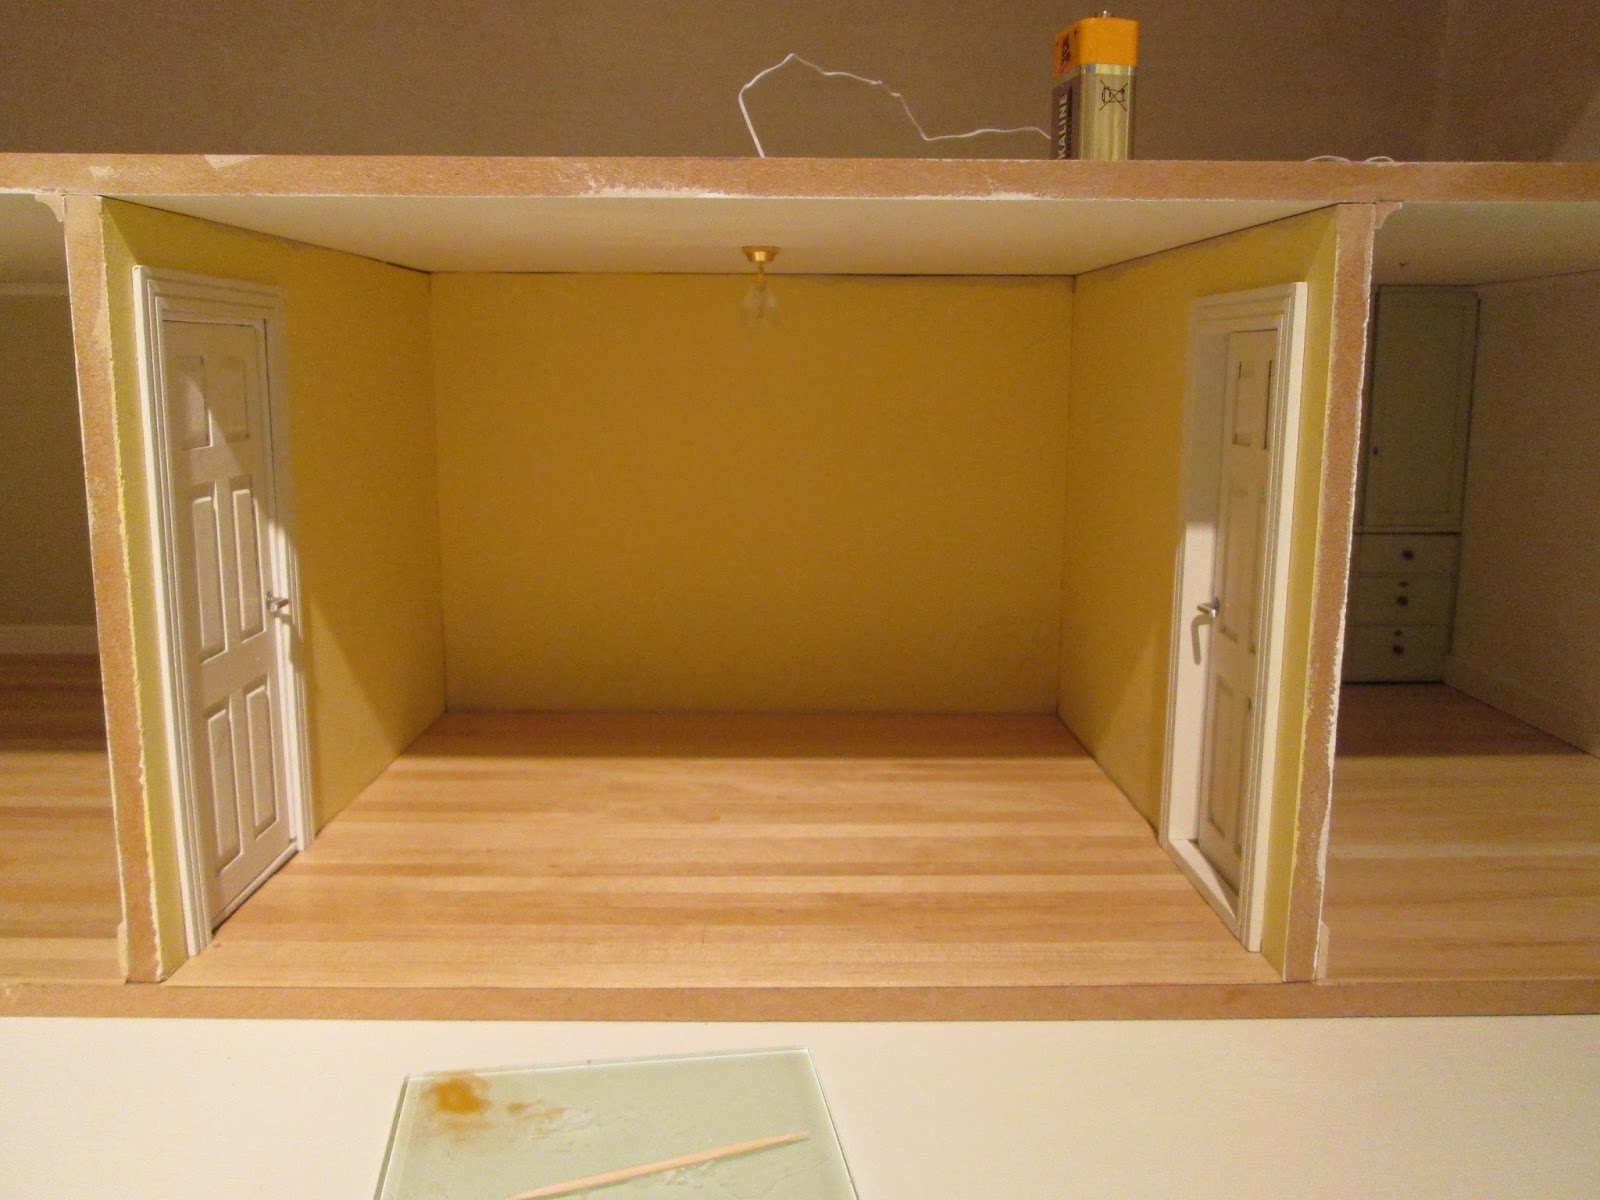
Et voila!  One puny light in place.  I hope to add strip lights under cupboards at the back of the room.


When the light is holding up under its own strength, smooth out the wire in its channel and cover the wire and groove with masking tape just to help keep it in place and to make a perfectly smooth area under your flooring.  If you use thin paper flooring you may want to stick it to cardboard to conceal any bumps.  Reminder - use a few pieces of thin double-sided sticky tape to attaching all flooring to floor so that in the worst case scenario you can remove the floor intact and peel off the masking tape and remove the light at any time in your house's lifetime, should you want to.


To strip plastic from the wires a wire-stripper/cutter works better than teeth or fingernails.


I test and test at every stage to check I haven't broken anything.  Ironically this is the light whose wire I did snap.  Just touch bare wires to 9V battery - any wire to any terminal.