So far I have given up on Kiwi shoe polish, Danish oil with stain, Minwax Wiping stain and Finish and have returned to plain old wood stain. The current plan is a two step process of wood stain and Deft semi-gloss spray cellulose lacquer finish. Haven't got that far yet - spray arriving tomorrow.
Here are two demi-lunes I have stained with Minwax red Mahogany. They have one coat on them so far - am considering two. There is very little visible grain showing through which is actually a bonus, I think. One issue I have with ordinary furniture is that the grain in the wood is way out of scale. This is why expensive artisan stuff is so expensive. They spend a lot of time and dollars finding the perfect piece of wood with the perfect grain size so that it all works perfectly in scale. Obviously if we mere mortals are working with kits or unfinished pieces the wood will not be of that quality so, as I said, I am pretty OK about covering the grain with dark stain or better still paint.
I started in the usual way with this 'experiment' by rubbing down with 400 sand paper and staining one table before assembly and assembling the other before staining....
 |
| stained ready to assemble - terrible wood quality on the apron underneath |
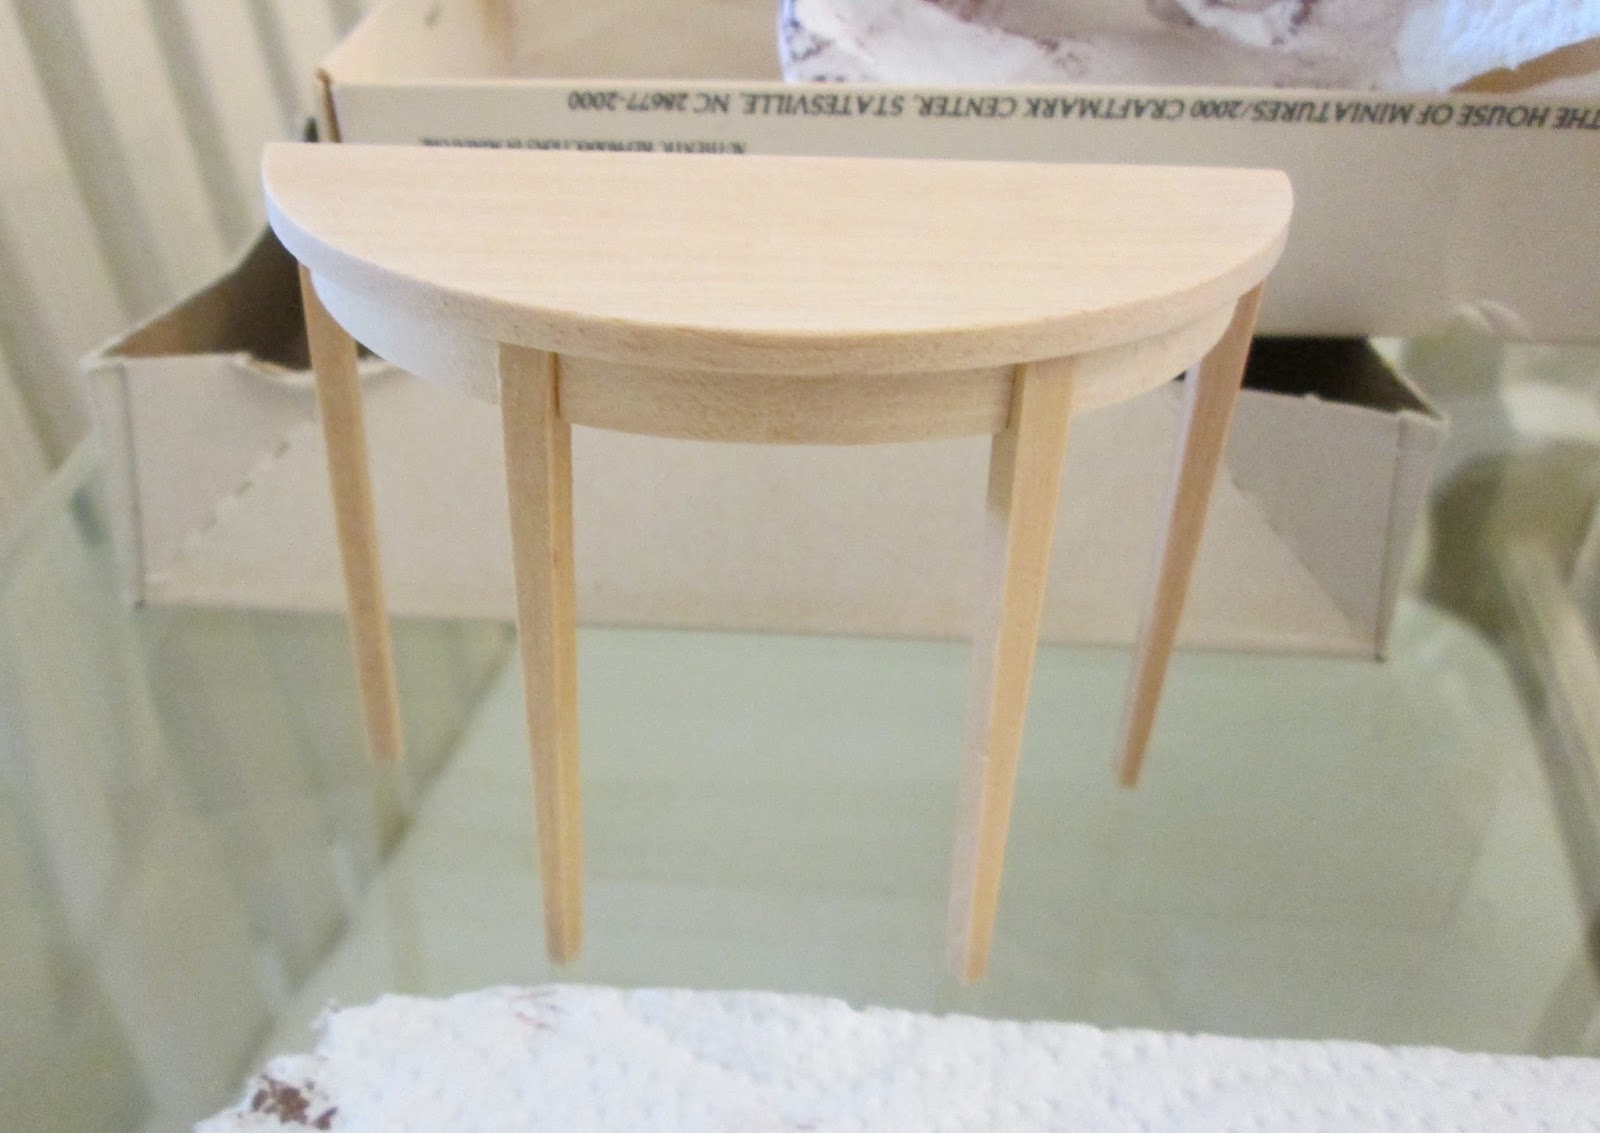 |
| the other is wood glued and ready to stain |
If you are not very good with glue then I would stain first and then build - that way any excess super glue will be a bit shiny but at least they will be stained everywhere. If you choose the other method and assemble them first, if you apply the wood glue badly, the stain won't take over the excess glue you will end up with bald patches everywhere.
I am OK with glue so I am happy to do either. It is probably easier to stain and build but just to be awkward I think I am going to spend a couple of days building them (in the kitchen) and then take them en masse (about fifteen of them!!) to the garage and stain them all in one go. It is a smelly and messy process and I want to do it outside.
The difficult part about doing it this way is when you have to clean off the excess stain. After about fifteen minutes you need to clean off any stain that hasn't soaked in and it is hard on these small pieces trying to get in all the nooks and crannies. Indeed with the pre-build table you saw here I managed to shove a leg off.
As you can see at the end of the staining process there is no difference between the two if you have applied the glue carefully.

I went over the marble-topped table I had previously stained with Danish Oil with a coat of the Minwax and it looks better for it. That marble is going to be a pig to mask off when I spray the wood with lacquer.
(I have another one of these on the way and a full size Queen Anne 'bufftet' table with a marble top)

Apologies for camera angle - centre leg is not wonky!
Here is a shot of the two table tops to show you what I mean about wood quality affecting your finish. Same treatment, material, operator - totally different result.
As in real life it is important not to get bogged down in details. When finished both of these will look just fine because your eye will primarily be on the vase of flowers or decorative piece standing on them not on the table top itself. We don't scrutinise, we just take mental snapshots and impressions of things.
 |
I am resisting a second coat, I think it would be too dark. Opinions welcome.
No comments:
Post a Comment
To prevent spam your comments come to me first. I will be as fast as I can to post them and reply. Please do leave a message.