Tuesday, 7 July 2015

Jennifers of Walsall

Here come's good old Jennifer's of Walsall again.  I did tell you they are my go-to place.  Came up trumps as always - even when messed about by me and trying to get a short break away!


bread and butter items

I got various trims to top up and replace ones I already bought after looking again at what I wanted to do with the rooms.  I also bought fires for the parlour (on right ) which matches the one in the dining room.  The one on the left is for the library.  This is the slightly larger version of the small hob grate you have seen me working with (4 July post).


nicely done bricks

This is a red Flemish brick they do in a large fibre glass sheet which gives a great texture to the brickwork.  The mortar between the bricks is a sort of gritty sandy substance so it looks very realistic.  Needless to say I had one of these sheets and sold it on last year when I quit twelfths!


It is a bit of a luxury buy just to put behind fires in the chimneys and then cover it in soot.  I am cracked, what can I say.

Chinoiseries - Romance

This might be totally wrong historically??? but I love it.  It is a paper I used in another build and had a sheet left over, so I ordered three more for this house.  Chinoiseries is the make and their quality is superb.  Lovely soft printing, great paper and it goes up like a dream.  This is for the library - bit wasted in there really but I am trying to keep a 'blend' of colours running through the house and this will live next to the drawing room better than the one I originally bought for the library.


Chinoiseries - Manila yellow

I saved the best 'til last.  This is another Chinoiseries and my camera and I have done it such an injustice.  It is a lovely lemony yellow background and the usual soft colours overlaying that.  Such a pretty paper and destined for the dining room.


Monday, 6 July 2015

Which compromise to choose?

Here comes what seems like another negative post - I hope they aren't being received that way.  I intend to document every little wrinkle in this latest build for my record and in hopes that it finds someone completely new to the hobby and that it helps them with their project.  In both those cases it should help to see the things that don't work for one reason or another, as well as all the successes.

I wanted my interior doors to be fitted without the 'step' across the bottom but I still wanted to be able to open them. (see post 24 June)  Generally I don't think it matters being able to open the doors as most of them in most dolls houses are set sideways on between rooms and there is no advantage to getting any kind of view through them.  I did make a glimpse through a door in Chocolat and loved the idea of something further back beyond our front slice of a building and I wanted to work with that notion a little further on this build.

To this end I decided the only solution was to hinge the doors.  Right now I have quit on that.  Two reasons.... it was a logistical nightmare of tiny holes and tiny drill bits and tiny screws and tiny screwdrivers and getting the hinges lined up perfectly so the door would open smoothly.  Multiply all that by six doors (48 screws) and I ran screaming to the woods.

The second reason is an even better excuse and isn't down to my lack of skill - I really don't want brass hinges and brass door knobs - yup, I just bought a stack of them!!


just not Georgian and the knob seems overlarge?


I thought I could paint them.


hinges won't take the paint

piece of packing styrene, a golf tee, some white tack (like blue tack) in case you were wondering
The hinges pretty much refused the paint (acrylic) and I realised if I succeeded (oil base paint) the hinges would gum up with it and (a) not work or (b) just rub the paint loose bit by bit.

The door knobs were more successful but came off very easily with just minimal handling, so might not last long in situ.

It is now all about compromise - the major one being that if I want to open these doors then the plinth across the bottom (and the pin hinges) must stay.  This also means not being able to get a great finish on the paint around the door jambs.  Aaaaarrrgggh!

I have seen black door knobs on an American site - if only I can find it again.  This means not doing any doors until November when we get back from the States as I am not inclined to pay stonking postage and import duties buying them from here.

So the doors go on hold.

After listening to the moan, come back tomorrow and look at some nice wallpaper.

Sunday, 5 July 2015

UKGE

If you are making a museum or even a Victorian home you may very well want some fossils.  Well, OK then, you might not, but I did.

Great vendor called UKGE who can offer us (at our size) a ton of tiny fossils for under a pound each and next day delivery as standard.

Here's mine... they are all under an inch.


Saturday, 4 July 2015

First fireplace and chimney breast

I started working on this part of the build with the style of fire that I have three of.  It is the small hob grate DH72 from Phoenix Model Developments by way of Jennifers of Walsall.

I began by putting the fire kit together so I would know the precise size I was working with when I came to make the chimney breast.


5 minute epoxy

The glue for assembling these kits must be epoxy resin.  Last couple of years I just used the bog standard pack from B & Q which take a long time to harden up.  This is the glue Jennifer's recommend for the Pheonix kits and seems to work OK.  Don't be fooled by the 5 minute name - this means you have a window of five minutes to work with it before it starts to go off.  It holds reasonably well in ten minutes and claims to cure in an hour.  Mine wasn't set up any where near enough in that time to wash and then paint the kit.  I would still plan on leaving it overnight.


I have used Phoenix kits before and I do like the way they go together.  The instructions that come with them are fine, so it is a relatively simple job of gluing bits together.  What they forgot to mention was that if you are fitting their lighting coals they need to go in before the tops go on.  Luckily mine hadn't set up in its allotted hour and I was able to pull them off and poke the coal in before putting them back.

The grate needs 'blacking' (black-leading) - i.e. painting  with satin-finish black acrylic paint, but the fire basket should be ash-covered grey metal.


The chimney breast took a lot of accurate measuring and cutting and then discovering the mistakes and shaving bits off here and there but this is the prototype i ended up with.  it really should have been made in good stiff card to make it easier but, being me, i didn't have any and not prepared to wait. 

Ideally the finished product will need wallpaper to cover its imperfections and the one in cook's room is being painted.  I am hoping wood filler and sanding might just make it look like a rough build/finish chimney breast rather than five pieces of wood glued together.

The grate is meant to be a tight fit and it is. I didn't leave enough room to brick the sides of the firebox walls.  They will be getting a coat of black paint and be done with it.  I will brick the back in case it is ever seen!

The hearthstone is cut from a laminate sample from a large DIY store in the States - you can get 8 x 10 inch samples for 25 cents a pop (free post) but mine was from the smaller freebies (something over 4 x 3 inches) that you can pick up in store.


This is the reverse side showing the side walls of the firebox which, as I said should really be soot covered bricks.  The back will just be a piece of card with bricks and 'soot'.....  when the bricks arrive.


still in pieces

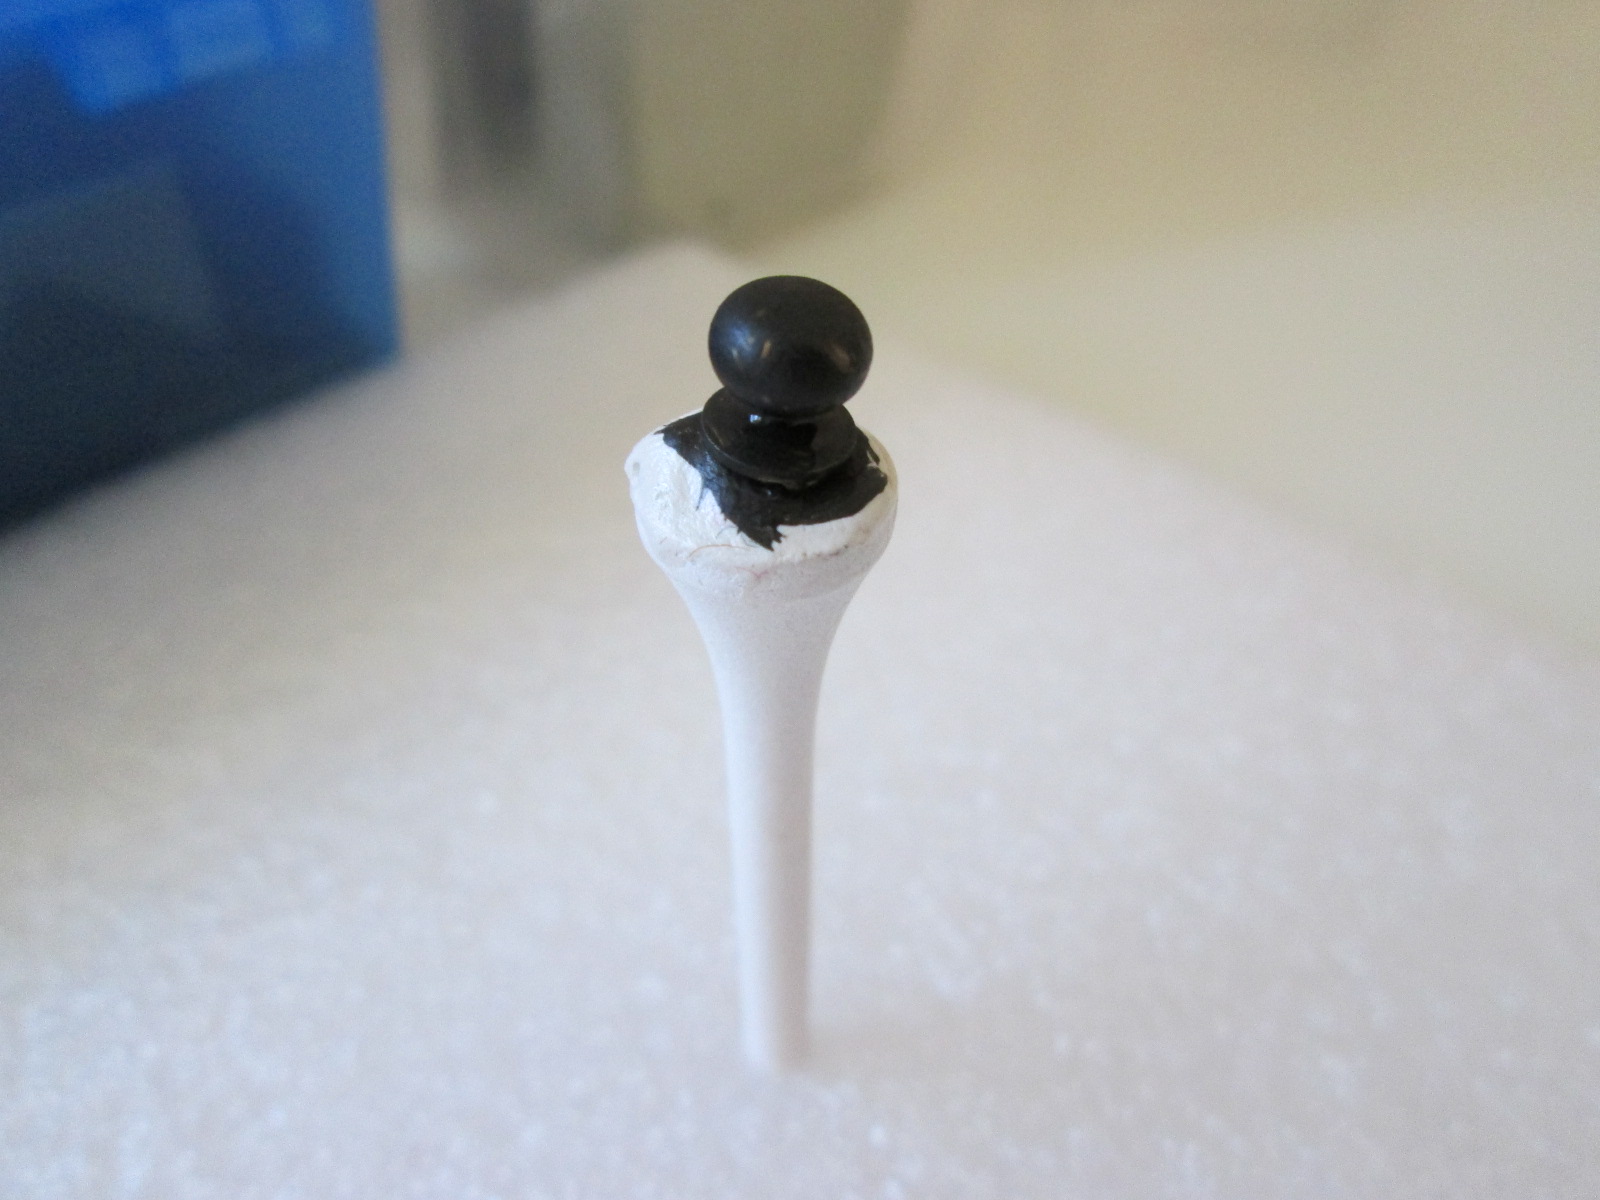
These are the pieces ready to make up a simple fire surround - even this is a bit elegant for the cook's room - I may use this and a matching one in Bedrooms 1 and 3 and cook might just get one without the bull's eyes.


It only takes up one inch of the width of the room.  I think that's doable.  The prospect of doing all this construction externally and hacking holes through the walls on all four floors - my original plan - just became 'too much'.  Strictly speaking that's how they should be.  The fire surrounds on this side of the house should go flat on the wall as the fires would have been external. That would be the usual shared chimney stack arrangement between terraced houses.


Friday, 3 July 2015

Making the first stone floor

I have got as far as making the first stone floor for the basement.  This is the one that will go into the cook's room.  [I decided I am settling on cook's room from now on 'cos housekeeper's room is too long for labels and far too much to keep typing]


I began by making a cardboard template to fit the space and sponging a mucky mix of green and brown acrylic paint all over it for the mortar that will show between the slabs.  The cardboard incidentally was an old folder (file) so I could get the size.


Then the slabs go down leaving a small gap between each of them.  

The pieces sticking out on the left go through the doorway gap.  I wanted slabs to go under the door and not have a line of grout where you stepped through.

The masking tape on the right is to remind me not to slab right up to there as I had yet to work out how big the hearthstone would be.

close up of doorway slabs

close up of hearth position with the centre mark noted

When it was all glued in place I covered it with a silicone baking mat that I use for gluing and put a stack of books on top to flatten it all.  This what it looked like the following day with the hearth in place.


The hearth is made from a laminate sample.


I am pleased to say if you enlarge it and look closely I have only had to do five infills and they are all (except one) of a good size and rectangular.  Harder than you think with random slabbing.

two of the five and close together

Here it is in place with the prototype chimney breast.  It is beginning to look like a room.


As always with me I have made myself a dilemma.  I wouldn't think I was achieving anything unless I had to debate something totally unimportant for hours.....

click on photo to enlarge

Bottom left is one of the slabs, unadulterated, top centre I have satin varnished it, bottom right I have shoe polished it.  My 'assistant' (aka husband) says they all look the same!

I just think the floor looks look too pristine and has a rather coarse surface.  These slabs are meant for outdoors really.  The stone floors I have seen in real houses have an irregular (again these aren't) surface and they are also made up of complex shades and often have a very slight sheen from the stone being worn smother and smoother over the years.  I would like to try and capture some of this on my floor.

.......  How???

I won't fix it in place until I have decided that.  

(Post script later:  I decided on the satin finish and it looks fine)

One thing I can see that would have made a difference is that the slabs are too regular they need wobbly edges but honestly there is no way I could do that well enough or on that many slabs - it is the whole ground floor of the house.

I have now decided I am not having a lit oil lamp on cook's desk so that won't hold me up from putting the floor down when it is finished.  I can't decide on desk position or even size as yet, so I can't pinpoint the position of the hole I would need to make through the flooring and hence where the groove would be across the floor to exit the wires.  Cook gets a luxurious hanging oil lamp (so we have light when viewing the house) and a small oil lamp to move around for 'spot' lighting (sewing, reading etc) and to save on the overhead light when its not needed.


Thursday, 2 July 2015

Felicity Price

Felicity comes up trumps - sounds like a title for a Famous Five book!


assorted gubbings aka hardware

Incidentally you get a super fast service from this vendor


Here I have two packs of hinges with the right screws and can now get on with making doors ready to go in when needed.  I also have door knobs (in the same vein) and a lock for inside the front door.  They all need to be black - suggestions welcome.  I don't want shiny or even jet black - they need to look like cast iron.  So how do I get a cast iron finish? - what paint?  If I paint with acrylic before putting them in place, they are not likely to stand up to all the woman-handling entailed when fitting them - especially the hinges.  There is no way I am attempting to paint them in situ on a white door.  I wonder if Humbrol sell a cast iron finish - must go look.

The banisters are not for my imaginary stairs I haven't gone that barmy yet.  I am hoping they will make decent legs for a couple of simple kitchen work tables I want to have a go at making them from scratch so I get just the size I want.  Oddly if you look at contemporary late 18th/early 19th century prints the tables are not huge in the kitchen and are usually covered in a cloth.  No idea where they did messy work if they clothed the table?  

My thinking is that if I saw the ball off the top and turn them upside down they look like sturdy table legs?  Too fancy for a kitchen?  Should they be absolutely plain?  I am not seeing plain in NT type houses, but they aren't always right.  

I must curb the urge to be more right than the rest of the world - basically it is a waste of time as the rest of the world won't know any way and they will think I am wrong!  Being a megalomaniac can be tiring. (for everyone!)


Wednesday, 1 July 2015

Swamped by EBay

Frabjous day when three parcels arrive for your mad hobby, but not so great when two prove to be useless.

The problem with buying on EBay is the buying a pig-in-a-poke syndrome...... and I did.  Absolutely no fault of the sellers - but underlines the notion of buyer beware.

The first huge parcel to arrive was some wood that I paid over twenty pounds for!!!  The picture I saw looked to be lots of pieces of various qualities and thicknesses of wood and a load of different trims and I thought it would give me a good start with the possibility of making a couple of pieces of furniture.


it still looks promising in this picture

It isn't 
even as good as this looks - all the 'trims are the same strange double slotted wood, so no useful trims.  From this I was able sort out literally half a dozen usable small pieces of wood.  I think whoever sold it realised that two people had probably bid on this expecting something that it wasn't and so she very kindly gave me a stack of stuff as she said she wanted to finish getting rid of the dolls house things.


That was very kind of her and would certainly have given me good value for what I spent if I could have used it, but it isn't the sort of furniture I buy.  Never mind there is a local show who will benefit from it so it won't go to waste.

My next disappointment was someone who very probably knew nothing about scale so again seven pounds plus up the spout.

looks like a case of honey I shrunk the kids!

My last item was what looks like a brand new copy of this book for the princely sum of £2.75 and £2.95 postage, so it kind of goes towards making up for the other two and I suppose this is how you have to see EBay as working.  Swings and roundabouts.