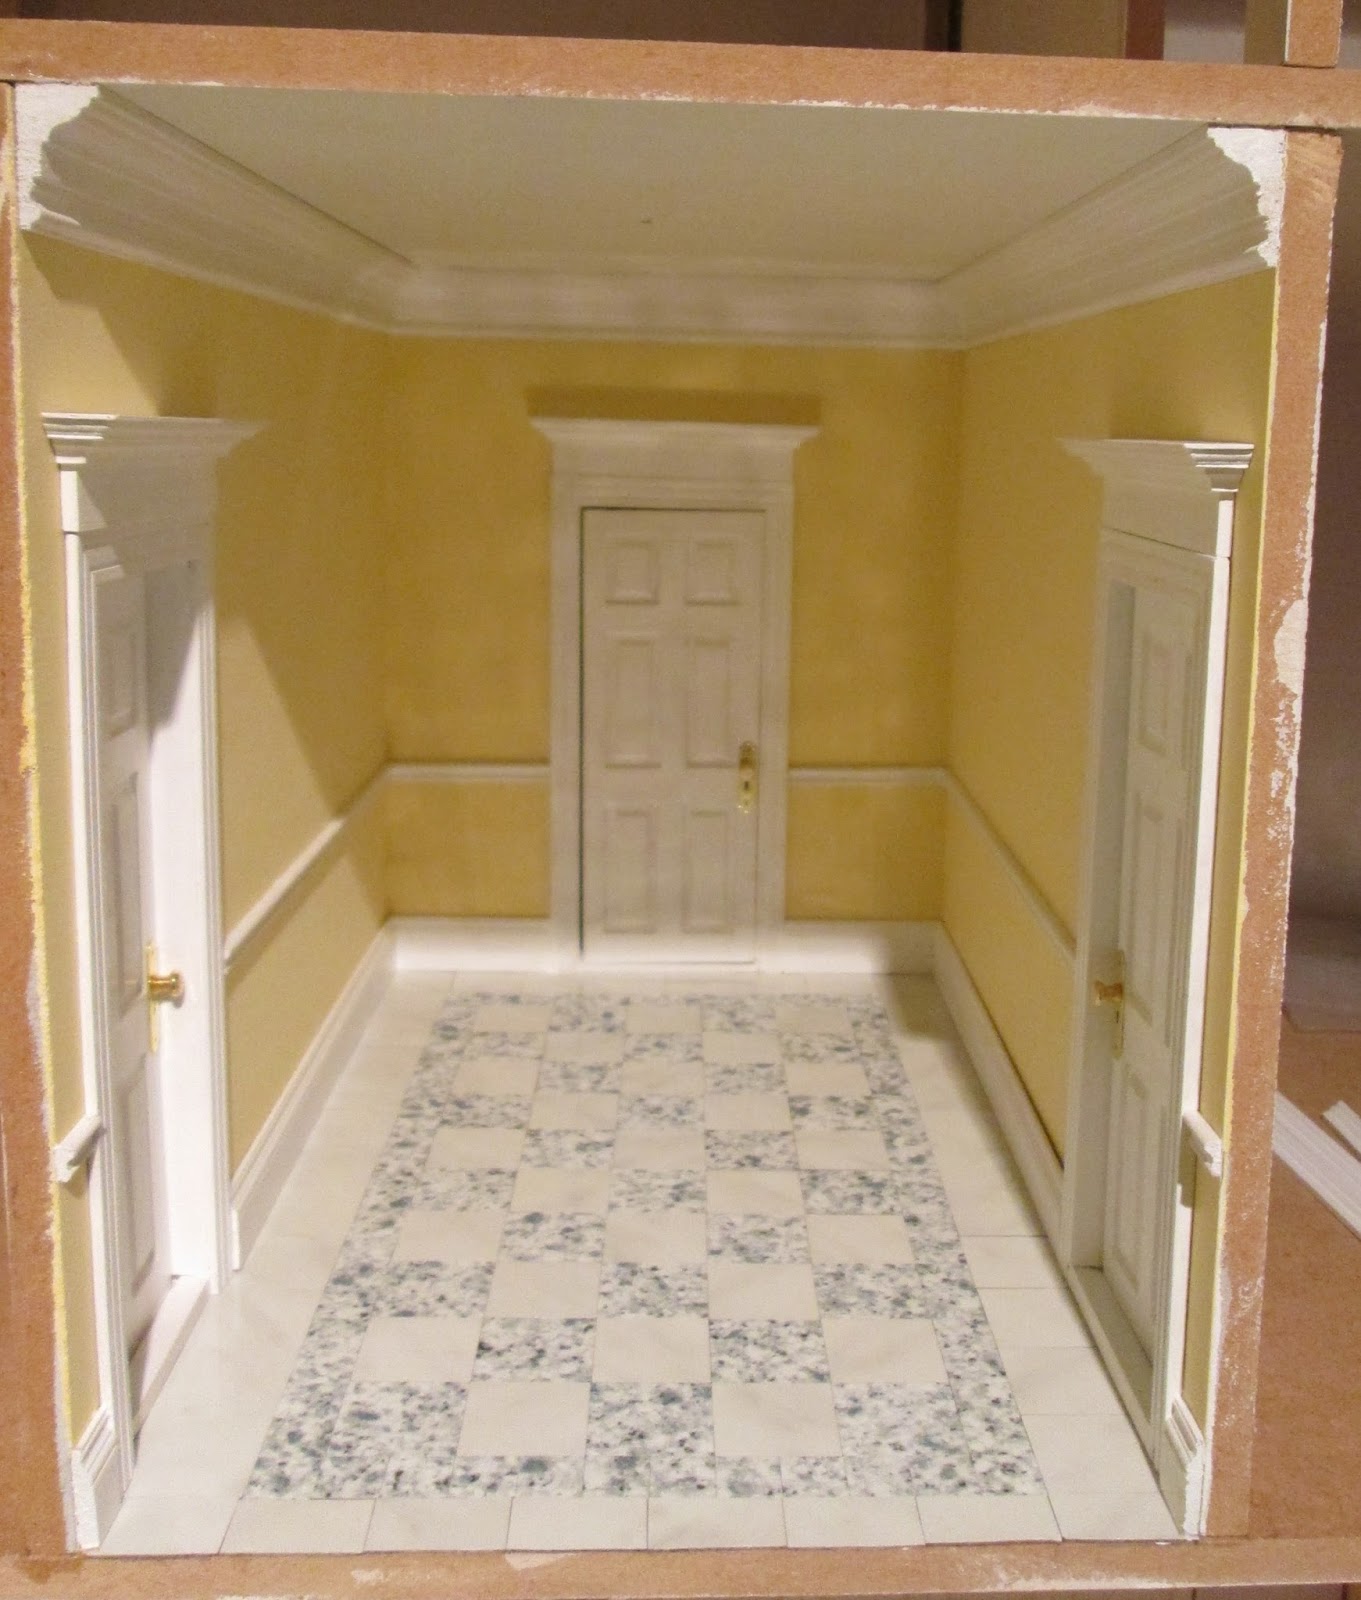
Note the doors are now in place ready to finish the trims.
Here is another little trick to avoid having to measure accurately with a ruler.
Dado rails are 2' 6" to 3' above the floor. The lower measurement is the more usual Georgian one. They were very decidedly functional rather than decorative and so needed to be the height of most tables (2' 6") as their purpose was to stop chair backs and table edges marking the wall. Paint and paper were expensive items and needed as much protection as possible, hence skirting boards and dado rails. Modern houses tend to have a three foot rail as it is better proportioned on the wall. Mine are three feet (three inches high).
Rather than fiddle around measuring and marking up the wall for the rail to go in, I cut a piece of stiff card (old folder in this case) into a three inch wide strip. Place this snugly against the wall with its feet on the floor - it is just leaning at a jaunty angle doing nothing here. Draw a light pencil line across the top. Go right round the room.

Cut dado rails (like you did for the coving) and use the guide lines to stick them accurately in place. Cut and stick on the skirting boards.
Here we have one hall - just a light fitting away from finished. I am holding off on that until I have been to the NEC and bought a simple Adamesque ceiling rose. (Typing this in March a week away from the show).
oooooh, I do love visiting your blog ~ you always have such good ideas, hints and tips! Thank you so much (((hugs)))
ReplyDeleteYou are very, very welcome. If I can have a teeny brainwave now and then I am more than happy to share it. Basically I hate trying to use rulers and tape measures in these small spaces, so anything that avoids that works well for me. Using this cardboard template also means that I can fold it up or chop a bit off if I need to get between a side wall and a bit of wall around a chimney breast. Marilyn
ReplyDeleteThe template is an excellent idea - one of those things that's so obvious once it's pointed out! The hall is lovely, very light and airy. I'm looking forward to seeing it lit now.
ReplyDeleteThanks Irene. As you say solutions to niggles are often dead simple if you can only spot them. This method has served me well for all sorts of getting things at the same height round a room - picture rail, wallpaper borders, hanging pictures whatever.... Marilyn
DeleteAnother great tip, I have not yet added skirtings, dados or coving to any of my kit built houses yet. The second hand houses I have already came with them fitted :).
ReplyDeleteThat's an even easier way to do it, Diane! You do find some real gems though. Just saying to Irene - the idea is basically useful for anything you want at the same height though - shelves, paper borders, pictures whatever. It just saves having to measure accurately each time; so it might still come in handy. Marilyn
DeleteHello Marilyn,
ReplyDeleteI use the same technique and it really works well. Your explanations are always very clear and helpful. I love the look of the room. The white trim with that great shade of yellow and the marvelous floor is gorgeous, and the detail over the doorcase is just right for the room. Well done.
Big hug
Giac
Thanks Giac - not a huge challenge here in such a small 'vestibule' but it looks good with the door at the back ajar and a light and glimpse of staircase beyond so that is its 'exciting' bit. Marilyn
DeleteUna estancia preciosa, te ha quedado muy fina:-)
ReplyDeleteThank you.
Delete