Saturday, 27 February 2016

One step short of a flight

I don't know what it is that I am not seeing/understanding but for me the front door on this house seems to be floating above the steps and looks like it needs another one.

I only had some interior stairs and they weren't wide enough.  I decided to glue three together and then trim them to fit but after gluing two together I thought I liked the look of the top step being different so I've left it at that.
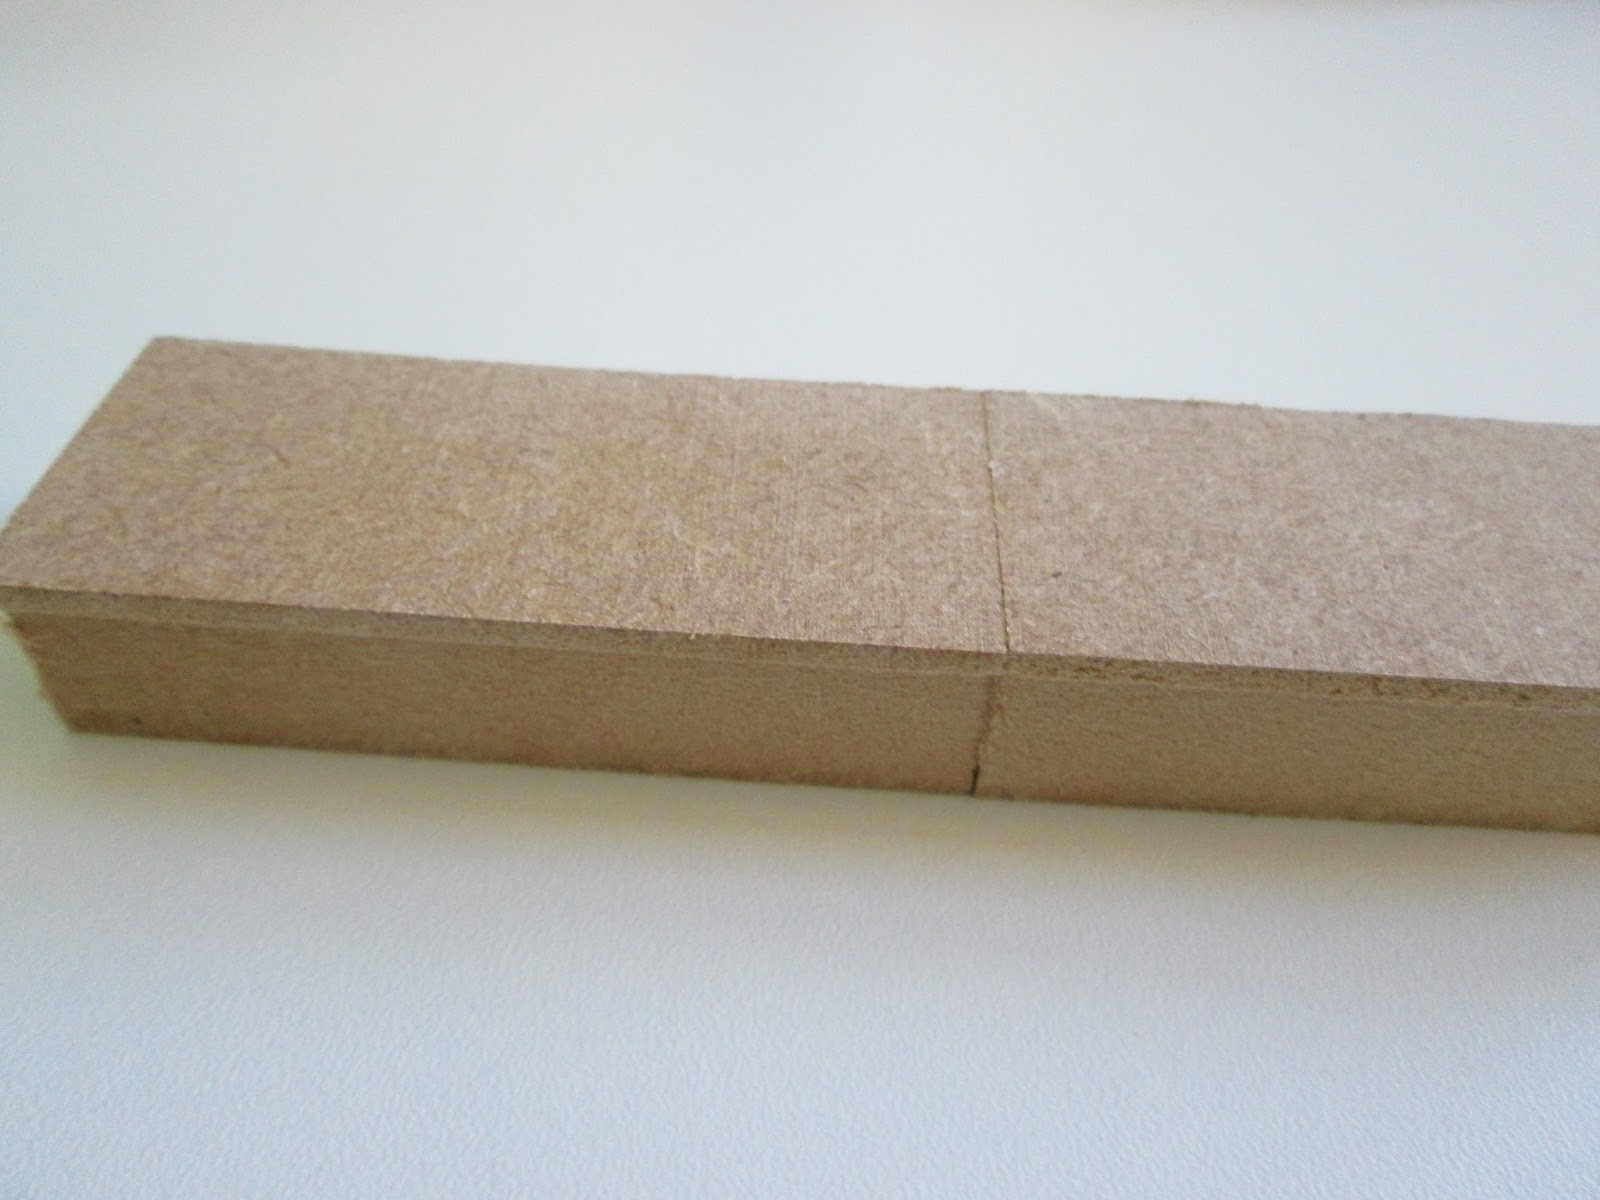

when its finished you won't see the join under the paint and paper

needed to cut a piece off the back to get the depth right

It needed a bit cut off the back to get the depth right so using the above gear I clamped it to my bench and cut a little each day when I came into the hive.  You will gather the combination of that saw and my muscle didn't make a lot of impact on the thick step.  On day three my other half came into the hive with a cuppa for me.  I told him that by day three I had done about a quarter of the length, so he 'just finished it' on the way past!  There are days I wish I was Popeye.  More spinach anyone?

confusing photo?

Here it is in situ - it just reaches the bottom of the door opening so now my little folk can step right out onto a step and not a drop.

now for a change of mind

While I was messing around with all of that I realised just how much of the brickwork would be covered by chunks of basement.  I have again switched from the notion of bricking the whole front and then sticking on trims and basement to applying trims and working round where the basement will go.  I drew around all the areas that would be covered with steps and walls and basement floors.  I intend to brick close to these lines but then stick on the basement pieces (and pin them in place) and then finish off the bricks up to the edges of any added structures.  I hope that it means there will be lot of bricks and time saved.


Friday, 19 February 2016

Delph Miniatures - plug and socket for lamps

I have another huge favourite vendor called Delph Miniatures.  This is a mother and daughter team who can make just about anything 'modern' you might need.  A couple of her makes have been fish and chip shop fryers in two scales! and a mortuary fridge complete with body.  The creations are truly in the realms of, if you can think it Kath can make it.

I once asked her to make me a Yale lock and she did - I have just bought another for this project.  She also works in spot on 1/12th scale


 Kath (and Margaret) makes and sells single and double wall sockets waiting to be used around the house.  I believe she also makes the old brown Bakerlite type of electrical sockets used in houses well into the early sixties in this country.


There are a number of appliances you can buy already plugged in.  


So most electrical things that you don't want to light up are well covered by what she does.

However, I have a couple of table lamps and standard lamps which, in real life, would be plugged in.  I then needed to connect the wire to the electrical source so the lamps could be lit.  I couldn't see a sensible reason for traveling wires here and there and then having to conceal the fact that they weren't actually plugged in.

I came up with the wheeze of  getting some plugs in sockets from her and drilling below the plug and passing the wire through and then through the usual hole in the wall and on to the power source.  Within a couple of days here they are and pre-drilled by Kath all ready for me to use.  (The following pictures are a trial run mock up so not too elegant but will show you what I mean)

the scruffy bit round the hole is my fault they arrive just perfect

She even drilled the hole at a 45 degree angle to make the wire look more realistic


Here I have cut off the plug and threaded the wire through the socket

made a hole in a bit of scrap wood

The wire is then threaded through the hole in the room wall - this is just a bit of scrap wood not the real thing.

like threading beads
Pull gently into place and glue

et voila

There we have it a realistic lamp plugged into a realistic socket and will also light up!  I am sooooo happy.  Huge thanks Kath.

Contact her if you want any (or anything else).  Failing that I do urge you to check out her site and see the goodies she has.  She will be at the NEC Miniatura in April - I have my shopping list ready.

Click here:    Delph Miniatures

Saturday, 13 February 2016

Mud Room courtesy of ELF

Here comes what must be one of my top three vendors.... ELF Miniatures

If you look at the site it is described as modern miniatures and, yes, it is that in bucket loads.  This in itself is a rarity, BUT with a little imagination her flat pack kits can be tweaked and twiddled into a lot of other things - such as a Georgian linen press and a 19th century floor to ceiling cupboard in a shop - both of which I have used ELF for.

As I said the items are in flat pack kit form, BUT Elizabeth will make up things for you if required.  She also designs and cuts bespoke items - basically if you can dream it, she can produce it.  I think her prices belie the amount of work and time she commits to any project - in other words she is affordable.

Within a couple of days of sending a vague email about what I thought I wanted she had sent me not one but three design suggestions for my mud room.  I selected this one.


This room sits between the Hive (hobby room) and the children's Rec room.  Backed on to this room behind its back wall (invisible to us of course)  is the family's laundry with washer and dryer and linen storage.  This mud room is for anyone in the basement to make a cuppa or even a 'snack'.  It has a fridge and will have kettle and toaster.  This is to save kids and their friends trekking upstairs to the kitchen. It also has a washing machine and a very large sink for washing dirty stuff that they don't want to put in the laundry room washer.  Such things as muddy sports clothes, riding stuff etc can be washed here and the huge sink is terrific for muddy wellies football boots and the like.  It also sees its fair share of BBQ grill racks, plant pots and the like.  It is decidedly a mud room, not a utility room.

Here are the components needed to make the plan live:


work surface and lovely sink made to order by Elizabeth

cupboards and their trims

cupboard knobs, taps, rail for drip drying over sink

under cupboard strip lights

inside Miele fridge - removable racks and drawers

the fridge

Miele washer drum goes round, door opens using a lock switch (yellow) soap drawer opens

Miele washer, press the 'on'  button and it makes a washing/spinning noise and then the light flashes and it beeps to tell you the washing is done

Proper playtime!

Saturday, 6 February 2016

Pass me a hod

Here are the versi bricks and slates I told you about earlier.


4,000 bricks to apply !!

only 500 slates to get in place

for the ridges on the dormer windows

lead flashing for around the dormers

thought I would consider this

I don't tend to use paper for walls or floors though I have seen it done well.  With that in mind I thought I would consider this for the pavement and the areas (outside space) in the basement.  Very good quality - quite heavy and nicely matt.  I am tempted to cut up each paver though and stick in place?????


Here's the link:  Richard Stacey

Saturday, 30 January 2016

Back in my stride

Can anyone prevaricate, procrastinate and just generally dither as much as I do about any 'next step' in building the house.

My latest flap is whether to cover the boards in bricks and then add trim on top of those or to add the trims first and work round them.  Here's the thinking (aka dithering).

Trims first and then bricks makes for a flatter neater finish but cutting bricks into all kinds of shapes and sizes to dance around the trims is a real pain in the proverbial - I know because I have always done it this way.

This time I would like to just slap bricks everywhere and apply trims over them.... will it sit nicely on top of bricks and will the glue work OK?

Today's decision is to have a go at the second method.

Meanwhile I am becoming very disciplined about splitting my days in two so I get a ton of playtime.  In the olden days when I still had to go out to work the house still got 'run' just fine and we had clean clothes and food when needed so why do I devote whole days to 'real life' when it was once squeezed into weekends and a couple of hours each evening.

My current routine is to use the mornings on domesticity (and emails!!), cooking lunch for around one and then, after that I will work on my hobby until 6.30pm.  My commute to and from 'work' can be arduous each day as it is exactly seven steps door to door.  Lucky lady.

Here's what I have achieved in a couple of days.


camouflage doors painted now lots to think about

making exterior paint

just add this to your paint

Victorian trim, needs to come off

done (plus a cut finger) and the door removed for painting

painted all this lot

made the quoins look like quoins

The trims for this house are roughly cut and need work.  The two sets of quoins are done.  I have also tidied 13 windows with twelve panes each (!) and they are now sitting in their box awaiting paint.The thirteen stone trims which surround the windows also tidied up but they have been painted so are all ready to go.

It is lovely doing mindless jobs whilst listening to Radio i-Player.  I am a bit of a talk-radio fan and love Radio Four - mostly dramas and books.  I am currently following an interesting serial (The Secret History) so I particularly look forward to that each day.  This hobby allows for radio time, not much else in my life does.  Bonus.  

One smug lady.


Dolls House and Miniature Scene magazine

I have pretty much stopped writing for the magazine now but they do have a few of my pieces 'in stock' so I was pleasantly surprised to hear one of my show reviews is in this month's magazine - out yesterday.


Wednesday, 27 January 2016

22 painting small things


I don't usually put videos here - I assume if you want to see them you can do that by clicking the link in the left hand column but I do think this is a useful tip if you haven't come across it before.

PS: if you think the painting finish looks lumpy and dreadful that's because it is lumpy masonry paint.