Saturday, 26 March 2016

Much consideration

A lot of thought needs to be given to the kit you choose to work with.  I know most of us are immediately constrained by style, price, size before we even begin.  After that if you then have the choices whittled down to more than one.... consider this....

How fussy are you going to be about it when it is built?

Doing a straightforward build and painting the exterior and letting it be a dolls house won't make too many demands whatever kit you choose.  The second you cross over into 'I want this or that to look 'realistic', the problems begin.

My first build was a Dolls House Emporium kit - the Wentworth.  It was super easy to do and I loved the finish.  Having said that I did kit-bash the basement, even on this novice build, to make it more compact


nice neat trim covering the door join


My second project was a Lyddington Shop from Bromley Crafts and it also went together without problems and, again, I loved the end result.  


and again the use of quoins to cover the gap


My third project was a complete remake of an O'Rourkes Post Office which would have originally come from Dolls House Emporium.  This offered a different set of challenges as it was already built and I had to 'unmake' it first.


this had a single opening front


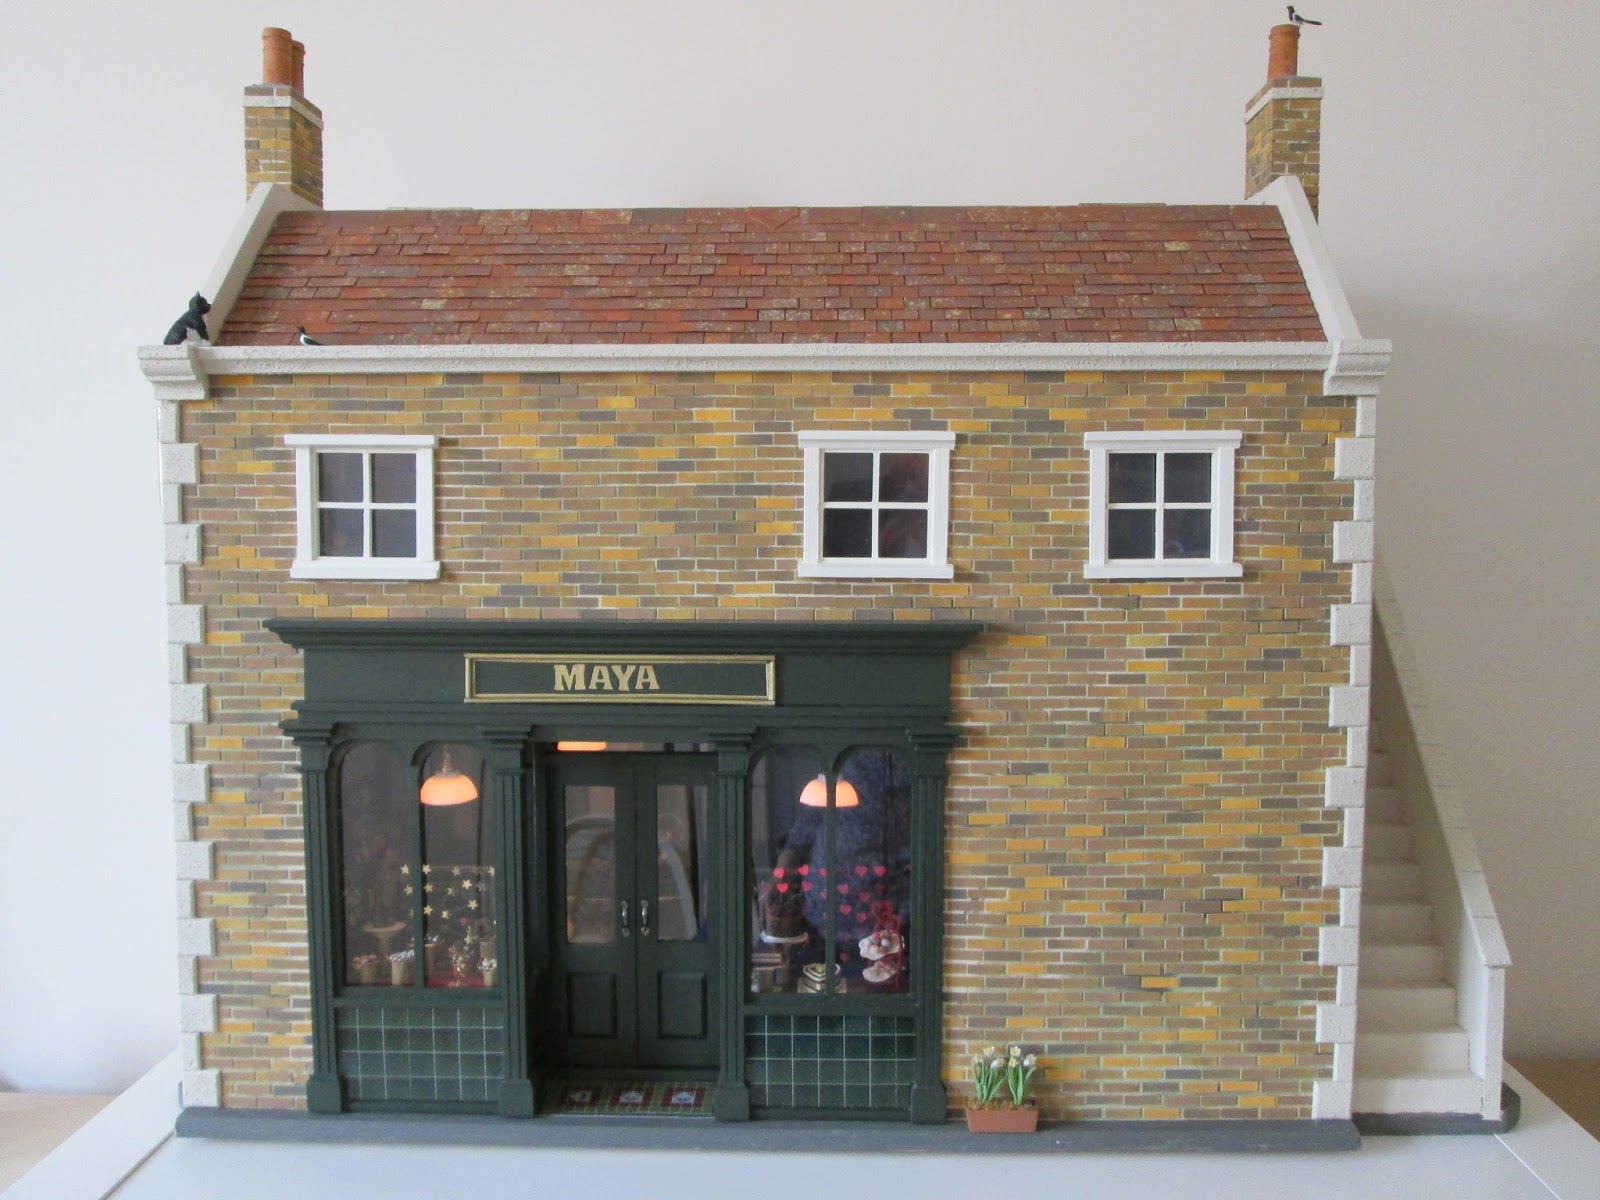
This current Dalton House is from Dolls House Direct and I have found a lot of small niggly issues as I have gone along.  To be fair to the maker it may very well be just as good as its predecessors and the problems are arising because because my needs and expectations have increased ten-fold. The house in this photo is built by the maker and was all I had to go on when choosing the house.


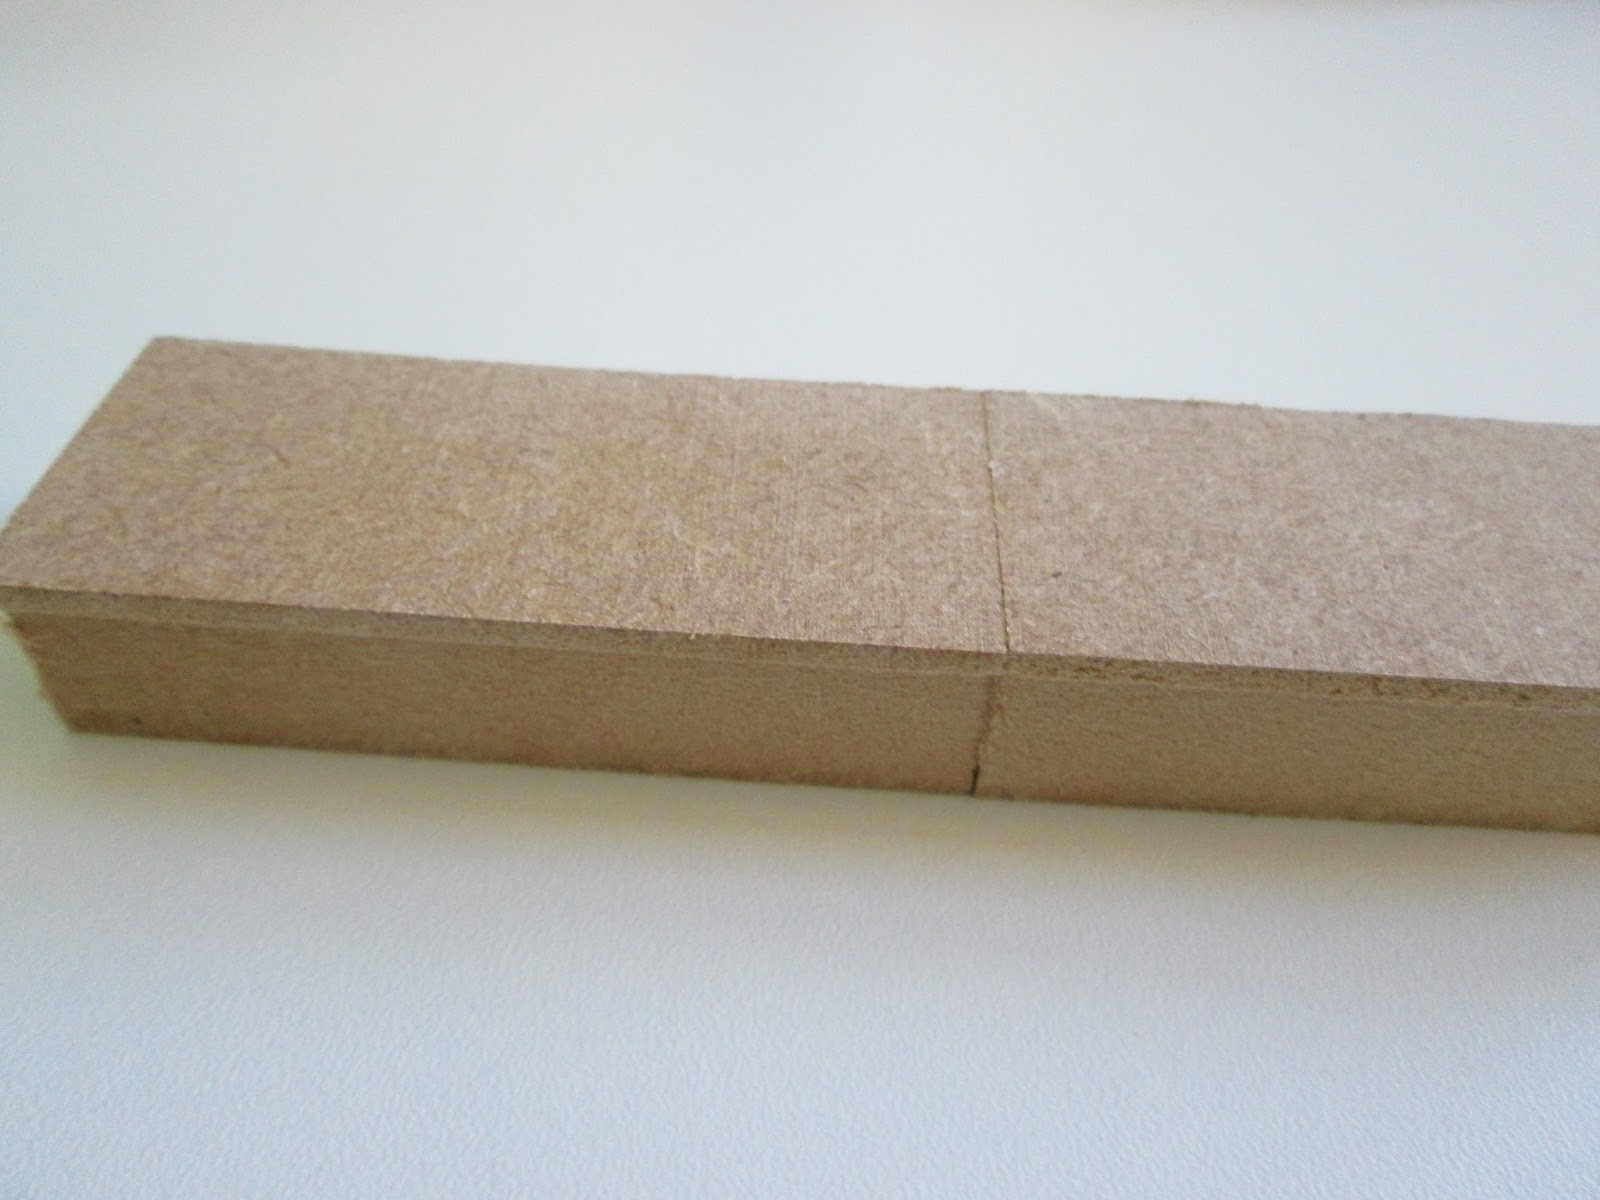
for starters I hadn't thought about the join at the front


So, this is why I am cautioning you to think carefully about what you want to achieve with your project and to find a build that will allow you to do that.

I think the quality of the finish on this house, such as the windows and trims etc, is what a reasonable person would expect to find at the price I paid but they do require more work than the other makes I mentioned.

The construction is not as easy as the others and I found I couldn't do a dry run which I have always done and would want to do to give me thinking time about what room will be what.  It also allows for some decorating in the flat state before construction.  This house won't stand up without gluing and pinning; mostly because it has a ply back pinned on, rather than an MDF grooved back supporting the floors. I am not comfortable with having to 'nail' things together as it isn't always easy to make sure the nail goes into the material accurately.  It is only too easy to have a pin coming through and showing.  Also the pin heads show - not so important on the back but I am not fond of them at the sides.

This house doesn't allow enough space for a set of stairs down into the area and a servant's door into the basement from there.  Someone will have to climb through the windows to keep the area clean.  It does actually happen with a few houses in real life but I would have liked a servants' entrance and I hadn't realised that it wasn't possible to construct that because the the height under the stairs isn't enough. 

Right now working on the front of the house I am fidgeting with things like a 3/16 inch gap between the two doors when they are closed and the windows in the right side being nearly 3/16 inch lower than the windows on the left side.  This has a knock on effect to the horizontal stone trims (for a perfectionist)


click to enlarge and see if you can see the issues

There were also several problems to solve to get the doorway to look 'real'.  This included having to make an extra step and shimming up the door when putting it in its cut- out space to ensure the pilasters had a proper contact with the ground.


a shaped shim added
As I said at the beginning of this post - absolutely none of this will matter for most people messing around with this hobby and I am in no way decrying the maker - they make for most people.  However, if you are pernickity and want to create a fairly realistic house it would be best to be able to see a fully constructed kit if you can rather than depend on photos.  While you are there, take lots of photos and lots and lots of measurements then and go away and have a long hard think about which house will work best for you.

All this assumes you want a kit.  Many people buy ready built or even commission houses. For me, building is probably the part of the journey I like best.  I am not really a collector as such.  Ironically, solving the sort of problems I have just outlined might also be something I actually like doing!

Sunday, 20 March 2016

Brief note

If any of you follow the narrative part of this hobby I have just been back in to the pages at the top of the blog and tweaked the rooms pages and the narrative and the inhabitants.

Basically my main protagonist now has a PhD in Eng Lit rather than old bones and they all live in Cambridge rather than Lyme Regis.  

The earlier incarnation was because the whole (original) story came from buying one piece of mini furniture - a display case of fossils - that set me off wanting to create the Mary Anning story or, at least the Philpot sisters in their house.

I have clung to that display case but it doesn't work for me - this house has much of my alter ego in it and bits of my history so it would be nice to have it closer to my 'dream' me.  My Elizabeth now has followed the path I would have liked.

Saturday, 19 March 2016

Trims added

I have got the trims added ready to start the bricks.


This trim was a slightly warped very thick piece of wood so it needed to be clamped on while the glue dried overnight.  I apply my favourite Deluxe glue that I keep mentioning (R/C Modellers Craft Glue) and let it set up a little - just a couple of seconds.  While that's happening I add a few drops of Superglue Gel (only use the gel sort, not the ordinary Superglue, this way you have control of the stuff).  Superglue pulls the surfaces together quickly so they are in good contact while the rest of the glue dries.


The doorway and the basement areas are not fixed and won't be until the bricks are finished.  I have also added a further much narrower trim across the house walls at ground floor level.


The door was a pig to do.  I had a horrible time just painting it.  I tried gloss acrylic - too shiny!  I tried silk acrylic - too matt!  In the end after three coats of messing about and rubbing down in between I applied a silk water based (B & Q) varnish over the remaining black paint which seems about right.  Sounds like a Goldilocks story.

You probably figured this is the outside as it has a door-knocker.  It also has the traditional large Georgian centre knob and a 'modern' Yale lock.  It may never have a letterbox - some listed buildings aren't allowed them as the original would not have had one.  I may get tempted if I see a nice one though.  It needs to have a back flap for the inside of the door (draught stopper)otherwise I will have to cut a hole through. 


On the inside there is the reverse of the Yale lock and, instead of a large bolt, it has a modern version of the traditional Georgian door lock.  This is locked at night.  Both locks have the other halves of the locks to go in the door trim when it is applied. The large deadlock will have a keyhole on the outside of the door when I can find a suitable escutcheon.


This is a 'shim' which was needed to get the door to fit properly.  Not as simple as just a strip of wood.  There was much filing and scribing and shaping to fill the gap.

Saturday, 12 March 2016

Painting

Apologies for this week's post being late - now Monday and should have posted on Saturday.  Just spotted it was still in the draft box - woops!!

There is always a fair bit of painting to do in this hobby one way or another.  Here is the next lot needed to complete the front opening.


This shows the camouflage effect that I like to do for the mortar under the brick so I don't get a single dominant colour showing between the bricks.  You can get the 'mucky' colours just by mixing up any old bits of paint you don't want - the more you add the muddier it gets.


The roof was painted grey to go under the 'slate' roof tiles.  I also paint the edges of the roof panel grey.  Again this grey came from mixing two or three dark coloured paints.


The doorway is mostly stonework painted with my home-made mortar paint (sand added to any colour you fancy).  I do knock off some of the obvious sand when the paint is bone dry.  the trim round the door is painted white. I used Cuprinol Shades here.  It goes on thinly and gives a flattish sort of gloss finish.  It is a real world paint which is sold for outside wood use so it should wear well!  It also comes in a lovely range of colours.


Here's a closer look at the masonry paint finish.  if there are too many 'bobbles' for you, when it is dry just rub them off and you end up with a nice in-scale masonry finish.


The edges of the main doors need painting.  I have chosen to do them with the brick coloured paint I have used on the sides.  Always smooth the edges of the doors before you paint them with a fine grade
 sanding block or fine sandpaper.  It is 'end grain' so it will soak up the paint like a sponge.  You can put a priming coat on or a coat of sealant.  Personally I reckon if you are willing to paint it twice like that, you may as well just put on two coats of the paint you've chosen for the edges


.

The inside walls then need masking tape on them before you paint the edge of the wood, so you don't end up with a stack of 'sputters' to deal with when you come to decorate the inside of the house front.  It also lets you paint a lot faster as you don't need to be super careful.


This is what the first coat of the edge painting looks like.  The colour which matches the bricks brilliantly is called Polo Pony by Valspar (B & Q and others).  They will mix you a sample pot.  It looks hellishly orange but I assure you it is a good match.


Same colour on the sides of the building.  There is no logic to applying bricks there.  It is a huge area (times two) and would take masses of bricks, time and money.  This is a terrace so technically we are simply looking at a crude slice between two buildings.  It doesn't warrant bricks.

The magazine pages are taped down to protect the top of the trolley as the house was too heavy for me to lift and put on paper.

Incidentally, if you do want buy this house from DHD, these walls have a window on each floor - I got them to cut mine without as I want fireplaces there.  

Saturday, 5 March 2016

Paving and steps

I decided to make my life simple and just grey paint any pavement or step areas as I could not figure out a way to finish them without adding weight.  The versi bricks and slates are great and there is some flooring in the range but not grey versi paving stones.  Richard Stacey sells lovely real stone slabs but, as I said, it would add weight to an already heavy front.

I painted all the 'grey' areas very carefully and beautifully and then came up with this wheeze which I think looks OK.  It would look even better if I could 'dirty' it up and add moss and the odd weed.  Not a talent I have.......... as yet........nothing stopping me doing it much later in my house's life when I have nothing else to do.  I wish someone would do a 'dirty-it-up' class.


ashlar stone paper

cut into individual slabs and trimmed to size


border adhesive

If I am sticking any papers on my house I always use border adhesive.  Any make will do.  To be honest I think it is just PVA glue but it does seem silkier somehow?  Whatever it is, it is very strong and will bond the heaviest paper to wood or painted wood. Think this one was the cheapest B & Q sell but I am not sure about that as I have had it a long time.


I think the steps and pavement look much better 'slabbed' than they did painted:


slabbed steps

Notice that the pediments either side of the door now stand on the step.  Imagine if I hadn't added the step how odd they would look just floating around, not to mention an accident waiting to happen every time you stepped out of the door.

pretty good pavement???

top slab and front edge are made with separate papers so I could get in a full width slab

Saturday, 27 February 2016

One step short of a flight

I don't know what it is that I am not seeing/understanding but for me the front door on this house seems to be floating above the steps and looks like it needs another one.

I only had some interior stairs and they weren't wide enough.  I decided to glue three together and then trim them to fit but after gluing two together I thought I liked the look of the top step being different so I've left it at that.


when its finished you won't see the join under the paint and paper

needed to cut a piece off the back to get the depth right

It needed a bit cut off the back to get the depth right so using the above gear I clamped it to my bench and cut a little each day when I came into the hive.  You will gather the combination of that saw and my muscle didn't make a lot of impact on the thick step.  On day three my other half came into the hive with a cuppa for me.  I told him that by day three I had done about a quarter of the length, so he 'just finished it' on the way past!  There are days I wish I was Popeye.  More spinach anyone?

confusing photo?

Here it is in situ - it just reaches the bottom of the door opening so now my little folk can step right out onto a step and not a drop.

now for a change of mind

While I was messing around with all of that I realised just how much of the brickwork would be covered by chunks of basement.  I have again switched from the notion of bricking the whole front and then sticking on trims and basement to applying trims and working round where the basement will go.  I drew around all the areas that would be covered with steps and walls and basement floors.  I intend to brick close to these lines but then stick on the basement pieces (and pin them in place) and then finish off the bricks up to the edges of any added structures.  I hope that it means there will be lot of bricks and time saved.


Friday, 19 February 2016

Delph Miniatures - plug and socket for lamps

I have another huge favourite vendor called Delph Miniatures.  This is a mother and daughter team who can make just about anything 'modern' you might need.  A couple of her makes have been fish and chip shop fryers in two scales! and a mortuary fridge complete with body.  The creations are truly in the realms of, if you can think it Kath can make it.

I once asked her to make me a Yale lock and she did - I have just bought another for this project.  She also works in spot on 1/12th scale


 Kath (and Margaret) makes and sells single and double wall sockets waiting to be used around the house.  I believe she also makes the old brown Bakerlite type of electrical sockets used in houses well into the early sixties in this country.


There are a number of appliances you can buy already plugged in.  


So most electrical things that you don't want to light up are well covered by what she does.

However, I have a couple of table lamps and standard lamps which, in real life, would be plugged in.  I then needed to connect the wire to the electrical source so the lamps could be lit.  I couldn't see a sensible reason for traveling wires here and there and then having to conceal the fact that they weren't actually plugged in.

I came up with the wheeze of  getting some plugs in sockets from her and drilling below the plug and passing the wire through and then through the usual hole in the wall and on to the power source.  Within a couple of days here they are and pre-drilled by Kath all ready for me to use.  (The following pictures are a trial run mock up so not too elegant but will show you what I mean)

the scruffy bit round the hole is my fault they arrive just perfect

She even drilled the hole at a 45 degree angle to make the wire look more realistic


Here I have cut off the plug and threaded the wire through the socket

made a hole in a bit of scrap wood

The wire is then threaded through the hole in the room wall - this is just a bit of scrap wood not the real thing.

like threading beads
Pull gently into place and glue

et voila

There we have it a realistic lamp plugged into a realistic socket and will also light up!  I am sooooo happy.  Huge thanks Kath.

Contact her if you want any (or anything else).  Failing that I do urge you to check out her site and see the goodies she has.  She will be at the NEC Miniatura in April - I have my shopping list ready.

Click here:    Delph Miniatures